 HarleyMotorcycleParts
Road Glide Special (FLTRXS) Shocks for Clearance and Control
This hot-rod bagger is rarely about comfort. Get the shock choice and sag right for cornering clearance, without giving up control.
Scraping hardware in a bend does not automatically mean you need a stiffer shock, though that is what most riders of this bike assume. A low factory rear gives you less clearance from the start, and sitting too deep in the travel takes away more. Owners of this hot-rod bagger usually want cornering clearance and control, so begin by finding out how much of the problem is plain setup.
Tools
- Good torque wrench
- Socket set in the sizes your manual calls for
- Frame lift
- Swingarm support
- Marker and tape measure
- Helper for sag
- Service manual
Find where it touches
Before shopping, go look underneath. Inspect the undersides for fresh scrape marks, and note which side and what part. Then ask when it happens: on smooth corners at steady speed, or over mid-corner bumps?
Steady scraping points to where the bike sits. Bump-related scraping points toward how the rear reacts when compressed. That distinction will decide your purchase.
Now measure. Mark a fixed spot above the rear axle, record the fully extended distance with the wheel off the ground, then record it with you on the bike in full gear. Check the result against the sag range in your manual.
Buying for control
If your bike has the left-side preload knob common on M8 Touring models, use it first and repeat your corner. More preload raises the rear in its travel. It does nothing to the spring rate, though it may buy the clearance you were after.
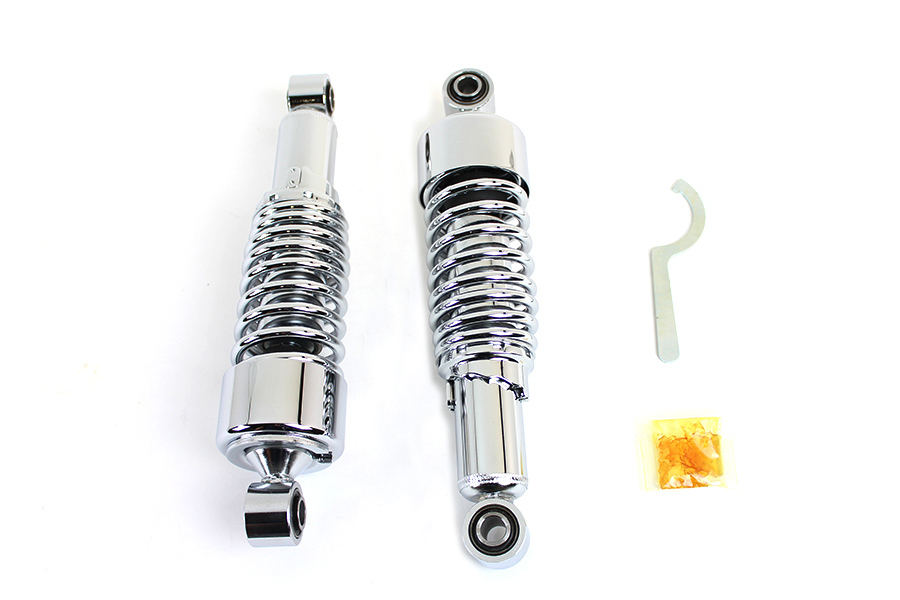
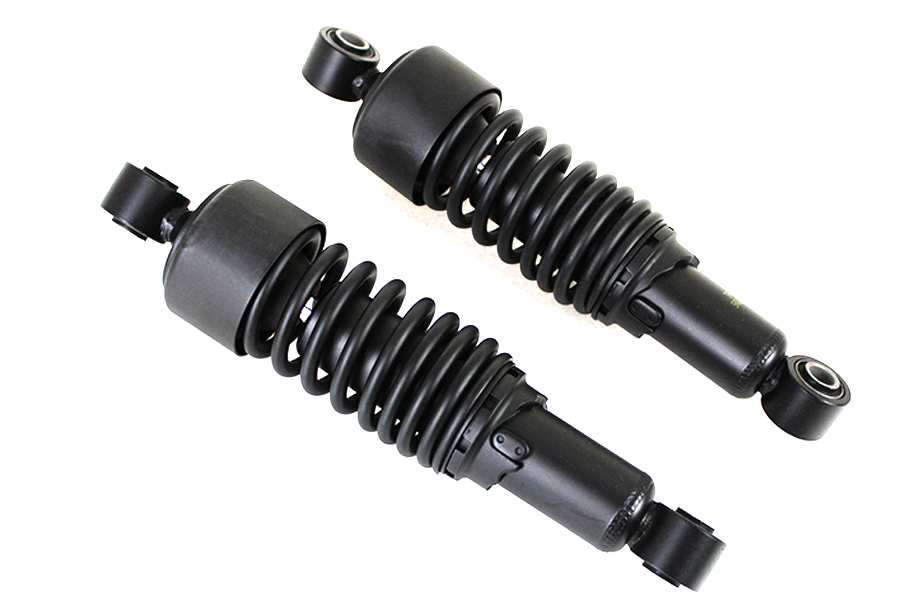
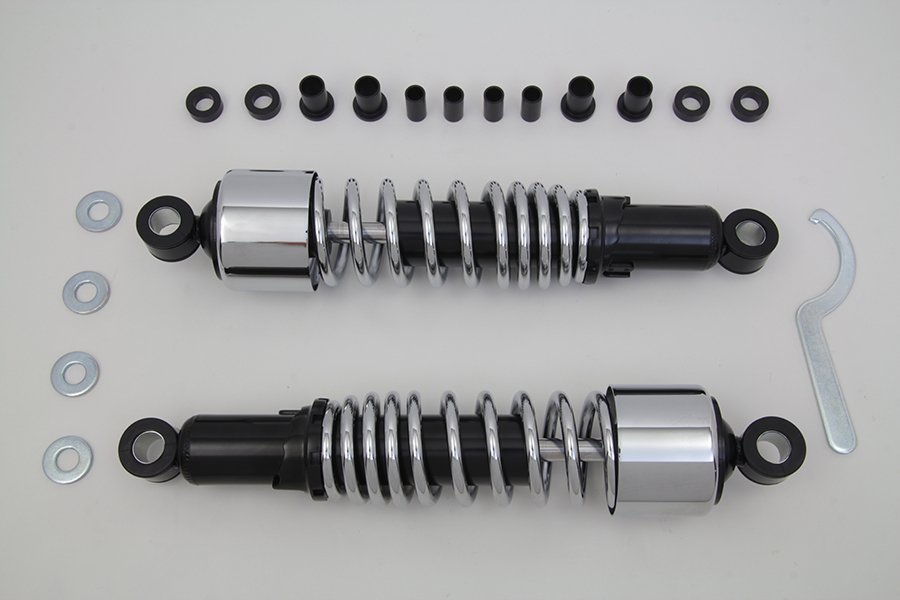
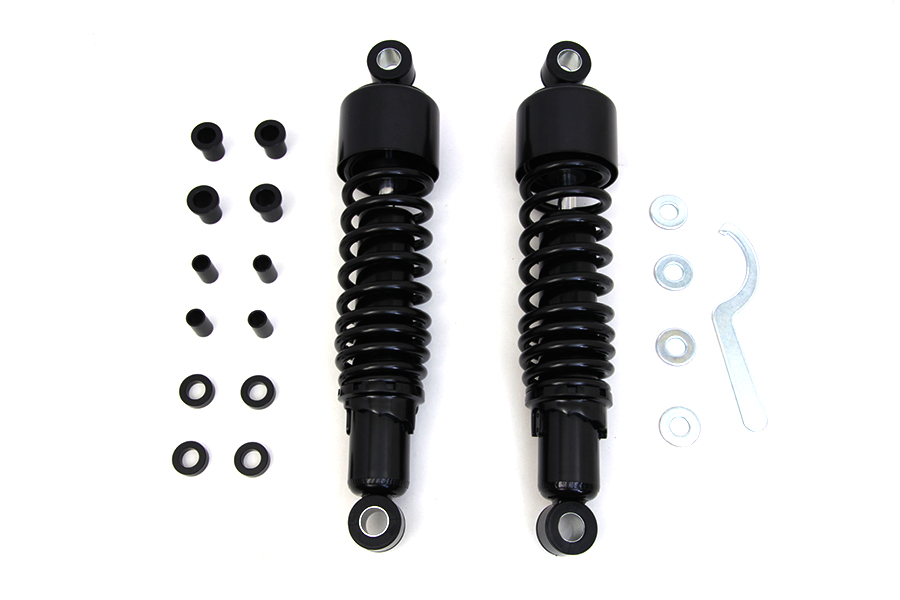
When that runs out, consider new shocks. Pick by your weight in gear, plus whatever you usually carry, since a spring that is wrong for you cannot be corrected by adjustment. A shock listed for another Touring model may be a different length, because factory length differs between standard and low bikes.
Longer shocks gain clearance but alter steering geometry and how the bike leans on its stand. Think that through, then confirm fit for your exact code before you pay.
Stripping back the rear
Take off the bags. Lean them somewhere safe. Clean the area around all mounts with a rag so dirt cannot drop into threads.
Put the bike up with the lift on frame points only. Shake it lightly to confirm that it is secure.
Place the swingarm support and raise it until it barely touches. Too much pressure loads the shocks and makes the fasteners harder to pull; too little lets the arm drop.
Disconnect or free any preload adjuster by your manual's method, keeping its parts together.
One out, one in
Begin with the side without an adjuster. Take a reference photo, then remove the bottom hardware, followed by the top. Note exactly how spacers were stacked.
A control-minded rider has good reason to care about what remains. Free play at a mount shows up as vagueness in fast corners. Pinch each bushing and look for cracks and slop. Inspect the mount holes on the swingarm and frame for any wear shape other than round. Change whatever has gone soft.
Install the new shock as its paper instructions direct. Fix the upper end loosely, tweak the support height until the lower end falls into place, and engage both threads with your fingers.
Consult your service manual for the correct figure and any fastener notes. Tighten to spec with a clicker that you trust. Top and bottom might use different figures, so confirm both.
Move across and do the second shock, leaving the first fully secured the entire time. This keeps the arm from twisting, and it stops you ever having the swingarm hanging free.
Corner test, staged
Refit the bags and any adjuster fixings, then lower the bike. Cycle the rear with your weight and look for anything rubbing, especially at the bag mounts and exhaust.
Set sag to the manual's range, and write down the adjuster position. This number becomes your baseline, so that later experiments can be undone.
Choose a quiet road you know well. New shocks feel different, and a new set of reactions is not the moment for your fastest lap. Build up slowly over several rides: first check braking and straight-line stability, then steady bends, then a bumpy corner.
Keep a small notebook in a bag so that each change is written down while you still remember it. Memory flatters every new part, and a written record of each setting lets you return to one that worked.
Ask two questions on each pass. Does the rear settle after one movement, or does it keep pumping? Has the scraping moved later, or gone away? Change one setting at a time and note the result.
When you get home, check each fastener with the torque wrench and look over the bushings again. Keep up that check through the first few weeks of hard riding.
Mistakes that cost money
- Reaching for a stiffer shock before checking sag and preload.
- Assuming more preload changes spring stiffness.
- Fitting a longer shock without thinking about geometry and stand lean.
- Pushing hard on the first ride on unfamiliar shocks.
- Changing several settings at once and learning nothing.
When to stop
If hard parts touch down in a way that lifts or shifts the bike, back off immediately. Hitting a rigid part at lean can lever the tire off the road, and no shock setting is worth that test.
Parts for this job
Check fitment for your own model and year before ordering — add your bike and we will flag what fits.
Other Harley how-to guides
This guide covers procedure and judgement. Torque figures, fluid capacities, gaps and tension settings are specific to your model and year and must come from the factory service manual for your motorcycle — we deliberately do not print numbers we cannot stand behind for your bike. Independent aftermarket retailer, not affiliated with Harley-Davidson, Inc.