 HarleyMotorcycleParts
Road King (FLHR) Rear Shock Replacement, Solo or Bagged
With no fairing to soak up the story, a Road King tells you exactly what its shocks are doing. Judge them in both of the ways you ride.
Most Road King owners judge a rear shock from one kind of ride, then blame it during the other. This bike spends part of its life solo with the bags off and part of it packed for a weekend, and with no fairing in front of you, every hit arrives unfiltered. A shock that feels wrong on Sunday may only be set for Saturday. Decide what both versions of the bike need before you spend anything.
Tools
- Sockets and wrenches sized to your hardware
- Torque wrench
- Frame-rated motorcycle lift or stand
- Jack or blocks for the swingarm
- Shock pump on air-adjustable bikes
- Tape measure and a helper
- Service manual
Which Road King is on your lift?
Start with the model year, because it splits this job in two. Up through 2016 you will typically find air-adjustable shocks joined by a shared line and a single valve. From 2017 the M8 bikes use emulsion shocks, and most models carry a hand knob for preload on the left shock. Look at your own bike rather than trusting the calendar, since a previous owner may already have swapped them.
Then order for the bike as it is ridden. Factory rear travel and shock length differ between standard and low Touring models, so the phrase 'fits Touring' on a listing proves very little. Match your exact model and year, and read the maker's fit notes before paying.
Two baselines before a wrench comes out
Ride a short rough loop you know well, once stripped and once with your usual bags and gear. Write down what each run did: bottoming, wallowing, or a sharp kick through the seat. Those notes are worth more than memory after the new parts are on.
Next measure sag with a helper. Free sag is the distance from the rear axle to a fixed point straight above it, wheel off the ground and suspension hanging. Rider sag is the same two points with you aboard, in gear, feet on the pegs. Take the target from your service manual.
If your sag is simply off, adjusting may solve the complaint. Preload changes where the bike sits in its travel, not the stiffness of the spring.
Getting the bike ready
Pull both saddlebags. This family gets them off quicker than any other Touring bike, so there is no excuse for working around them and scratching a lid. Set them on something soft, away from the work.
Raise the machine under its frame and nowhere else. An exhaust is not a lifting point on any Harley. Once it is stable, slide a jack or blocks under the swingarm and take just enough weight that it cannot fall when a shock lets go.
On a 2016-or-earlier bike, let all the air out at the valve now, then deal with the line before unbolting anything. The line links both sides, so one disconnected shock affects the other. Note how it runs and where it clips, with photos.
Swapping the first side
Take a picture of the installed shock, showing which end is up, how the line leaves it, and the order of any washers or spacers. Remove the lower fastening, then the upper, and lift the shock away. Keep that side's hardware together in a labeled bag.
Now the part people rush. Inspect the mounts on the frame and swingarm for wear, damage or stripped threads, and check the bushings for cracks, looseness or oval holes. A new shock on a sloppy bushing will still clunk. Clean the threads so that your torque reading means something.
Offer the new shock up in the orientation its instructions require. Fit the top, then raise or lower the swingarm support until the bottom lines up, rather than levering against the shock or forcing threads. Run both fasteners in by hand and snug them.
Get the torque values from the service manual for your year, along with any note on thread locker or fresh hardware. Tighten to that number and mark each fastener with a paint pen.
Second side, then the checks
Repeat on the other side only after the first is fully tight. Working one shock at a time keeps the swingarm located and saves you a frustrating alignment fight.
Reconnect the air line if your bike uses one, and pump it to the manual's figure for your load. Listen at each joint for leaks. On an M8 knob bike, set the adjuster to the middle before fine tuning.
Refit the bags, lower the bike, and bounce the rear a few times. Look for anything that touches, especially the line or a bag mount. Re-measure sag at the same two points as before.
Earning the verdict
Ride your rough loop stripped at low speed, then again loaded. Compare with what you wrote earlier, rather than with how new parts are supposed to feel. A knob or valve setting that is right solo will often be too low bagged, so note both settings somewhere you will find them.
After the first ride, go back with the torque wrench and confirm every mount held. Check again after a longer trip.
Mistakes that cost money
- Rating a shock on solo rides when half your miles are loaded.
- Buying on the word Touring without checking standard versus low length.
- Unbolting an air shock with pressure still in the shared line.
- Ignoring tired bushings because the shocks are the shiny part of the job.
- Lifting anywhere but the frame.
When to stop
If the swingarm moves unexpectedly, a mount thread is damaged, or the bike sits unevenly after the job, stop and have it checked. A rear end that lets go at speed takes you with it.
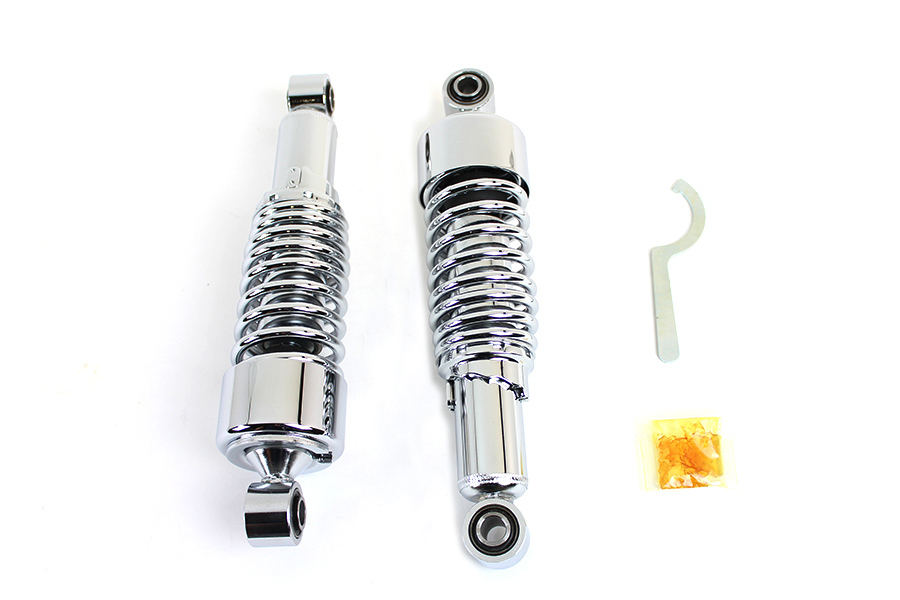
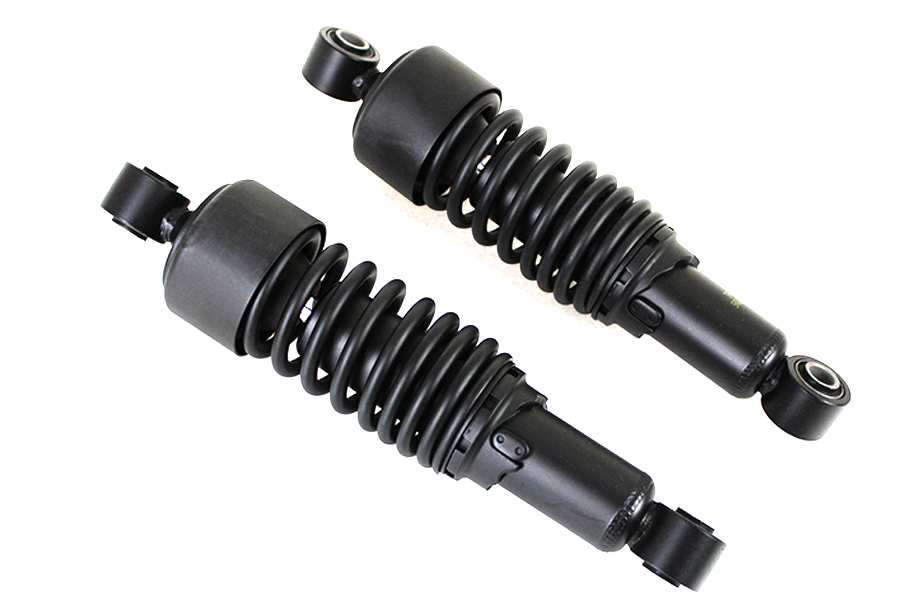
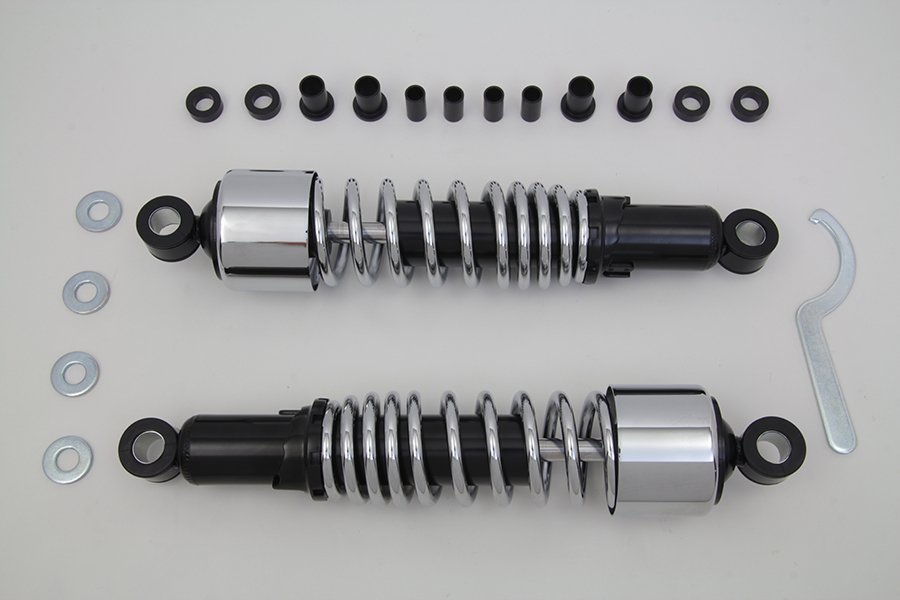
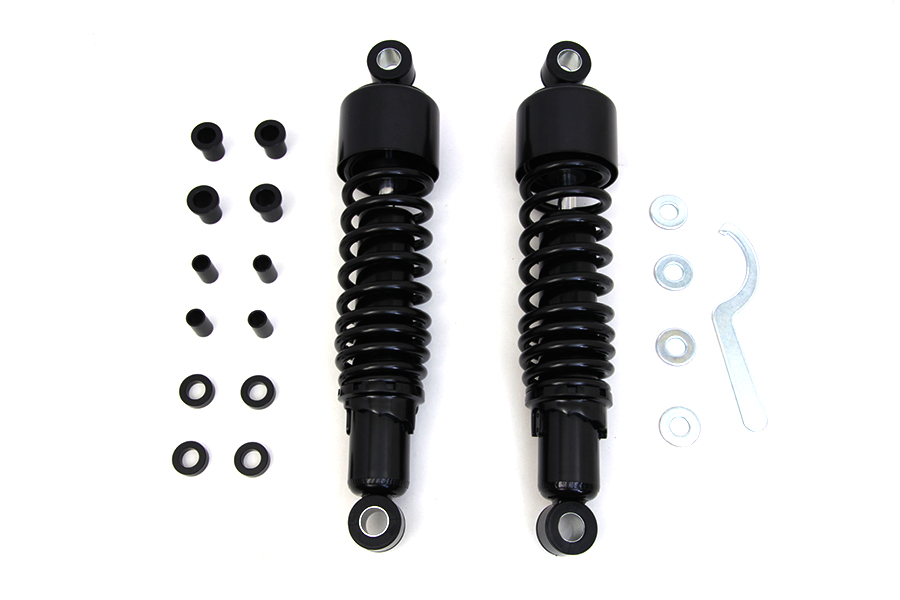
Parts for this job
Check fitment for your own model and year before ordering — add your bike and we will flag what fits.
Other Harley how-to guides
This guide covers procedure and judgement. Torque figures, fluid capacities, gaps and tension settings are specific to your model and year and must come from the factory service manual for your motorcycle — we deliberately do not print numbers we cannot stand behind for your bike. Independent aftermarket retailer, not affiliated with Harley-Davidson, Inc.