 HarleyMotorcycleParts
Bringing a Road King Classic (FLHRC) Back to Stock Height With New Shocks
Most owners of this bike want the factory stance back, not a slammed one. Here is how to find out what it has now and restore it.
The internet assumes everybody wants a bagger lower. A Classic buyer, wide whitewalls and tall leather-look bags included, usually wants the opposite: the height it left the factory with. Used bikes are commonly fitted with something else, and the shock catalog is full of low options that look the same on a screen. So the real first job here is detective work, not a purchase.
Tools
- Tape measure and notebook
- Soft blankets for the bags
- Hand tools matched to the mounts
- Calibrated torque wrench
- Bike lift that takes the frame
- Swingarm support
- Shock pump
- Service manual
Prove what is fitted now
Do not assume the parts on your Classic came from Harley. Read any markings on the shock bodies. Photograph them. Note whether a shared air valve and line are present, since on bikes through 2016 that is the typical arrangement. If they have gone missing, someone has been here before you.
Measure each shock in place, eye center to eye center, and keep the number purely as a record of what is there. Do not treat it as proof of stock length. The factory figure for your year belongs to the service manual or the parts listing, and it is the one to compare against.
Remember also that rear travel and length differ between standard and low Touring bikes. A Classic wearing a low model's shocks will look and feel plausible while sitting wrong, which is precisely why you check instead of eyeballing it.
Ordering for height, not for looks
Search by exact model code and year. Then read the listed length and compare it with the stock figure you just found. When a listing does not say whether it is standard or lowered, ask or walk away.
A word on comfort: if your complaint is that the back feels hard, sag comes before spending. A bike sitting too deep in its travel crashes into the bump stop, and that sensation gets mistaken for a stiff shock.
Those bags deserve some respect
These bags mount differently in feel from the hard-bag bikes, so go slowly the first time and watch how the fittings release. Empty them first. A full bag is heavy, awkward and pulls straight on whatever is holding it.
Lay them on a blanket with the outer face up, out of the path of tools and fluids. Tape over anything nearby that a wrench could swing into, particularly the fender and the exhaust finish.
Up in the air and depressurized
Use a stable lift positioned under the frame rails, clear of all exhaust parts. Support the swingarm separately, with enough pressure to keep it from dropping when the rear is unbolted.
Bleed the system at its valve and confirm that pressure is gone. Trace the line from the valve to each shock, then disconnect it the way the manual shows, keeping dirt out of open ends.
Out with the old, one at a time
Pick a side. Note orientation before anything moves, because on some 2014-2016 Touring bikes the right shock was reportedly installed upside down at the factory, and Harley issued bulletin M-1386A about it. Do not simply copy what you find; compare it to what the new part's instructions and the bulletin require.
Do not rush the choice of tool either. Anything stiff on an older Classic should come loose under steady pressure, and a fastener that will not move deserves more time rather than more force. The second shock is not a shortcut version of the first, so give it the same attention.
Undo the bottom mount and then the top. Pull the shock straight off, saving each washer and spacer in the sequence it came off.
Examine what stays on the bike. Are the bushings split, perished or loose in their bores? Is either mounting surface worn or ovaled? Replace what has failed before moving on. New shocks cannot compensate for a mount that lets things shift.
Install the replacement top end first, line up the bottom by nudging the swingarm jack, and start the fasteners with your fingers. Tighten them to the figure printed for your year in the manual, not to a number you remember from another bike. Then, and only then, start on the second side.
Confirming the height came back
Reconnect the line if your new shocks use one, and look along its whole run for pinches and hot spots. Pressurize to the manual's setting for your load, check for leaks, then refit the bags.
With the bike off the lift and your helper steadying it, measure free and rider sag. Compare them with the manual's range. Now check the visual you were after: how the fender sits over that whitewall, whether the kickstand lean looks right, and that nothing rubs when the rear is pushed down.
Take a gentle ride over familiar pavement. Listen for clunks. Stop after a few miles and put a wrench on each mount, then repeat that check after your first long day.
Mistakes that cost money
- Treating the length of the current shock as stock when the bike is used.
- Buying a low-model part because the picture matched.
- Dragging a loaded leather-look bag off its mounts.
- Copying the orientation of the old shock without checking the bulletin on a 2014-2016 bike.
- Blaming hard shocks before measuring sag.
When to stop
If the new shock will not reach without forcing the swingarm well beyond its normal position, the part is probably wrong for this bike. Do not make it fit. Check the length against the manual and send it back.
Parts for this job
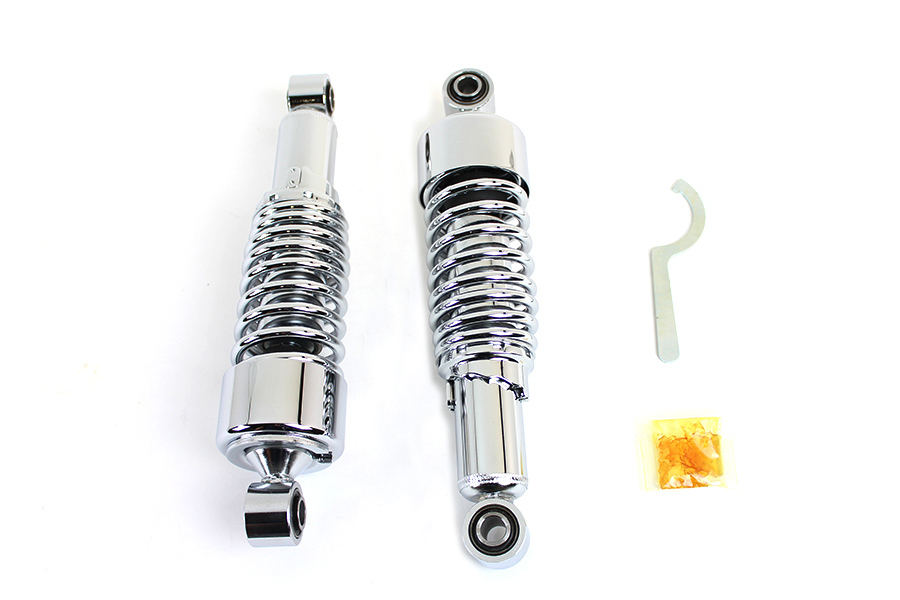
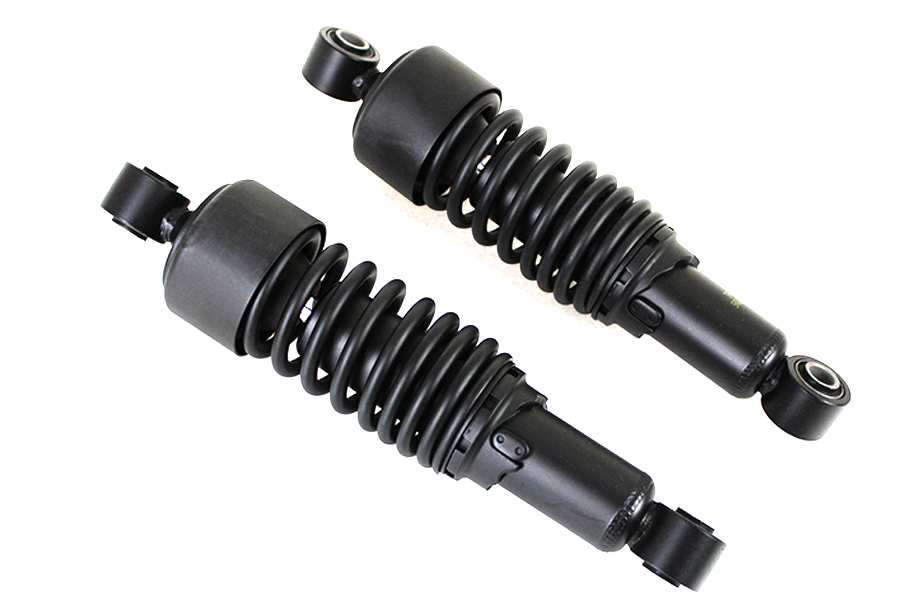
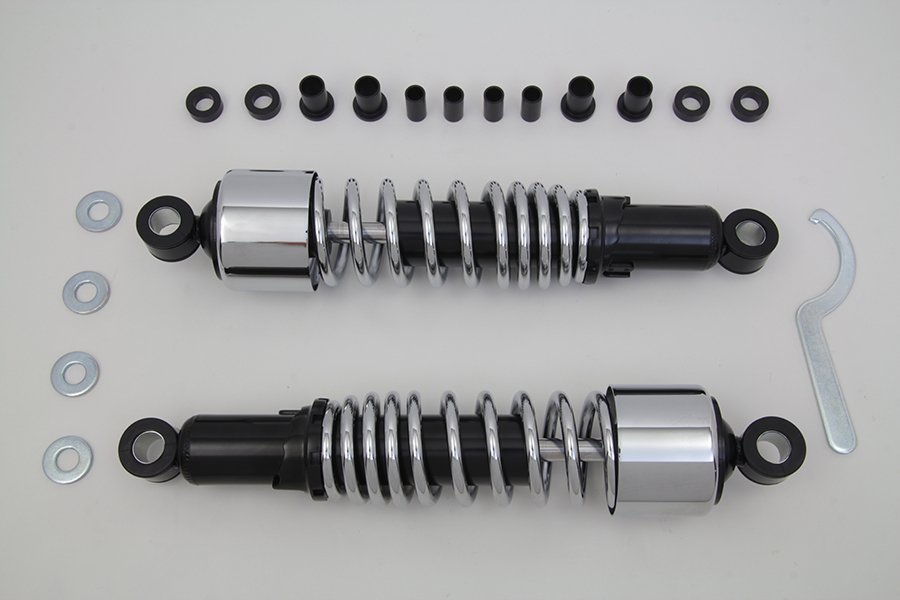
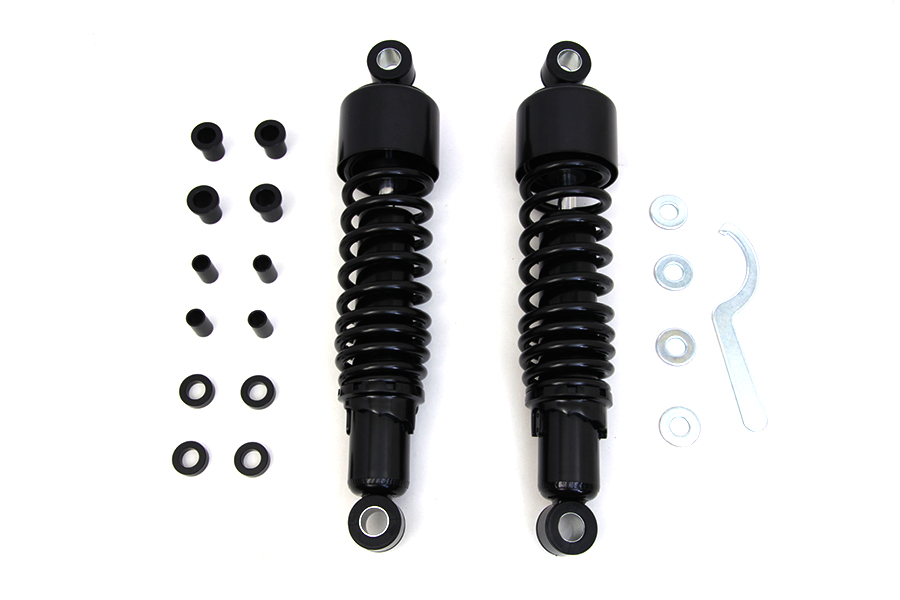
Check fitment for your own model and year before ordering — add your bike and we will flag what fits.
Other Harley how-to guides
This guide covers procedure and judgement. Torque figures, fluid capacities, gaps and tension settings are specific to your model and year and must come from the factory service manual for your motorcycle — we deliberately do not print numbers we cannot stand behind for your bike. Independent aftermarket retailer, not affiliated with Harley-Davidson, Inc.