 HarleyMotorcycleParts
883 Sportster and Hugger Primary Chain: Fixing the Tired Adjuster Pad
Old solid-mount 883s are where worn primary adjuster pads live. How to spot one, rebuild the adjuster and replace the chain if it is gone.
Before anything else: an 883 has no rear chain. It runs a belt to the back wheel. The chain inside your 883 is the primary, behind the left cover, between engine and clutch. The 883 has been sold for decades in many trims, from the plain 883 to the low Hugger, and a lot of the old solid-mount ones are still on the road on their original primary parts. That is where you most often find a worn primary adjuster pad, and the rattle that comes with it.
Tools
- Sportster service manual for your exact year
- Drain pan
- Clean rags and a parts tray
- Primary locking tool
- Torque wrench
- Threadlocker per the manual
- New primary cover gasket
- Primary/transmission oil as specified
- Adjuster pad and screw kit if needed
Solid-mount or rubber-mount
Check the year on your paperwork. Through 2003, the 883 is solid-mount; from 2004 it is rubber-mount. The primary parts are different between the two, so this decides your order.
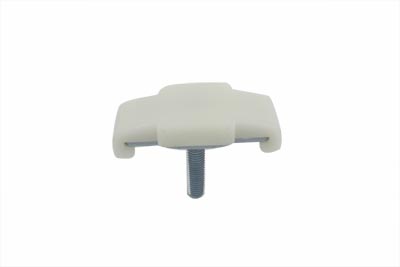
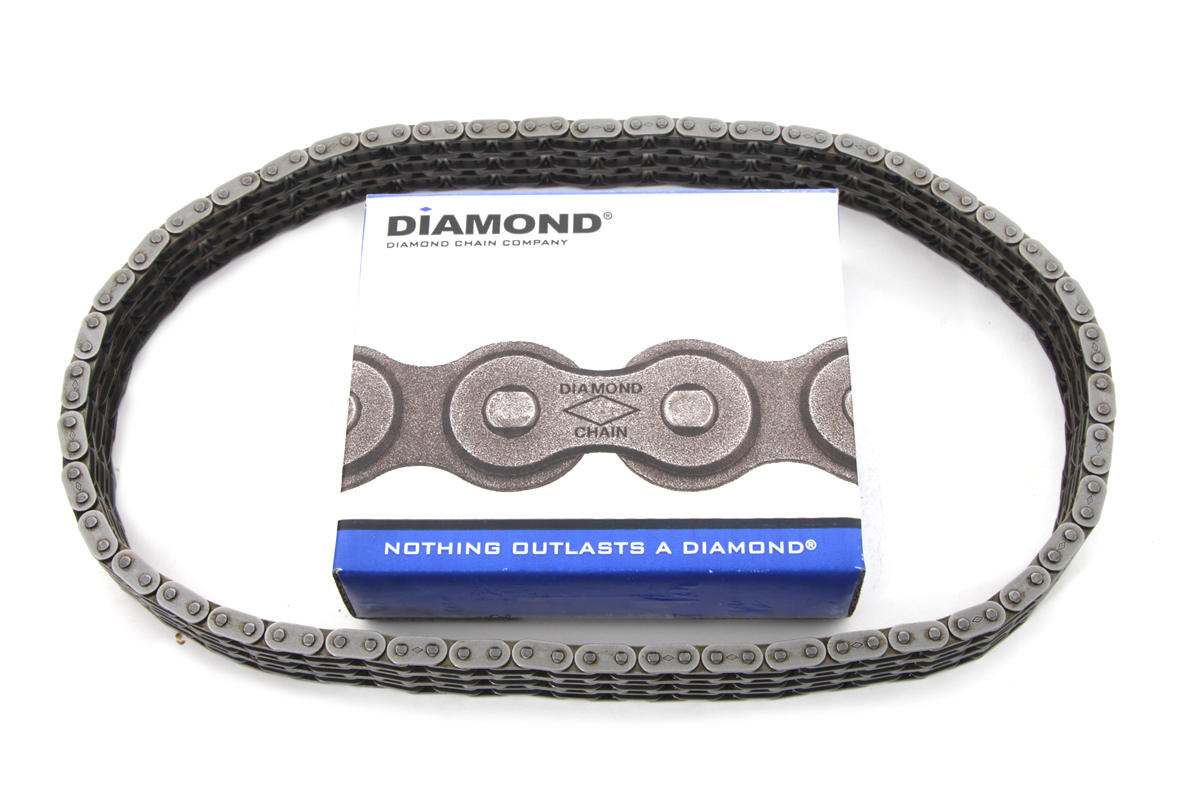
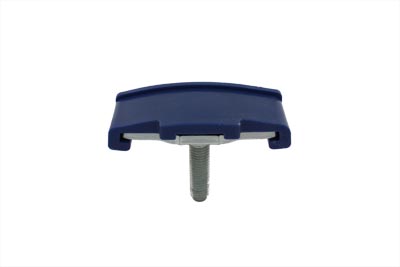
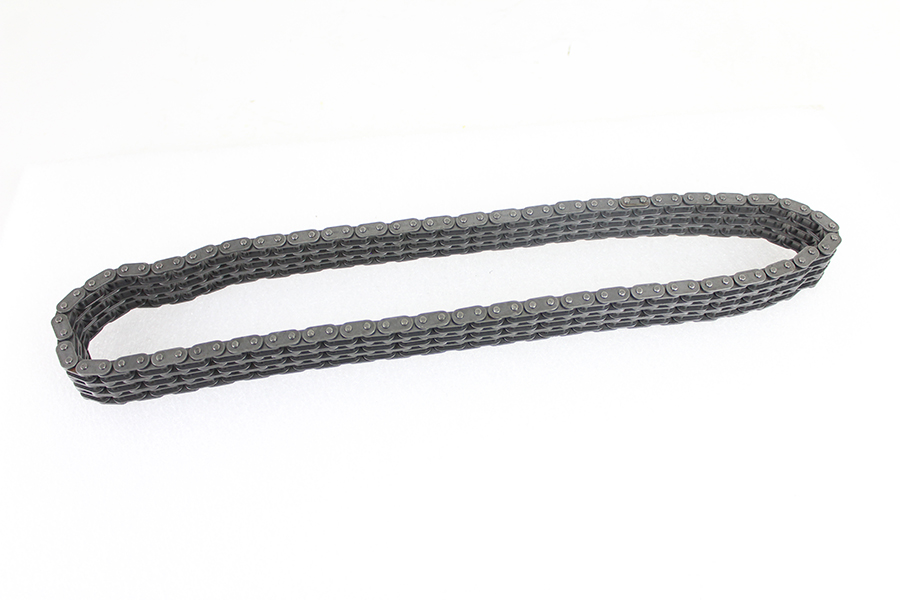
Our catalogue lists a 94-link chain for XL 1957-2003 and a 96-link endless chain for XL 2004-up. For adjusters, it lists a pad and screw kit, 18-0250, for XL 1991-2003, and adjusters 18-0119 and the York automatic 18-3706 for XL 2004-up. Confirm the right one for your bike in the manual.
Hugger, Standard, Deluxe or whatever the trim, the primary follows the generation. Trim names change the seat height and the styling; the year tells you the parts.
Old 883s are also popular conversion bikes, and some have been bored or rebuilt with other parts over the years. Before you order, take a look at what is actually fitted, not just what the title says. A photo of the old adjuster and a link count on the old chain, once it is out, settle any argument.
How the 883 primary works
On five-speed 883s the primary and the transmission share one oil, so there is no separate primary fluid change. When you change that oil, you have serviced the primary as well.
The chain is held in check by an adjuster with a pad or shoe that presses against it. Where you reach the adjuster and what slack figure is right both depend on the year. The manual shows where yours is reached; do not follow a Big Twin article for this.
How a tired pad gives itself away
The symptom is a familiar Sportster complaint: a rattle or slap on the left side at idle that changes when you pull the clutch lever, and sometimes a jerky take-up. You set the slack, the rattle goes, and a short while later it is back.
That recurring rattle is the giveaway. On an old solid-mount 883 the pad wears down, and the screw that holds the adjustment can stop holding. Every time you adjust, you are moving a worn part that will not stay where you put it.
Other clues: grooving cut into the face of the pad once you can see it, flake on the drain plug magnet, and an adjuster that is getting near the end of its range. If the adjuster is out of range and slack is still out of spec, the chain itself is probably stretched too.
Checking slack
Use the manual's access, method and slack figure for your year, under the conditions it states. Rotate the engine and check at several points around the chain. Set it at the tightest spot you find.
Lock the adjuster and remeasure. Then ride a little and check again. If it has moved, the pad or screw is not holding and needs replacing rather than more adjusting.
Rebuilding the adjuster
On a 1991-2003 bike, the pad and screw kit our catalogue lists, 18-0250, is the cure for an adjuster that will not hold. Read its instructions alongside the manual. Depending on your year and the kit, you may need the primary cover off to fit it properly, which means draining the shared oil and fitting a new cover gasket.
While you have it open, look hard at the chain and sprockets. A new pad against a badly stretched chain will only hide the problem for a short while. If the chain is near the end, this is the cheapest moment to replace it, because the cover is already off.
Look at the old pad once it is out. A pad worn into a deep groove, or worn unevenly to one side, shows how the chain has been running against it. Uneven wear is worth a closer look at chain alignment and the sprockets before the new pad goes in, or it will wear the same way.
Fit the new screw and pad exactly as the kit and manual describe, then set slack and lock it. The whole point of this rebuild is an adjustment that stays put, so take care with the locking step.
Replacing the chain
Battery negative off. Drain the primary/transmission oil as the manual describes. Remove left-side parts as needed for access, marking the shift lever position first, and take off the primary cover.
Back off the adjuster, lock the primary with a locking tool, and loosen the engine sprocket nut and clutch hub nut. Check the manual for the clutch hub nut's thread direction on your Sportster before putting force on it.
On 2004-up bikes the endless chain means the engine sprocket, chain and clutch come off together. On solid-mount bikes, follow the manual for your year's procedure. Keep tools away from any exposed alternator rotor magnets.
Reassemble with the correct chain for your generation and any worn parts, threadlocker and torque per the manual. Set slack at the tight spot and lock the adjuster.
Refill, clutch, ride
Fit the new gasket and cover, then refill with the oil the manual specifies to the level it shows. The transmission runs on this too. Check clutch adjustment before riding.
Ride through all the gears, check for leaks, and recheck slack at the tight spot after the first few rides. If the rattle stays away this time, the pad was your problem.
Keep checking at sensible intervals after that. A rebuilt adjuster on an old 883 should hold, but a chain that has been run slack for years may continue to settle. A quick check now and then costs far less than another teardown.
Mistakes that cost money
- Adjusting the same worn pad again and again instead of replacing it.
- Ordering parts by trim name instead of by year and generation.
- Fitting a new pad and leaving a stretched chain in place.
- Assuming the clutch hub nut thread direction.
- Using a Big Twin slack figure on a Sportster.
When to stop
If the adjuster will not hold slack, or it is out of range with the chain still slack, stop riding until the pad or chain is replaced. A slack primary chain can damage the cover and the cases.
Parts for this job
Check fitment for your own model and year before ordering — add your bike and we will flag what fits.
Other Harley how-to guides
This guide covers procedure and judgement. Torque figures, fluid capacities, gaps and tension settings are specific to your model and year and must come from the factory service manual for your motorcycle — we deliberately do not print numbers we cannot stand behind for your bike. Independent aftermarket retailer, not affiliated with Harley-Davidson, Inc.