 HarleyMotorcycleParts
1200 Custom Primary Chain: Solid-Mount or Rubber-Mount? Year First
The 1200 Custom spans two Sportster generations that take different primary parts. Pin down your year, then check, adjust or replace.
There is no rear chain on a 1200 Custom; it drives the rear wheel with a belt. The chain is the primary, behind the left cover, linking engine and clutch. The trouble with this model is its long life. The 1200 Custom spans two very different Sportster generations, solid-mount up to 2003 and rubber-mount from 2004, and they take different primary parts. Owners who order by the name on the tank get the wrong chain in the post. Year first, everything else second.
Tools
- Sportster service manual for your exact year
- Your title or registration (for the year)
- Drain pan
- Primary locking tool
- Torque wrench
- Specified threadlocker
- New primary cover gasket
- Primary/transmission oil as the manual specifies
Year first, parts second
Read the model year from your title or VIN, not from memory or the seller's advert. Through 2003 the 1200 Custom is a solid-mount Sportster; 2004 and later is rubber-mount. That generation change runs right through the primary case.
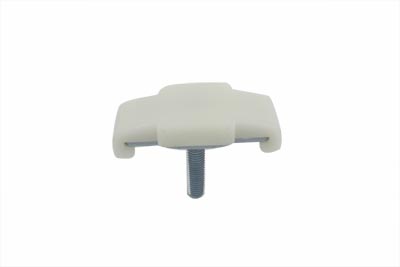
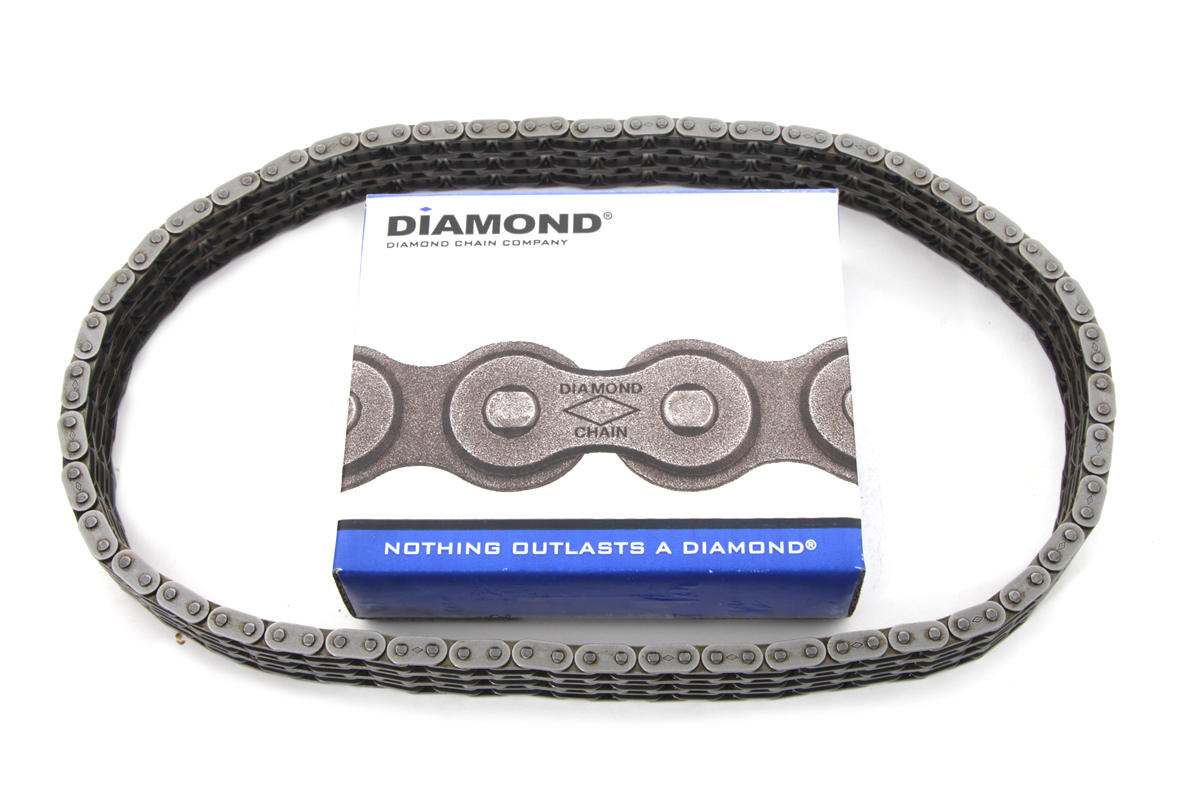
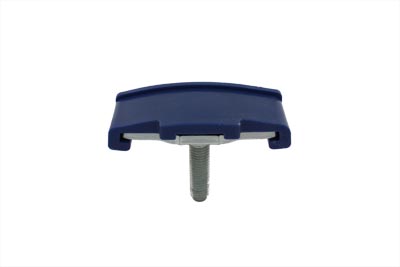
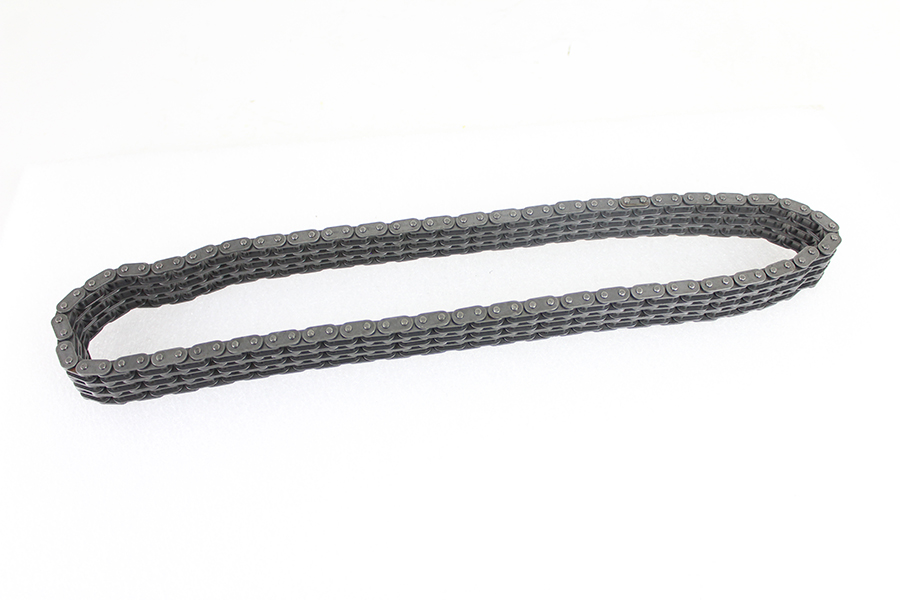
Here is what our catalogue lists, split by generation. Chains: 94-link for XL 1957-2003, and 96-link endless for XL 2004-up. Adjusters: a pad and screw kit, 18-0250, for XL 1991-2003; adjusters 18-0119 and the York automatic 18-3706 for XL 2004-up. Use those as catalogue listings and confirm them against your manual before ordering.
Bikes this old have often been modified. If yours has been rebuilt or had a different primary fitted, the year on the title tells you what the factory fitted, not necessarily what is in there now. Look before you buy.
How the Sportster primary differs from a Big Twin
Plenty of primary advice online is written for Big Twins, and a lot of it does not apply to your 1200 Custom. On five-speed Sportsters the primary and transmission share one oil, so there is no separate primary fluid service. Changing that compartment's oil is changing the primary's.
The primary chain is set with an adjuster shoe, but where the adjuster is reached and what the slack figure should be both vary by year. The manual shows where yours is reached. A Big Twin free-play figure, or one from the other Sportster generation, is simply the wrong number.
The clutch hub nut is another place not to borrow Big Twin knowledge. Check its thread direction in your manual rather than assuming.
Symptoms on a 1200 Custom
Listen at idle for a slap or rattle on the left that changes when you pull the clutch lever in. Feel for jerky, snatchy take-up pulling away. When you drain the primary/transmission oil, look at the drain plug magnet: flake is a warning, though on a shared-oil bike it could also come from the gearbox side.
An adjuster that has reached the end of its range while the slack is still out of spec means the chain or shoe is finished. No amount of further adjusting will cure it.
The two generations can sound different. A solid-mount 1200 Custom passes more engine vibration into the frame, and owners sometimes blame the primary for buzzes that are coming from elsewhere. Use the clutch-lever test: a primary chain noise changes when you pull the lever, while most vibration buzz does not care.
On a rubber-mount bike, the engine moves on its mounts, and worn mounts can let parts touch that should not. If a left-side noise arrived with a vague, wobbly feel at speed, have the mounts checked as well as the primary.
Checking and adjusting
Using the access and method the manual gives for your year, check slack while rotating the engine and measure at several points. Set it at the tightest spot; a worn chain is never evenly worn, and setting it at a loose spot makes it too tight elsewhere.
Adjust as the manual describes, lock it, and recheck at the tight spot. On a solid-mount bike with the original pad, look at the pad and screw while you are there. A worn pad, or a screw that will not stay put, is a common reason slack does not hold, and the 18-0250 kit in our catalogue covers 1991-2003 XL.
Replacing the chain
Disconnect the battery negative. Drain the primary/transmission oil as your manual describes. Remove the left footpeg and shift parts as needed, marking the shift lever on its shaft first. Take the primary cover off; it goes back with a new gasket.
Back off the adjuster and lock the primary with a locking tool. Loosen the engine sprocket nut and the clutch hub nut. For the Sportster clutch hub nut, confirm the thread direction in the manual before you apply force. Guessing wrong with a breaker bar can ruin the hub.
On 2004-up bikes the stock chain is endless, so the engine sprocket, chain and clutch come off together as one assembly. On solid-mount bikes, follow the manual for your year. If the alternator rotor is exposed when the sprocket comes off, keep tools clear of its magnets.
Count the links on the old chain before the new one goes in. It takes five minutes and it confirms, on the bench, that the chain you bought matches what the bike was running. If the counts differ, find out why before going further.
Inspect the sprocket teeth and the adjuster parts while everything is out. Reassemble with the correct chain for your generation and any worn parts, using threadlocker and torque values from the manual. Set slack at the tight spot.
Refill and clutch check
Fit the cover with its new gasket. Refill with the oil the manual specifies to the level it shows, measured the way it describes. On a shared-oil bike, the transmission depends on that fill as much as the chain does.
Check clutch adjustment before riding. The primary job disturbs it, and a clutch that does not fully disengage makes finding neutral at a stop hard work.
Ride and recheck
Ride through every gear at gentle speed, then normally. Check for leaks at the cover and drain plug. Recheck slack at the tightest spot after the first few rides, because a new chain settles.
Write down the year, generation and every part number you used, and keep the note with the bike. On a model that spans two generations, the next owner or mechanic will be grateful.
Mistakes that cost money
- Ordering a chain by model name without confirming solid-mount or rubber-mount.
- Fitting a 94-link chain to a 2004-up bike, or a 96-link to a solid-mount one.
- Treating the shared-oil Sportster primary like a Big Twin with its own fluid.
- Assuming the clutch hub nut thread direction.
- Setting slack at a loose spot instead of the tightest one.
When to stop
If the chain or adjuster you bought does not match what is inside the case, stop before forcing anything. Parts from the other Sportster generation will not fit safely.
Parts for this job
Check fitment for your own model and year before ordering — add your bike and we will flag what fits.
Other Harley how-to guides
This guide covers procedure and judgement. Torque figures, fluid capacities, gaps and tension settings are specific to your model and year and must come from the factory service manual for your motorcycle — we deliberately do not print numbers we cannot stand behind for your bike. Independent aftermarket retailer, not affiliated with Harley-Davidson, Inc.