 HarleyMotorcycleParts
Iron 883 Primary Chain: Tracking Down the Rattle on the Left
On an Iron 883 the primary shares its oil with the transmission, and a left-side rattle is very often the adjuster. How to check, set and replace it.
First: the Iron 883 drives its rear wheel with a belt, so there is no rear chain to adjust. The chain is the primary, inside the cover on the left side, linking engine and clutch. Two things set the Sportster apart from the Big Twin pages you may have read. The primary and transmission share one oil, so your normal oil change of that compartment already covers the primary. And when an Iron 883 owner chases a rattle on the left, the primary adjuster is very often where it ends.
Tools
- Sportster service manual for your exact year
- Drain pan
- Feeler for slack as the manual describes
- Primary locking tool
- Torque wrench
- Threadlocker per the manual
- New primary cover gasket
- Oil the manual specifies for the primary/transmission
Sportster, not Big Twin
Big Twin advice does not transfer cleanly. On five-speed Sportsters like your Iron, there is no separate primary fluid change; one oil serves both primary and transmission. Where the adjuster is reached and what slack figure is correct both depend on the year, so the service manual for your exact bike is not optional here. It shows where yours is reached.
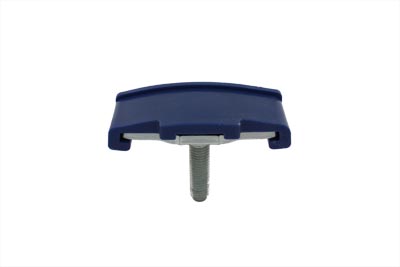
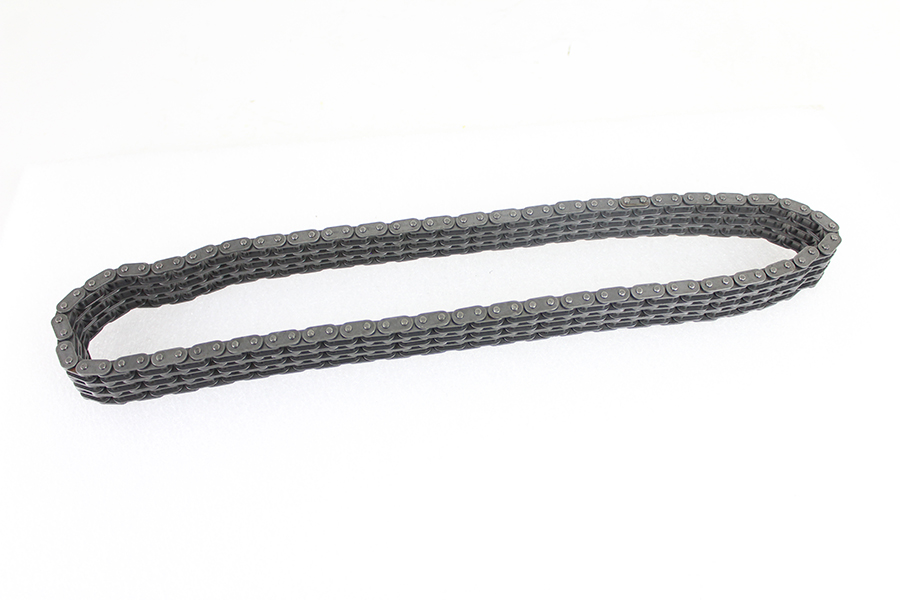
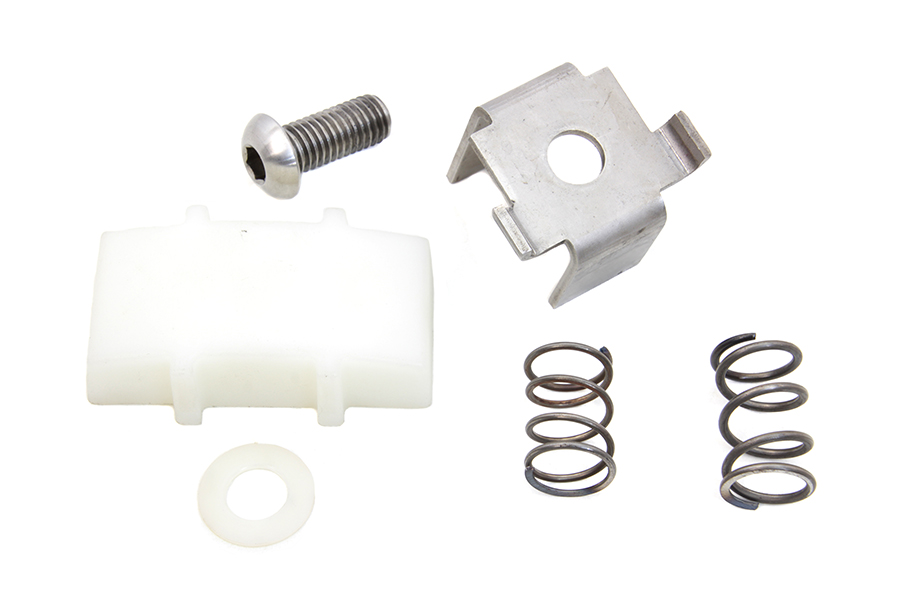
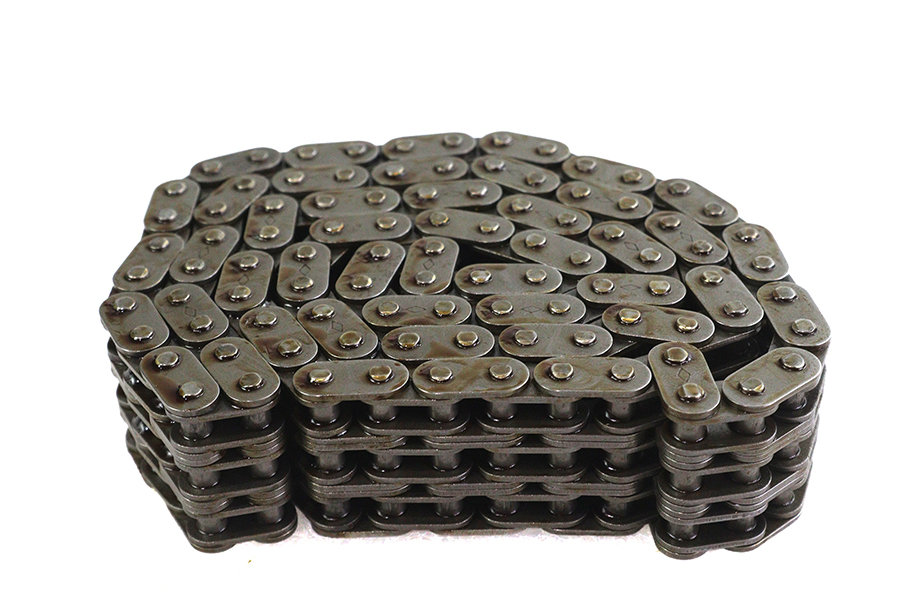
The stock primary is adjustable, with an adjuster shoe. Our catalogue lists 2004-up Sportster adjusters, 18-0119, and a York automatic adjuster, 18-3706, for those who want one. It lists a 96-link endless chain for XL 2004-up; confirm against the manual.
Finding the rattle
Start the bike, let it idle, and listen at the left side. A rattle or slap that changes when you pull the clutch lever is classic primary-chain slack. Jerky, snatchy take-up from a stop points the same way.
Before you buy parts, check the slack. On many Irons the rattle turns out to be nothing more than an adjuster that has never been reset as the chain wore. That is a cheap fix, and it is worth ruling out first.
When you drain the primary/transmission oil, look at the drain plug magnet. Metal flake is evidence that something is wearing harder than normal.
Rule out the cheap rattles first
Not every noise on the left of an Iron lives inside the primary. With the engine off and cold, go round the left side by hand: primary cover screws, the footpeg and its mount, the shifter, heat shields on the exhaust, and anything bolted near the cover. A loose cover screw or a heat shield clamp can buzz in a way that sounds remarkably like a chain.
The test that separates them is the clutch lever. A primary chain rattle changes as you pull the lever in, because you are changing the load on the chain. A loose shield or peg usually does not care what the clutch is doing, and it tends to change with engine speed instead.
Checking and setting slack
Use the method and access point your manual shows for your year, and its slack figure under the conditions it states. Do not use a Big Twin figure or a number from a different Sportster year.
Do not measure in one place. Rotate the engine, in gear with the rear wheel turning as your manual describes, and check slack at several points. A worn chain has a tight spot, and that is where the setting belongs.
Adjust as the manual instructs, lock the adjuster, and measure again at the tight spot. If the adjuster has run out of range, the chain or the shoe is worn out and the rattle will be back until they are replaced.
Manual or automatic adjuster?
The stock Iron adjuster has to be set by hand, and most rattles happen because nobody does. If you will not check it regularly, the York automatic adjuster in our catalogue, 18-3706 for XL 2004-up, is one way to take the job off your list. Our catalogue also lists adjuster 18-0119 for XL 2004-up; check its listing and your manual to see which arrangement suits your bike.
Whichever you choose, read its instructions alongside the manual before fitting. An automatic adjuster changes what inspection looks like afterwards, and the next person to open your primary needs to know which one is in there.
Replacing the chain
Disconnect the battery negative. Drain the oil from the primary/transmission compartment as your manual describes. Remove the left footpeg and shifter parts as needed and take off the primary cover. Plan on a new gasket.
Back off the adjuster. Lock the primary with a locking tool. Loosen the engine sprocket nut and the clutch hub nut. On a Sportster, check the manual for the clutch hub nut's thread direction before you put any force on it. Do not assume it matches what you may have read about Big Twins.
The 2004-up chain is endless, so the engine sprocket, chain and clutch come off together. If your manual shows the alternator rotor on that side, its magnets will pull in loose tools; keep the bench tidy.
Reassemble with the new chain and any worn parts. Apply threadlocker and torque the nuts to the manual's figures. Set slack at the tightest spot.
While the Iron's primary is apart, lay the old chain next to the new one on the bench. Hold each by one end and let it hang sideways; a worn chain droops further because every pin and bushing has picked up a little play. Seeing that difference in your own hands makes it much easier to judge wear through the access point next time.
Refill and clutch
Fit the cover with its new gasket. Refill with the oil your manual specifies for the primary/transmission, to the level it shows. Because it is shared, getting this right matters to the gearbox as much as to the chain.
Check clutch adjustment; opening the primary disturbs it.
Ride and recheck
Listen at idle with the clutch in and out. The rattle should be gone. Ride through every gear, then check for leaks. Recheck slack at the tight spot after the first few rides, because a new chain settles in.
If the rattle is still there with a correctly set new chain, go back to the cheap-rattle checks and look again with fresh ears. Iron owners sometimes fix a real primary problem and a loose shield at the same time without realising they were two separate noises.
Mistakes that cost money
- Searching for a separate primary fluid change that the five-speed Sportster does not have.
- Buying a chain before simply checking and resetting the adjuster.
- Using a Big Twin slack figure or procedure.
- Assuming the clutch hub nut thread direction instead of checking the manual.
- Setting slack at a loose spot instead of the tightest.
When to stop
If the adjuster has no range left and the rattle persists, stop adjusting and replace the worn parts. A primary chain that is too slack can damage the cover and the cases.
Parts for this job
Check fitment for your own model and year before ordering — add your bike and we will flag what fits.
Other Harley how-to guides
This guide covers procedure and judgement. Torque figures, fluid capacities, gaps and tension settings are specific to your model and year and must come from the factory service manual for your motorcycle — we deliberately do not print numbers we cannot stand behind for your bike. Independent aftermarket retailer, not affiliated with Harley-Davidson, Inc.