 HarleyMotorcycleParts
Street Glide (FLHX) Shocks: Stop Bottoming Out Two-Up
The most common rear-shock upgrade in the Harley world. Fix the two-up bottoming on a Street Glide without buying the wrong kit for your load.
When a Street Glide slams over a bump with a passenger on the back, riders tend to say the shocks are too hard. Usually the reverse is true: the rear has run out of travel, and the bang is the end of the stroke. A batwing bagger with a lower rear stance than an Ultra has less to spare, so tour load decides this job long before brand or color does.
Tools
- Bathroom scale for luggage
- Tape measure and helper
- Combination wrenches and sockets
- Torque wrench
- Frame-point lift
- Jack and wood block for the swingarm
- Shock pump if air-adjustable
- Service manual
Add up the real load
Before shopping, total what the rear actually carries on a trip. You, your passenger, both in riding gear, then the bags as packed. Put luggage on a scale. Most people guess low.
Write that figure on the order sheet. Then compare it with what the shock maker says the kit was built to handle. A shock rated for a solo rider will bottom on a two-up tour however well you set it, and a mismatch like that is a spring rate problem, not an adjustment problem.
Now try your current settings at that load. Pack up, get your passenger on, and measure rider sag. If you can correct the sag with air or the knob and the bottoming stops, you have just saved the cost of a kit.
Generation differences that change the work
Up to 2016, count on an air line tying the two shocks to one valve. Removing either means releasing air and dealing with that line first. A 2017-up bike has no such line, though most have a preload adjuster attached to the left shock.
A note for 2014-2016 owners: Harley issued service bulletin M-1386A after some right shocks were reportedly installed upside down at the factory. Record how yours sits as you take it off, and if something looks backward, consult the bulletin instead of assuming.
Whatever you order must suit your exact bike. Factory shock length and travel vary between standard and low versions of Touring models.
Removal, in working order
Empty and remove the saddlebags. You cannot reach the shocks properly with them on.
Wash the rear of the bike now if it has been on the road. Dirt falling from the fender and mounts lands in threads and in your eyes, and clean metal makes a cracked mount or a weeping shock far easier to spot. Keep a rag and a flashlight within reach, and remove any luggage rack accessory that gets in your way. A short session of cleaning pays back quickly when you are lying on the floor.
Place the lift under the frame. Double-check that nothing is resting on the exhaust, then raise the bike until the rear suspension has only just unloaded.
Add a jack with a block of wood under the swingarm. It should bear lightly, enough to stop any drop.
Air bikes: exhaust the pressure at the valve and disconnect the line as your manual describes. Knob bikes: free the adjuster according to the manual, without straining anything attached to it.
Choose one side. Loosen the bottom fastener, then the top. Slide the shock off and lay out its hardware in order on a clean rag.
What to look at while it is apart
Touring bikes that have been bottoming for years often show it at the mounts. Look closely at the bushings for tearing or play, and at the mounting points on frame and swingarm for elongation, cracks or bent hardware.
Look at the bump stop as well, if you can see it. Damage there backs up your diagnosis. Any part that is worn gets replaced now, while access is free.
Fitting and tightening
Slide the new shock on at the top in the direction its instructions show. Adjust the jack a little at a time until the bottom hole comes into line, then start the fastener by hand. Cross-threading happens when somebody fights a misaligned hole with a ratchet.
Set your torque wrench to the value your manual lists for these mounts. Never borrow a figure from a friend's bike or a forum. Only when that side is complete do you unbolt the other.
Reconnect the air line or preload adjuster and inspect its route so that it clears the belt, wheel, and hot exhaust.
A loaded test, because that was the complaint
Replace the bags, come down off the lift, and rock the back end by hand, looking for rubbing.
Set sag twice: once solo and once fully packed with your passenger aboard. Write both settings on a card in the bag. Air bikes get pressure from the manual's load guidance.
Test solo first over a known bump, then two-up, building speed slowly. A good result is that the slam at the end of the stroke has gone. After that ride, inspect every mount and recheck the torque, then again after your first long tour.
Mistakes that cost money
- Calling it too hard when it is actually out of travel.
- Guessing luggage weight.
- Buying a kit built around a solo rider for two-up touring.
- Testing only without the passenger who caused the complaint.
- Skipping the bump stop and bushing check on a bike that has been bottoming.
When to stop
If it still bottoms hard at your correct sag and load, do not ride two-up on a long trip until the mismatch is fixed. Hitting the stop mid-corner can unsettle a heavy bike with two people on it.
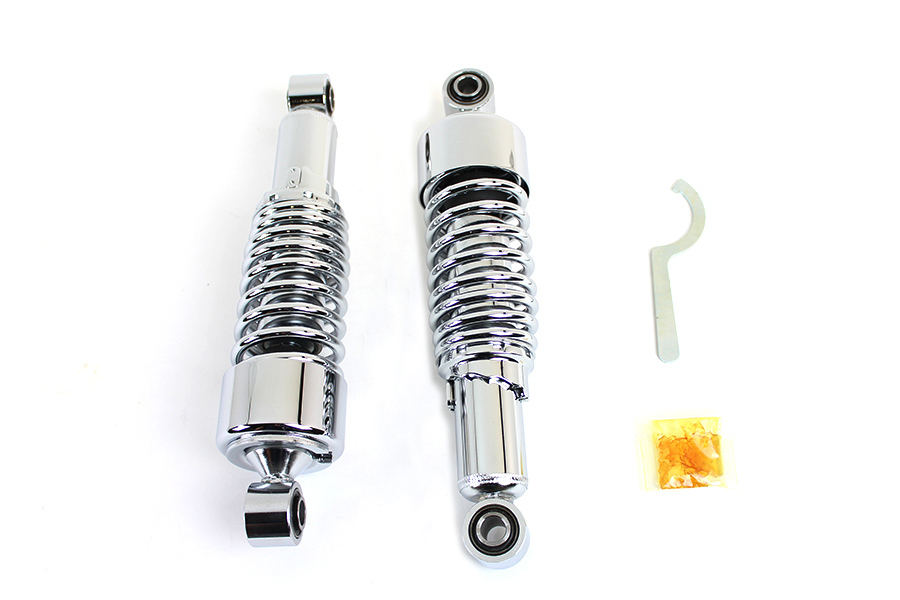
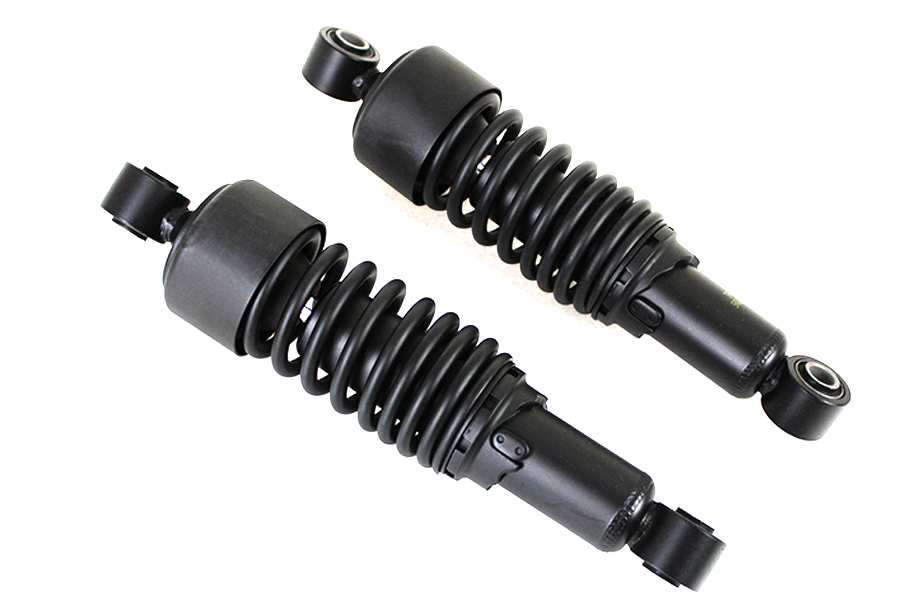
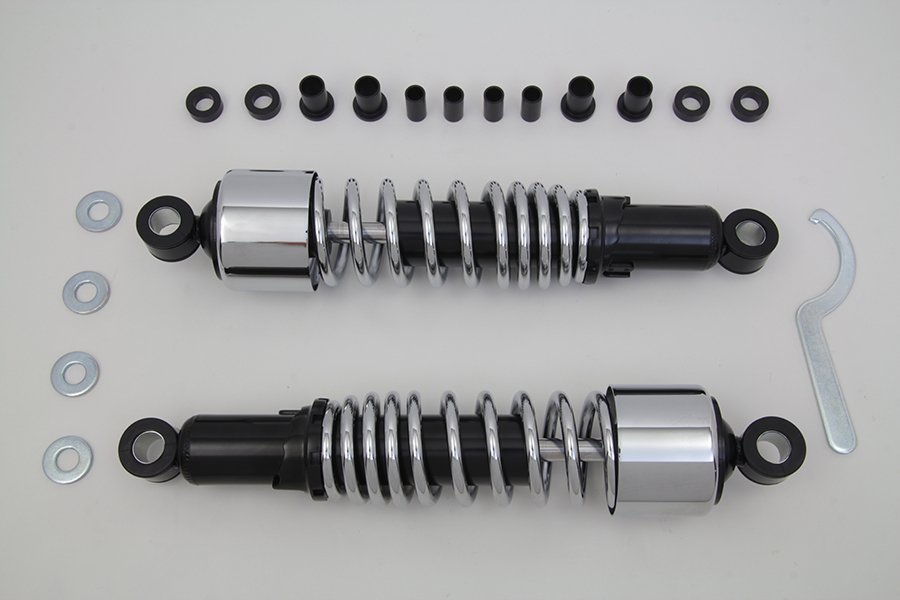
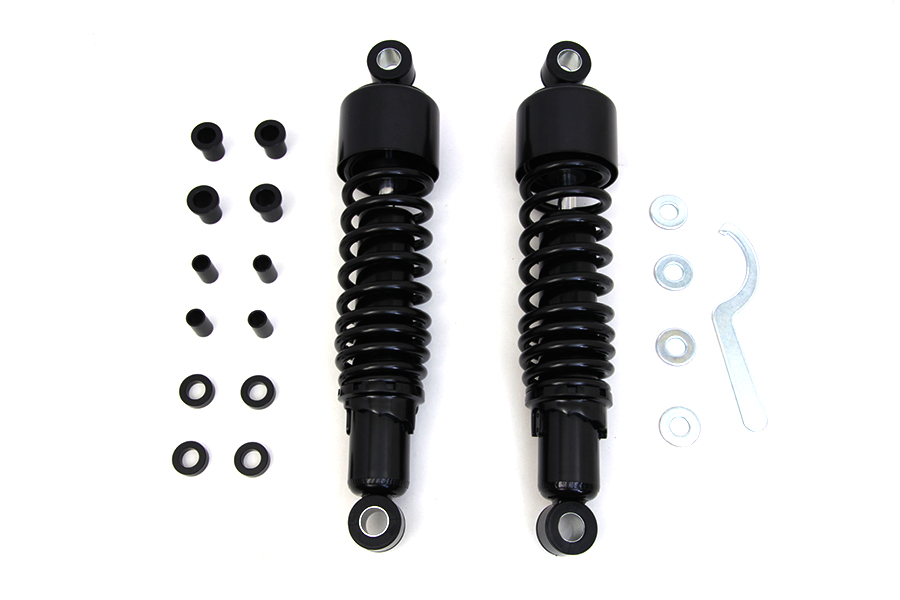
Parts for this job
Check fitment for your own model and year before ordering — add your bike and we will flag what fits.
Other Harley how-to guides
This guide covers procedure and judgement. Torque figures, fluid capacities, gaps and tension settings are specific to your model and year and must come from the factory service manual for your motorcycle — we deliberately do not print numbers we cannot stand behind for your bike. Independent aftermarket retailer, not affiliated with Harley-Davidson, Inc.