 HarleyMotorcycleParts
CVO Limited (FLHTKSE) Shock Replacement: Mind the Wiring Back There
So much audio and lighting wiring lives around the bags and rear of this bike. Map it before you disturb anything.
A CVO Limited owner can do this job with no mechanical mistakes at all and still return to a silent rear speaker and a dead light. This is the biggest and most optioned Tour-Pak bike in the range, with audio and lighting wiring threaded around the bags and tail. The shock is nothing special. What makes it a slow job is knowing what every connector does before you disturb it.
Tools
- Phone camera
- Masking tape and fine marker for labels
- Blankets and low-tack tape
- Hand tools
- Torque wrench
- Frame lift with a generous rating
- Padded swingarm jack
- Service manual with wiring section
Map the rear of the bike
With the bike fully working, test what you stand to break. Turn on the audio and check the rear speakers. Try the tail, brake and turn lights, along with any Tour-Pak lighting, and make a list. If something is already dead, you want to know that now rather than wonder later.
Now photograph it. Take wide shots and close-ups of every harness near the bags, fender and rear of the frame. Note which clips hold what.
Keep those pictures in one album with the date on it.
Open up the manual's wiring section and identify what you are looking at. Where you see something not on the diagram, it may be an add-on from a former owner, and needs extra care.
Power down before disconnecting
If you will be unplugging anything at all, take the battery negative off first, as your manual directs. On a bike this loaded with electronics, read what it says about the radio or security system before you disconnect, including any fob or code you might need afterward.
Every connector you separate gets a tape flag on each half with a matching label. Never rely on memory or on connector shape. Keep the loose ends tied up clear of the work so that they do not get pinched or stepped on.
Protection and support
Costly paint means you should cover the fender, bag edges and any panel within reach. Use low-tack tape and blankets.
Empty the Tour-Pak and saddlebags, then remove the bags, checking behind each for wiring before pulling it clear. The Tour-Pak itself may be wired, so if it needs to come off for access, treat it like a component, not luggage. A helper is the right way to move it.
Choose a lift with plenty of rating for this weight. Pads go under the frame, with no harnesses trapped beneath them and nothing on the pipes. Rise slowly, watching for any cable going tight as the bike changes attitude. Then bring your padded jack lightly up to the swingarm.
Taking out the shock
For bikes through 2016, release the air at the valve, then disconnect the line that joins both sides. For 2017-up bikes, check the left shock for the knob most models have and find its removal notes.
Trace any harness clipped close to a shock, and move it aside rather than pulling it. Take your orientation photo, especially on the right side of any 2014-2016 bike, given the bulletin, M-1386A, on reported factory upside-down fitting.
Remove lower then upper fastener, sliding the shock off with care so that its body does not catch a wire on the way out. Bag the hardware.
Inspect the bushings and mount points like you would on any bagger, watching for cracks, play and ovaled holes, and take time to look at harnesses nearby for chafe marks. A shock that has been moving against a wire for years leaves evidence. Reposition or protect any wire that shows it.
Fitting without trapping anything
Before the top mount tightens, look behind the shock. A wire caught between a shock and a mount is a fault you might not find for months. Fit top, then line up the bottom using the jack, then start by hand.
The manual's value for your year is the only torque that counts. Tighten, inspect the clearance around wires again, and only then go to side two.
Reconnect harnesses by matching your labels. Press each connector home until it locks. Put the clips back the way your photos show, as a wire that hangs slack will find the tire or belt sooner or later.
Function test before the road test
Reconnect the battery. Run through your list: speakers, lights, Tour-Pak lighting, and anything else you noted. Fix what is wrong while the bags are still off and the wiring is accessible.
Then close up, take off the protection and come down from the lift. Push on the rear with a helper watching for tension in any wire as the suspension compresses. Set sag to the manual's range.
Ride slowly at first. Watch for warning lights and listen for any cutting out over bumps, since an intermittent connector shows up then. Return, check the torque, and re-run your electrical list.
Mistakes that cost money
- Not testing the audio and lights before starting.
- Unplugging connectors with no labels.
- Trapping a wire behind a shock or under a lift pad.
- Ignoring chafe marks because they are not part of the shock job.
- Closing everything up before the function test.
When to stop
If you find melted insulation, bare wire or a burned smell, stop and find out why before reconnecting the battery. An electrical fault around a fuel-carrying motorcycle takes priority over any shock.
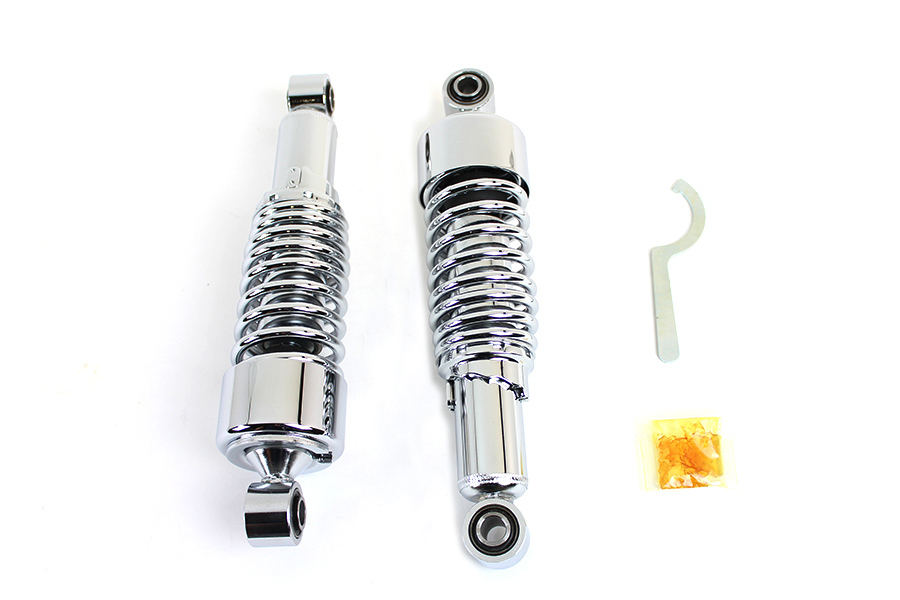
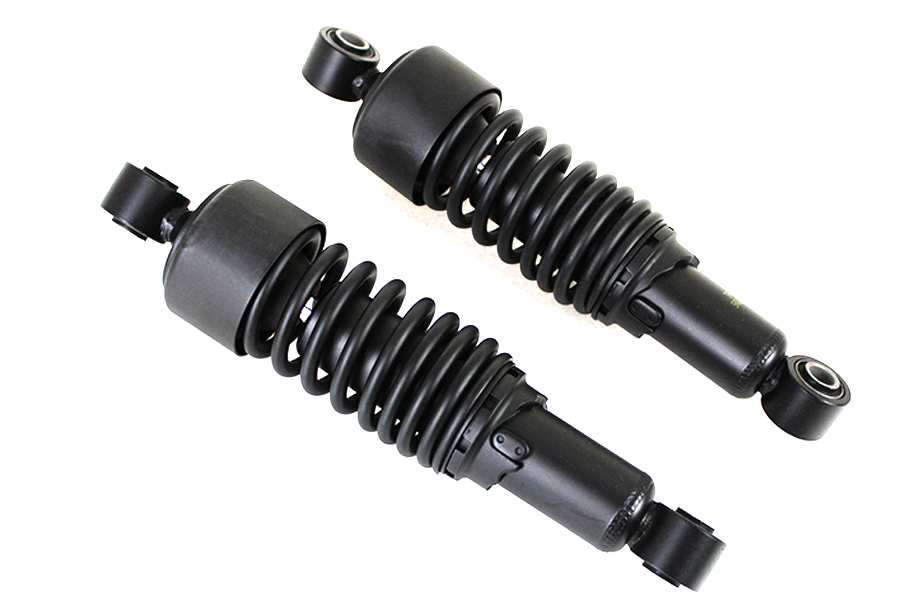
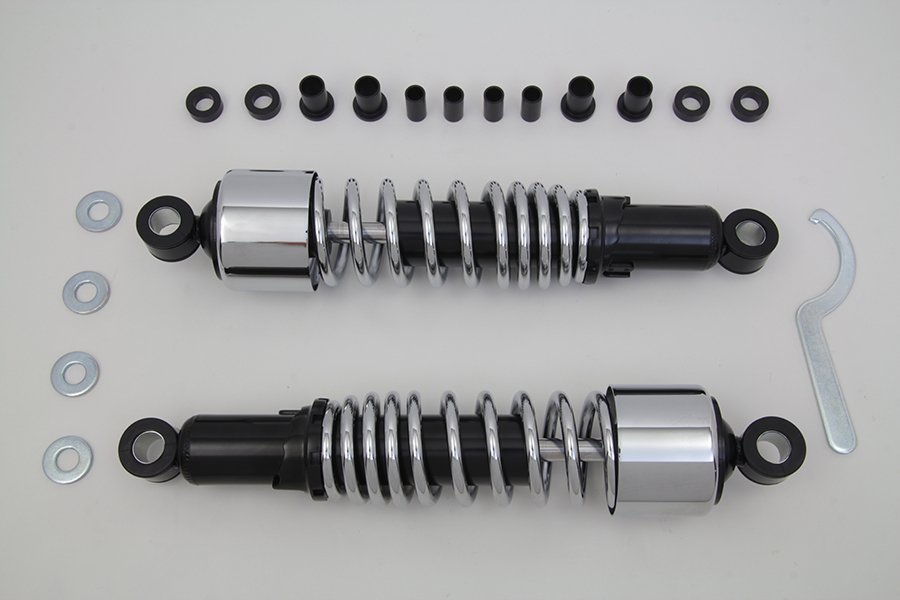
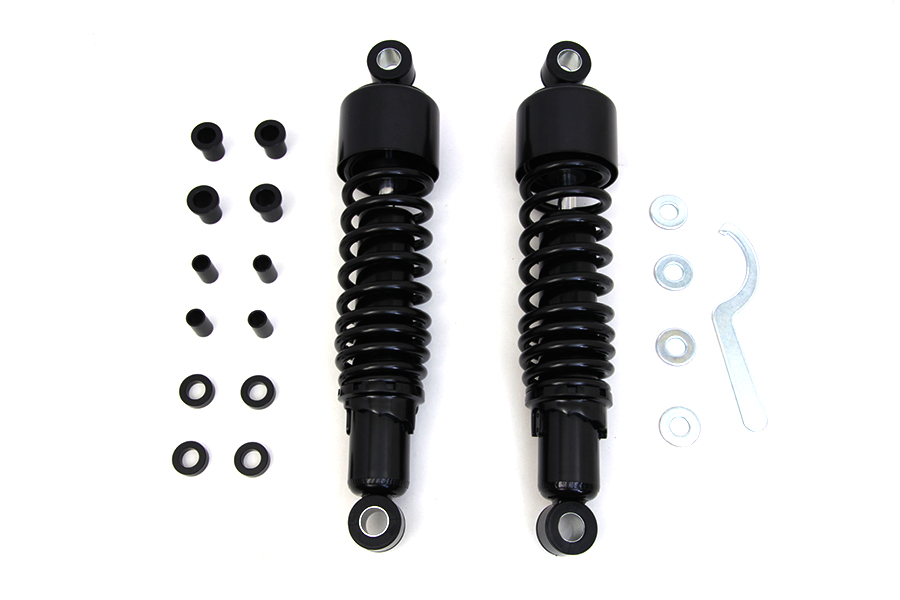
Parts for this job
Check fitment for your own model and year before ordering — add your bike and we will flag what fits.
Other Harley how-to guides
This guide covers procedure and judgement. Torque figures, fluid capacities, gaps and tension settings are specific to your model and year and must come from the factory service manual for your motorcycle — we deliberately do not print numbers we cannot stand behind for your bike. Independent aftermarket retailer, not affiliated with Harley-Davidson, Inc.