 HarleyMotorcycleParts
Electra Glide Classic (FLHTC): First Shock Change on an Older Dresser
On many of these, nobody has ever had the shocks off. Expect stuck hardware and perished air line, and plan for both.
Most how-to videos show a clean shock swap on a low-mile bike. An old Classic is a different animal. Quite often this is the first time anybody has had those shocks off, which means fasteners that have spent years in road grime, and air line that has gone stiff or brittle. Plan as though the bolts will fight you and the hose will crack. A little preparation the night before saves a broken stud.
Tools
- Penetrating oil
- Six-point sockets and a breaker bar
- Wire brush
- Thread-cleaning tools
- Torque wrench
- Frame lift and swingarm jack
- Shock pump
- Soapy water spray
- Service manual
The night before
Clean the mounts with a wire brush and spray penetrating oil on all exposed threads at each end of both shocks. Let it sit overnight. Patience works better than torque here.
While you are down there, follow the air line from its valve to the shocks. Bend it gently. Stiff, chalky or cracked line is coming out regardless of how the shocks are doing, so put a new one on the order along with your shocks, if you plan to keep an air setup.
Order the correct part for this exact bike. Used bikes wander, and a previous owner may have left you a mystery. Rear length differs among Touring models, and an older bike might have anybody's parts on it.
On the day: making it safe to pull hard
Stuck fasteners mean real force, which means the bike must not budge. Take the bags off, then position your lift under the frame, away from the exhaust, and tie the machine down if your lift allows it.
Plan your body position as well. Pull toward you with the tool in a place where a sudden release sends your hand into open air, not into the fender or the exhaust. Wear gloves and eye protection, because flakes of rust fall straight down.
Add the swingarm jack with light contact.
Let the air out at the valve. On a tired system it may already be mostly gone, but check anyway, because the line joining the shocks can still hold pressure. Separate the line at the shocks as your manual shows, working gently, since aged plastic can snap and drop pieces into the fitting.
Breaking the old hardware loose
Use six-point sockets. A twelve-point on a corroded head is how you end up with a round bolt and an expensive afternoon.
Lean into it slowly and evenly. Steady pressure often frees what a jerk would shear. If nothing moves, add more oil and wait, or apply some heat only if you can do that safely away from the rubber, plastic line, paint and fuel. Should you doubt that, skip the heat.
If a fastener shears or threads pull out, stop. That is a repair for the shop, or for your manual and a proper extractor, rather than a reason to carry on.
Shocks off: read the wear
Pull one shock only. Before it leaves your hands, note which way up it was. On older bikes that may not tell you much, because an earlier owner could have done anything, so check the instructions for the replacement instead of copying history.
Expect the bushings to be tired. Look for hardened rubber, cracks and metal sleeves that have moved. Check the mounts for rust pitting, wear and ovaling. Wire-brush the mounting surfaces and chase threads clean with the proper tool, because old rust gives you a false torque reading.
Replace hardware that looks rough. Use the correct grade for the location rather than something from a coffee can; your parts listing identifies what belongs there.
Assembly
Install the first new shock with its upper end started, then bring the lower end into line by adjusting the jack. Run fasteners in by hand to prove the threads are good.
Look up the figure for your year in the service manual and tighten to that. Then move to the other side and repeat everything, including the bushing inspection. Two shocks of the same age seldom wear identically.
Fit your new air line along the original path, away from hot exhaust and anything that moves. Seat each connection carefully.
Leak test and road test
Pump the system up to the setting the manual gives for your load. Spray soapy water on the valve and every connection, and watch for bubbles. Then check pressure again the following morning. A gauge that has dropped overnight means you are not finished.
Replace the bags and get the bike down. Take rider sag with a helper, and adjust as needed.
On a road you know, ride slow. Older chassis often reveal other tired parts once the back end begins working properly, like swingarm bearings or a worn tire, so stay alert to any new shake. Return and check torque again. Repeat after your next long ride, since a cleaned-up old thread can settle.
Mistakes that cost money
- Starting without soaking the fasteners overnight.
- Putting a twelve-point socket on a rusted head.
- Reusing brittle air line because the shocks were the budgeted item.
- Applying heat next to the line, rubber or fuel.
- Assuming a used bike has its original parts on it.
When to stop
If a mounting stud breaks or a thread strips, the bike is finished for the day. A repaired mount has to be sound before any weight goes on it, so get professional help if you are unsure.
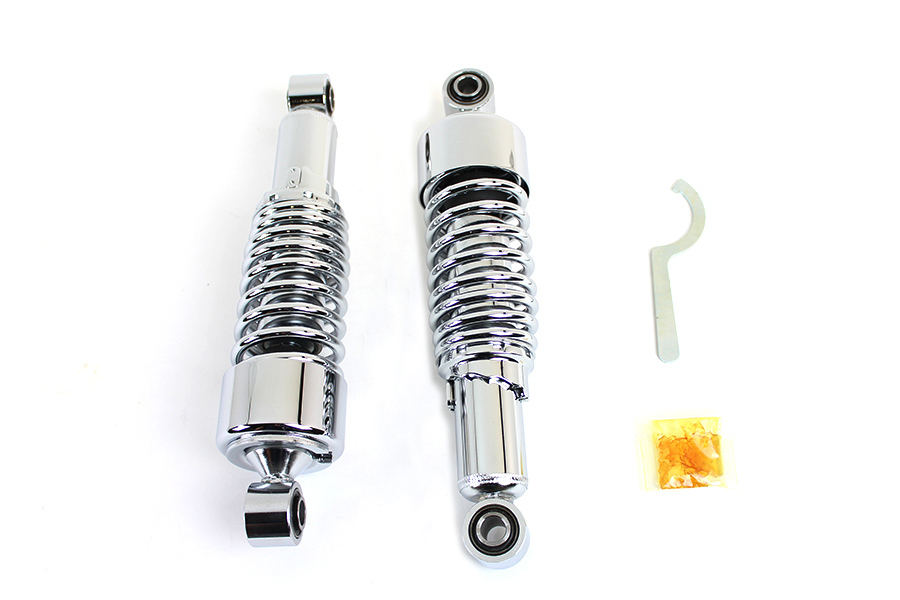
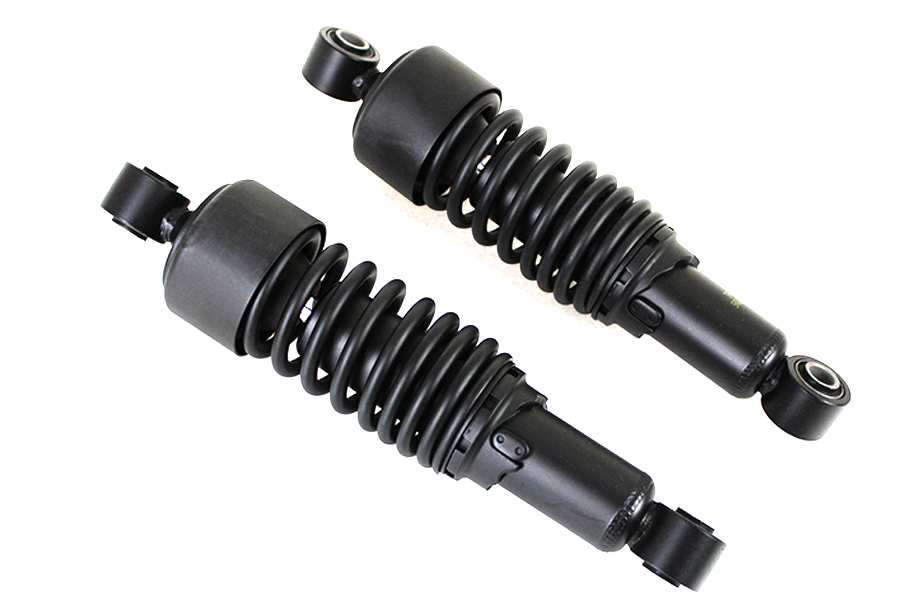
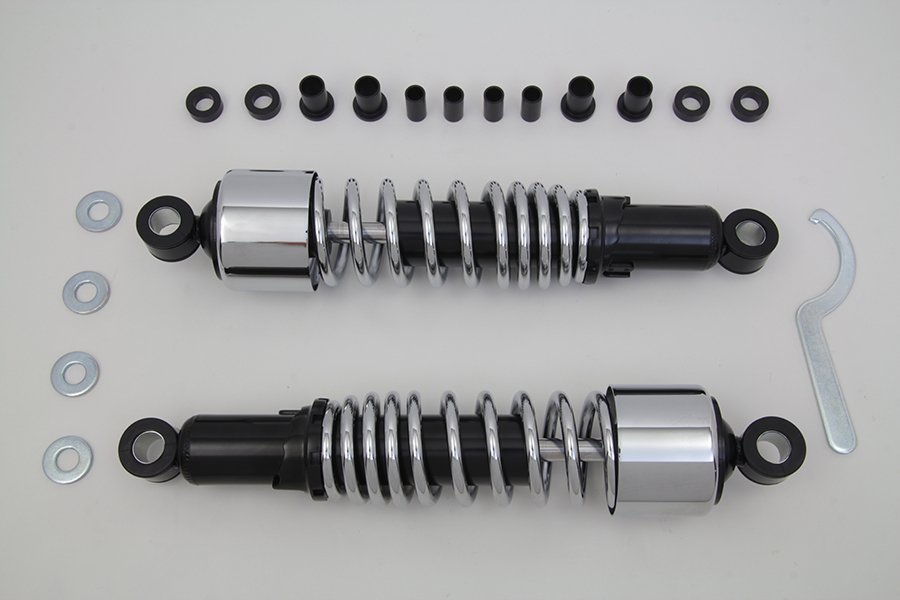
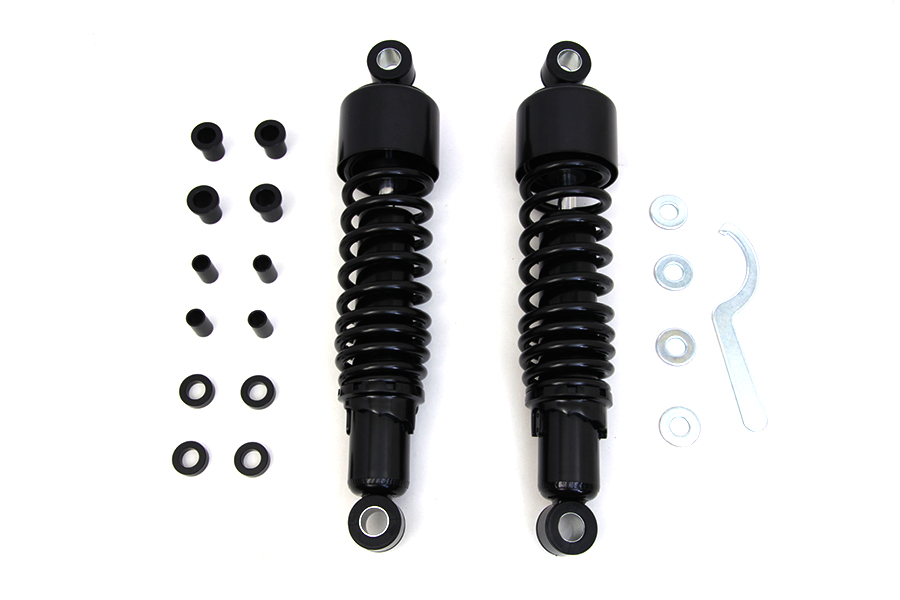
Parts for this job
Check fitment for your own model and year before ordering — add your bike and we will flag what fits.
Other Harley how-to guides
This guide covers procedure and judgement. Torque figures, fluid capacities, gaps and tension settings are specific to your model and year and must come from the factory service manual for your motorcycle — we deliberately do not print numbers we cannot stand behind for your bike. Independent aftermarket retailer, not affiliated with Harley-Davidson, Inc.