 HarleyMotorcycleParts
Softail Deuce (FXSTD): Replacing Shocks You May Not Recognise
Few of these still run stock shocks. Find out what is really under yours before ordering anything.
Parts sellers will list a stock replacement for the Deuce and you might assume it matches what you have. After this many years, few Deuces still wear their original shocks, and you can only know by looking. Its stretched tank and long, low style also attracted owners who changed things. Treat the bike as an unknown and inspect it first.
Tools
- Stand or blocks
- Flashlight and phone camera
- Tape measure
- SAE sockets and Torx bits
- Torque wrench
- Preload spanner suited to the shocks you end up with
- Service manual for your year
Do the detective work
Lie down with a flashlight and a camera, and photograph both shocks from underneath. Look for a maker's name, a part number or a label. Aftermarket units often carry them, and the factory's own look different from a replacement once you compare pictures.
Measure what you can, eye to eye if the shocks are accessible, and note any reservoir or unusual adjuster. A previously fitted lowered or uprated shock will often explain a ride that you put down to wear.
Ask yourself what you want from the swap. Restoring the stock ride and height is a different purchase from going lower, and you cannot tell which you are doing until you know where you are starting from.
Your Deuce belongs to the 2000-2017 group of Softails. Evolution-era shocks from earlier bikes are a different length and are the wrong part, however cheap the listing and however similar the name. For example, one maker lists 227.75 mm eye to eye for the later group and 302.5 mm for the earlier.
Setting up the workspace
Lift with the frame carried on a sound stand or on blocks, stopping when the tyre is just free of the floor. Give the swingarm a prop. It must not drop while you are underneath and busy with a bolt.
That long, low profile places the frame nearer the ground than you would like, so you may wish to get a low creeper and a short ratchet ready. Lay something soft below the bike to catch any dropped tool, and tape over the tank's lower edges if you will be reaching past it.
Look at the transmission bolts. For clearance, they should be in the original factory location. If a builder moved them, sort that before you judge how the new shock fits.
Getting the old pair off
Sketch each end of each shock as you go: what washer sits where, what sleeve goes through what, which way the adjuster faces. Previous fitters do not always follow the book, so your sketch and the manual's picture may disagree. Where they do, the manual wins, but you will want to know why they differ.
Remove the bolts in the order the manual sets out. Keep the two shocks labelled left and right, even though you plan to discard them. Should the new ones feel wrong, those old shocks are your reference.
Reading the mounts
Mounts tell you how the bike has been treated. Wiggle every bushing and look for splits or missing material. Shine a light down each bolt hole and look for ovals. Roll the bolts on a bench and reject any that wobble.
If the previous shocks were a different design, their bushings or sleeves may not suit the new pair, so check what your kit includes and do not reuse leftovers simply because they slide in.
Fitting the replacement pair
Hold each new shock beside the old one first. If you found out earlier that the old ones were non-stock, expect the two to differ, and check the new one against the listing instead.
Raise each into place with its hardware in the correct arrangement. Run bolts in with your fingers. Your manual gives the tightening values, and those are the ones to use. Check each shock swings freely on its mount before final tightening where the design permits, and that it does not press on any cable or line.
Set preload equally on both sides with the spanner that suits the adjuster, and write down the setting. Measure sag with a helper and adjust as needed. Remember that if the ride height changed, your side stand lean may have changed too, which is easy to miss on a long bike.
Road proof
Do your first ride as a test only. Short, slow, attentive. A long, low bike can touch down earlier than you remember if the height has changed, so take your first corners gently.
Stop and check for fluid on the shock bodies and movement at the mounts, then go over all fasteners. Keep your new shocks' paperwork and photos with the bike, so the next person does not have to play detective too. That next person may well be you, years from now.
Mistakes that cost money
- Assuming the fitted shocks are stock.
- Ordering a cheap Evolution-era listing for a 2000-2007 frame.
- Throwing the old shocks out before the new pair is proven.
- Reusing sleeves from a different shock design because they happen to fit.
- Not checking lean angle or side stand after a height change.
When to stop
If you cannot identify what is fitted and the new pair does not match the mounts as described, stop and take photos to a qualified Harley mechanic. A guess at a suspension mount is not worth making.
Parts for this job
Check fitment for your own model and year before ordering — add your bike and we will flag what fits.
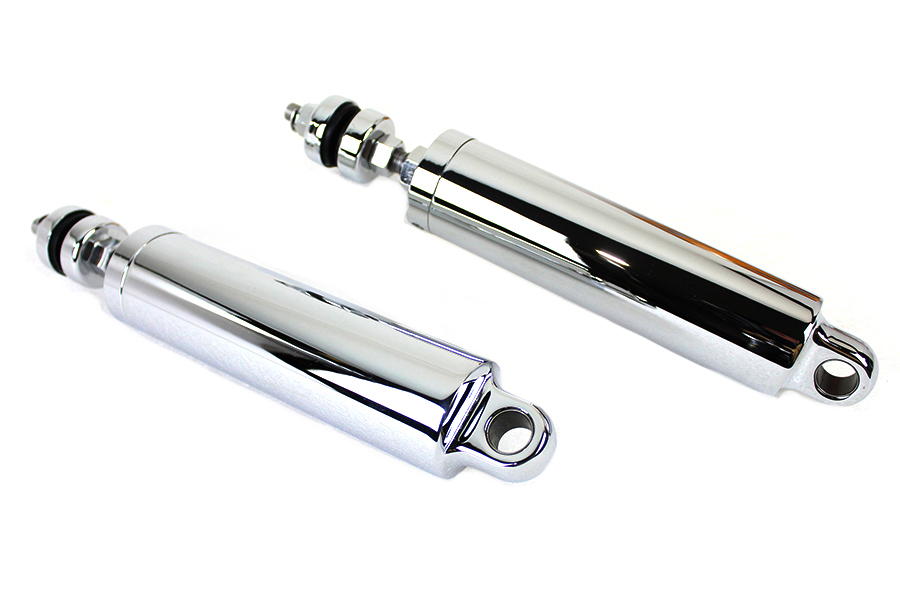
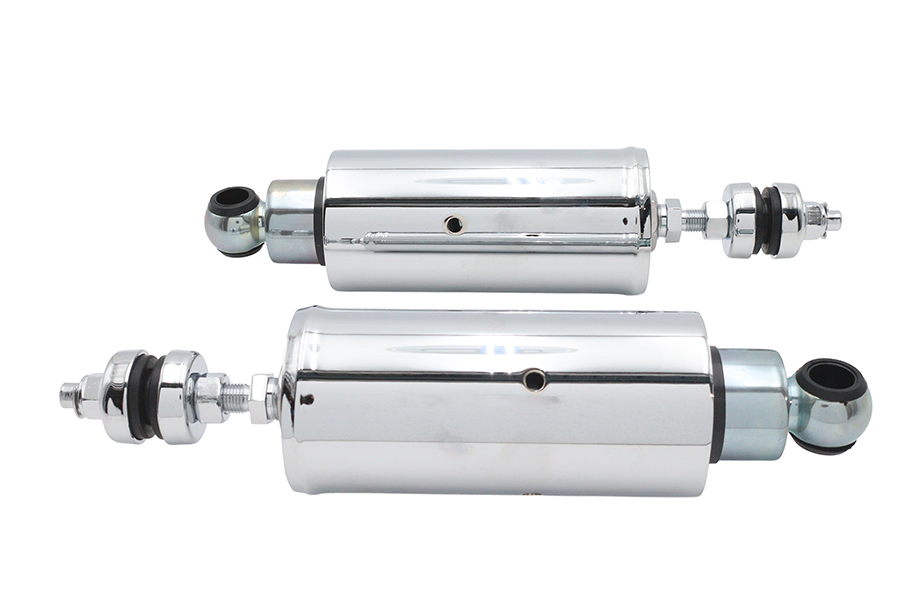
Other Harley how-to guides
This guide covers procedure and judgement. Torque figures, fluid capacities, gaps and tension settings are specific to your model and year and must come from the factory service manual for your motorcycle — we deliberately do not print numbers we cannot stand behind for your bike. Independent aftermarket retailer, not affiliated with Harley-Davidson, Inc.