 HarleyMotorcycleParts
Replacing the Shocks on a Heritage Classic (FLSTC or FLHC)
A bagger on a Softail frame. What you carry should pick the shock, and the bags come off first.
People shop for Heritage shocks as if they ride alone with empty bags, then wonder why the bike wallows on holiday. This is a Softail that carries luggage and a passenger, so honest load figures matter before any brochure. Note also that FLSTC runs two hidden shocks and the later FLHC runs one. Know which is yours.
Tools
- Stand or blocks
- Blanket or padded bench for the bags
- SAE sockets and Torx
- Torque wrench
- Tape measure and helper for sag
- Preload tool for your adjuster
- Service manual
Write down your real load
Before you browse, add it up: you in full gear, your usual passenger, what goes in the bags. A shock rated for a solo rider will never suit a bike that often goes out two-up with packed bags, whatever preload you dial in.
Remember what preload can and cannot do. It sets where the bike sits in its travel. It leaves the spring's stiffness exactly as it was. If you need more spring, adjusting will not supply it.
Ask the shock seller what rider and load range a given spring suits. If they cannot tell you, keep looking.
FLSTC or FLHC
Your paperwork should carry the code. Back that up by peering beneath the gearbox: an FLSTC has its two dampers lying flat under there, out of sight from a standing position. An FLHC has an empty look down there, since its one unit sits beneath the seat.
Early twin-shock owners also have to establish Evolution or Twin Cam, as these eras differ in shock length and cannot be swapped. Late bikes share no suspension parts with either.
Bags off, carefully
Empty them and remove them according to your manual. Lay leather ones on a blanket, with nothing resting on them, and keep the mounting hardware in one marked container. The bags are the first thing on this job, because they block your light and your elbows.
With them gone, take a moment to examine the bag supports for loose fasteners and the rear fender for scuffs. You will rarely get a clearer view of that area.
Scuffs on the inner fender matter on a bike with this history. A rear that has been hitting its limit under luggage leaves marks long before the rider admits there is a problem. Photograph anything you find, so you can check after the swap whether those marks have stopped growing. Then wipe the area clean, because fresh contact is far easier to spot against clean paint than against road film.
Take a look at how the bag hardware sits while you are in there as well. Bolts that have worked loose under a loaded bag point to vibration or bottoming, and they need tightening to the manual's value before the bags go back on.
Removing a twin-shock set
Lift until the tyre barely leaves the floor, on a stand or blocks that cannot wander. Support the swingarm.
Crawl under and record how things go together: adjuster position, spacers, sleeves. Confirm the gearbox bolts remain in factory position, because that decides whether a shock clears. Loosen the mounts as listed in the manual and lower each unit out with both hands.
Any early bike with remote reservoirs wants its own correct bushings and sleeves, so have them to hand.
Removing the FLHC monoshock
After the rear is secure, lift off the seat. Your manual's sequence covers what else must shift, which often includes parts around the battery tray and at the side of the bike. Disconnect nothing you have not photographed.
Whatever preload adjuster you find, leave it alone until you have read about it. Some are a threaded collar, some a screw, some a remote knob. Do not try to separate spring and body yourself without a proper compressor, as that spring is held under force.
Inspect, fit, set for load
Bushings get tired fastest on a bike that has spent years loaded up. Press them with a thumb, look for cracks, and replace any that have gone hard or loose. Inspect the mount holes and bolts as well. Bent bolts go in the bin.
Fit the new parts in the arrangement you recorded and turn each bolt by hand first. Tighten to the shop-manual figure for your model year. There is no universal number across these eras.
Now measure sag with you and your passenger aboard, then again solo. A setting for one will not be right for the other, so note both on a card you keep with the bike.
Refit the bags. Then ride, first empty, later with the real load on the same road, and listen for knocks. Go back over the fasteners after that first loaded trip. Check tyre and fender clearance afterwards too, because a loaded bike reaches parts of the travel a solo ride never does.
Mistakes that cost money
- Choosing a shock by looks and ignoring the passenger and luggage.
- Expecting preload to stiffen a spring that is simply too soft.
- Setting sag solo on a bike usually ridden two-up.
- Working around the bags to save ten minutes and marking the leather.
- Skipping the second check of the fasteners after a loaded ride.
When to stop
If sag cannot be brought into the range your manual or the shock maker gives with your normal load aboard, the spring is wrong for the job. Do not ride it two-up with bags while you decide.
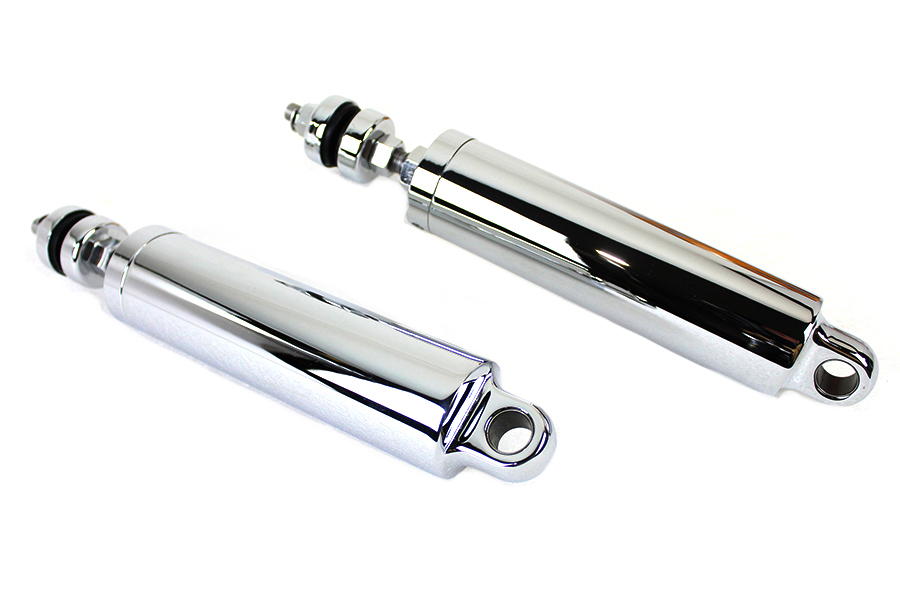
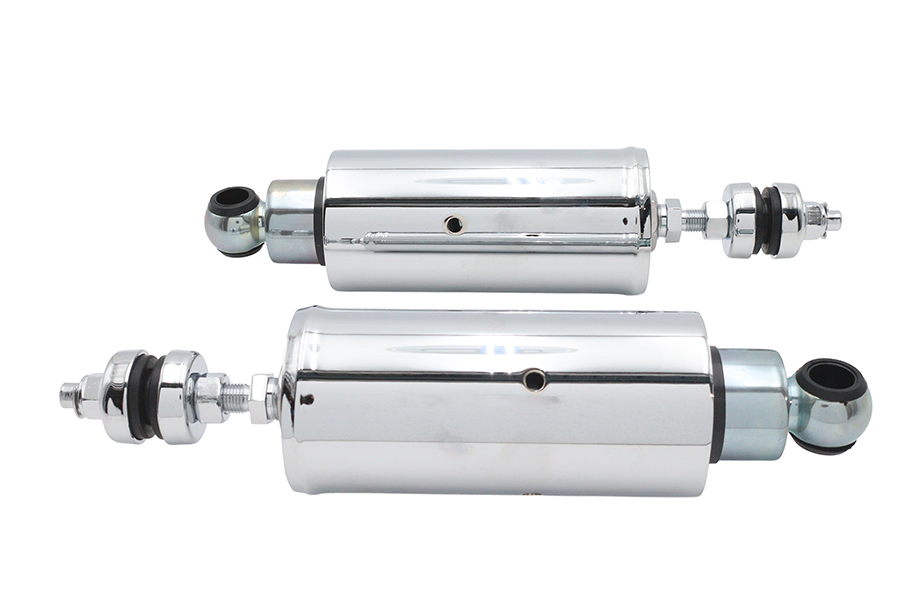
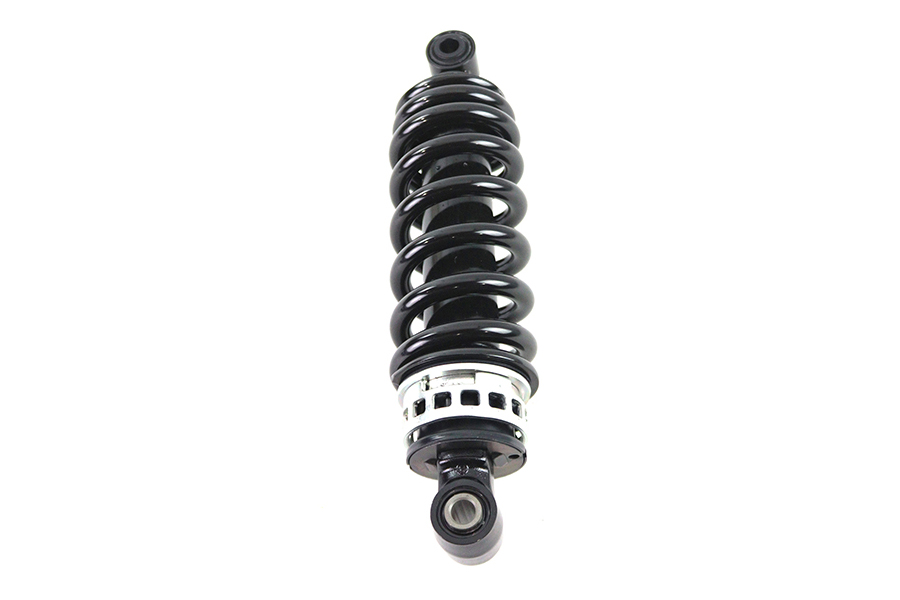
Parts for this job
Check fitment for your own model and year before ordering — add your bike and we will flag what fits.
Other Harley how-to guides
This guide covers procedure and judgement. Torque figures, fluid capacities, gaps and tension settings are specific to your model and year and must come from the factory service manual for your motorcycle — we deliberately do not print numbers we cannot stand behind for your bike. Independent aftermarket retailer, not affiliated with Harley-Davidson, Inc.