 HarleyMotorcycleParts
Fat Boy Rear Shocks: FLSTF Twin Units and FLFB Monoshock
Those solid disc wheels make this a heavier, blinder job than the same swap on a spoked Softail.
Most Fat Boy owners blame the shocks for a dead rear end before they have checked which of two Fat Boys they own. FLSTF means twin shocks low in the frame. FLFB, from 2018, means one monoshock under the seat. Those solid-disc wheels add another catch: you cannot look through them, so the rear hides what a spoked bike shows.
Tools
- Stable lift or stand rated for the bike
- Blocks and wood for swingarm support
- SAE and Torx sockets
- Torque wrench
- Bright work light
- Preload tool to suit your shock
- Service manual
Read the code on your paperwork
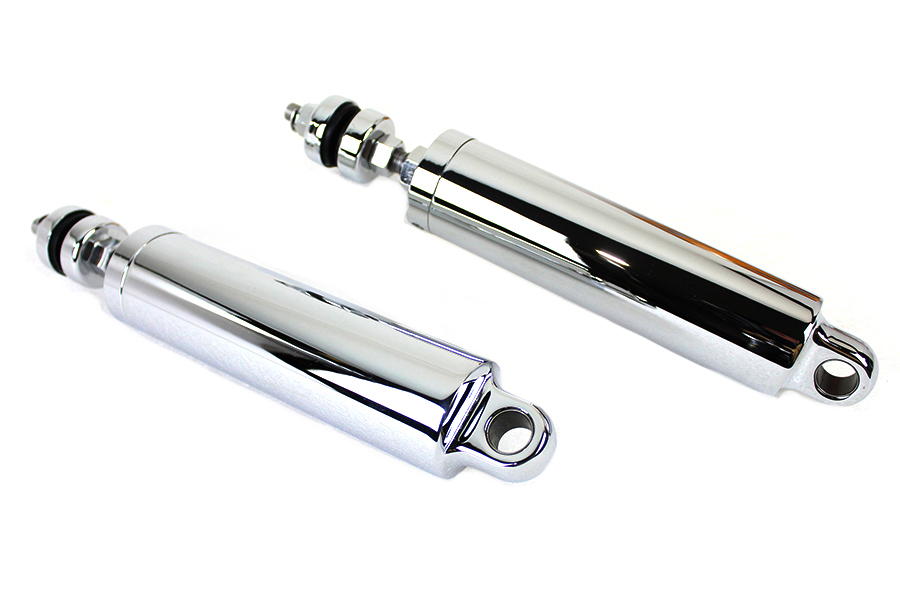
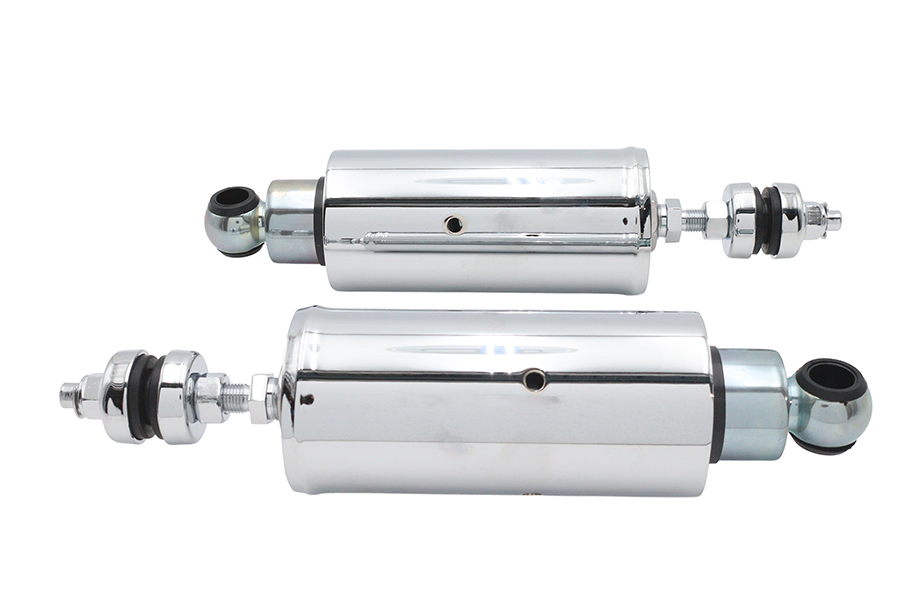
FLSTF and FLFB share a silhouette and very little else below the paint. Check your registration, then look: pairs of horizontal cylinders beneath the gearbox belong to the older frame. If that space is empty, the suspension unit lives under your saddle.
An older FLSTF also needs sorting by era, because Evolution frames (1984-1999) and Twin Cam frames (2000-2017) use different lengths. Buying for the wrong decade is an expensive way to learn that.
Before ordering, press down hard on the seat a few times with the bike off its stand, then watch how the rear comes back. It should rise once and settle. Repeated bobbing, oil on a shock body or a loud knock each give you something specific to tell a seller, and they also help you confirm the fix afterwards. A vague 'it feels dead' does neither, and a heavy bike can feel dead simply because the preload was never set for its rider.
Getting a heavy rear off the ground
Those big fenders and disc wheels put noticeable mass at the back, and it swings when a stand is not centred. Roll the bike onto level concrete and have someone steady the bars while you raise it.
Only unload the wheel. A sliver of daylight beneath the tyre is the target on either chassis. Too much height just leaves the swingarm drooping and pulling at the mounts.
Place a block or a padded jack beneath the tyre once it is up. That wheel weighs enough to fall with real force the moment a mount is freed, and it will not politely wait for your fingers to move.
Because you cannot sight through a disc wheel from the other side, a work light on the far side of the bike will not help. Move yourself and the light together, and check each side separately rather than assuming what you saw on the left is true on the right.
FLSTF removal
You are working from below, on your back, so slide a piece of cardboard under the bike and keep the tools within reach. Photograph how each shock lies and the order of any washers or sleeves.
Confirm that the transmission mounting bolts sit where the factory put them, since shock clearance depends on it. Then take off the mounting hardware in your manual's order. Support each unit as its last bolt comes free.
FLFB removal
Seat first. Your manual then tells you how much around the battery tray and the side of the bike has to be moved. It can be more than you would guess, so read the section through before you start, and bag and label the fasteners as they come out.
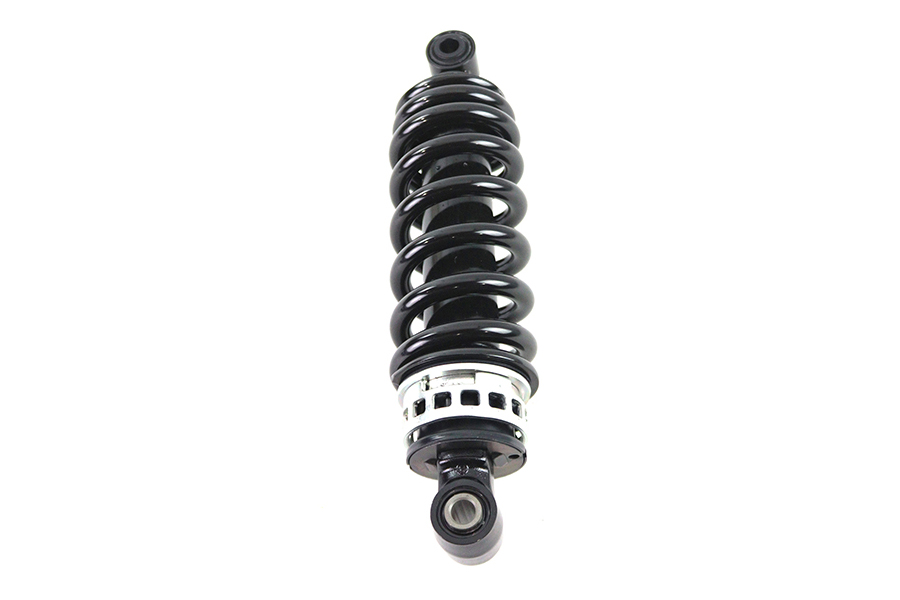
Look at the adjuster on your own shock and read its description in the manual. Across these bikes it may be a collar, a screw or a remote knob, and the job of protecting it differs. A remote line must not be kinked or left hanging by its fitting.
Never try to strip the spring from the body at home. There is stored force in it, and that calls for the proper compressor.
Look before you bolt in
Hold the old shock next to the new one. Eye spacing and mount style should tell the same story. If they differ, phone the seller before going further.
Inspect bushings for cracks, wear and movement. Roll each bolt on a flat surface to spot a bend. Run your fingertip around each mount looking for elongation. A worn mount will knock under a brand-new shock and you will wrongly think the new part is at fault.
Now do the awkward thing: run your light along the inside of the fender and look for rub marks. On this bike they are easy to miss, and they prove bottoming happened.
Bolting up and riding out
Hand-start all hardware. Bring the bolts up gradually, and finish to the values listed in the shop manual for your year, not to feel.
Roll the bike down, set your preload and measure sag with a helper. Make sure the tyre has clearance everywhere you can inspect.
Keep the first ride short and quiet. Listen for clunks over small bumps, then stop and go over every fastener again. Do it once more after your first real outing.
Mistakes that cost money
- Treating FLSTF and FLFB parts as the same because the bikes look alike.
- Letting the disc wheel drop when the mount comes free.
- Assuming one side's condition from a look at the other.
- Blaming the new shock for a clunk from a worn bushing.
- Tightening by feel on a job with published figures.
When to stop
If the bike moves at all on its stand while you are working, get out from under it first and sort the support afterwards. On this heavy rear end, nothing else in the job matters until that is solid.
Parts for this job
Check fitment for your own model and year before ordering — add your bike and we will flag what fits.
Other Harley how-to guides
This guide covers procedure and judgement. Torque figures, fluid capacities, gaps and tension settings are specific to your model and year and must come from the factory service manual for your motorcycle — we deliberately do not print numbers we cannot stand behind for your bike. Independent aftermarket retailer, not affiliated with Harley-Davidson, Inc.