 HarleyMotorcycleParts
Electra Glide Standard (FLHT): Do Not Over-Spec Your Rear Shocks
Your stripped dresser carries less behind the axle than an Ultra. Buy for what you actually load, or live with a harsh ride.
A dresser is a dresser, so the thinking goes, and the shock that suits a loaded Ultra will surely suit this one. It will not. The Standard is a stripped, police-style bike with no Tour-Pak, carrying far less behind the axle. Fit a kit designed for a fully loaded tourer and you may well end up with a rear that barely moves. Owners then pay twice to fix a ride they caused themselves.
Tools
- Common hand tools and sockets
- Torque wrench
- Frame lift or stand
- Swingarm support
- Air pump on older bikes
- Tape measure
- Service manual
A lighter tail needs an honest order
Over-specifying is rarely discussed, because everyone worries about the opposite. But a spring too strong for the load does not use its travel. The wheel skips over small bumps rather than following them, and the seat passes every ripple up your spine.
Figure out your own load: your weight in gear, the bags as you really use them, and any passenger you seriously carry. Then read the maker's stated range. Choose the kit whose range your number falls inside, with no extra capacity 'just in case'.
Length needs checking too. Standard and low Touring bikes have different figures, so match your exact code and year.
Try the free fix
If the existing ride feels harsh, check whether too much air or preload is the real culprit. Previous owners of these bikes often set them up for loads that are long gone. Excess preload makes a bike ride high and skittish.
There is a useful check for the rider who still suspects too much spring. Sit on the bike parked and bounce gently. A healthy rear moves freely and returns without fuss, while one that barely reacts under your full weight is working against you. It is not a measurement, only a clue, yet it costs nothing. Write down what you found, along with your air or knob setting, so that you can compare after the work is finished and the bike has been ridden.
With the help of a friend, measure sag. Use the same two points each time, axle to a fixed point above, once with the rear wheel hanging and once with you aboard in gear. Your manual provides the target. Air bikes get adjusted with a shock pump, a little at a time. M8 bikes usually offer a knob on the left. Set this correctly, ride, and only then decide if you still want new shocks.
Laying out the job
Remove the two saddlebags. With nothing on top behind the seat, this is about all the stripping you will need, and it is one of the few real perks of owning the stripped version.
Lift from the frame, keeping pads away from the exhaust. Once stable, move a jack under the swingarm and just make contact.
For older bikes, purge the air at the common valve. The line serves both shocks, so it has to come off before either of them does. Plug it. Note where it was clipped.
If you are doing a 2014-2016 bike, look specifically at how the right shock sits. Some are reported to have been installed upside down at the factory, and Harley's bulletin M-1386A deals with that. A photo now answers questions later.
Replacing each shock
Loosen the bottom of the first shock, followed by its top, and remove it. Arrange the spacers and washers on your bench in the sequence they came off.
Now give the mounting points your attention. Shake each bushing. Reject anything cracked, hardened or rattling loose. Check the swingarm and frame points for ovaling and the threads for damage.
Hold the new shock up to the bike the way its instructions show. Secure the upper end by hand, then raise or drop the jack until the lower end meets its hole. The bike should tell you when it is right; nothing needs to be forced.
Find the correct torque in your manual for this generation. Tighten carefully, then switch over and repeat for side two. Keep one shock bolted up until the other is finished.
Did you get what you ordered?
Reinstall the bags and reconnect anything you removed. On an air bike, pressurize slowly to the figure for your actual load, and watch for leaks.
Once the bike is down, measure rider sag again. If you cannot reach the target range without backing off all of the adjustment, you may have too much spring, which tells you the same thing a harsh ride will tell you later.
Go find a coarse road, rather than a big pothole. Small repeated ripples show up over-spec faster than a single hit does. The back should move, and the tire should stay in touch. Then check the fasteners on your return and again after a few hundred miles.
Mistakes that cost money
- Buying an Ultra-load kit for a bike with no Tour-Pak.
- Adding capacity just in case.
- Leaving a former owner's air or preload settings in place.
- Judging only on big hits instead of small ripples.
- Forgetting the air line before unbolting a shock.
When to stop
A rear wheel that skips over ripples has lost grip, and that includes under braking. If yours does that after the swap, treat it as a problem to solve, not a firm ride to get used to.
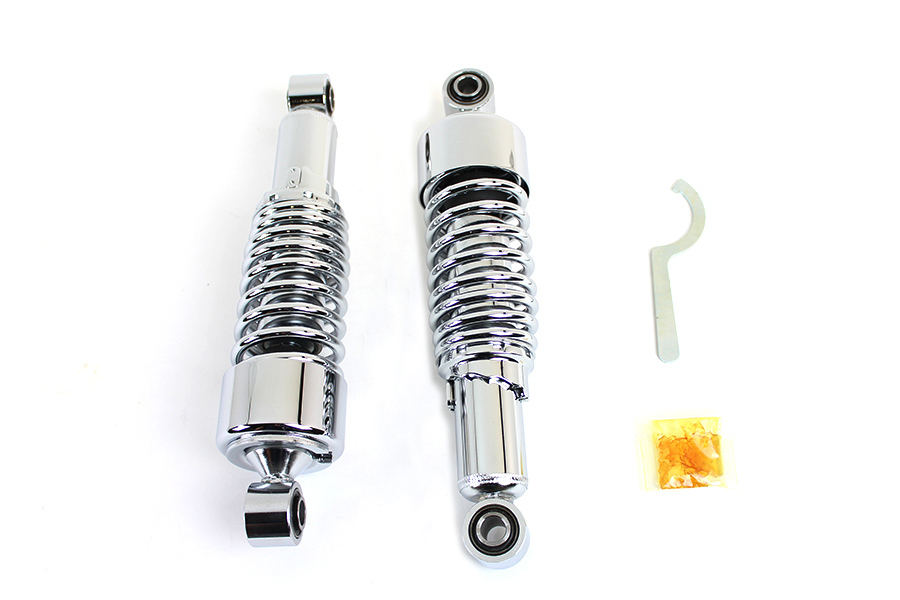
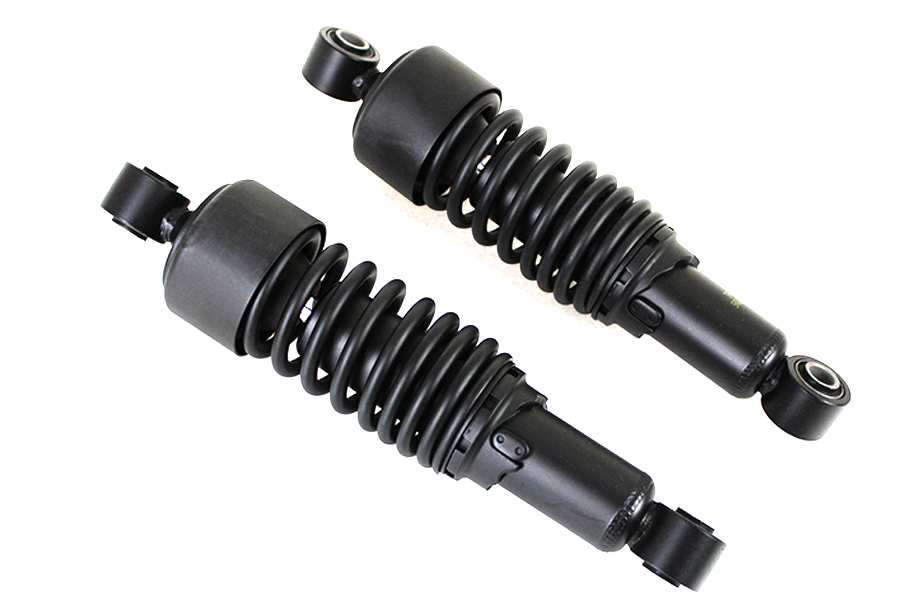
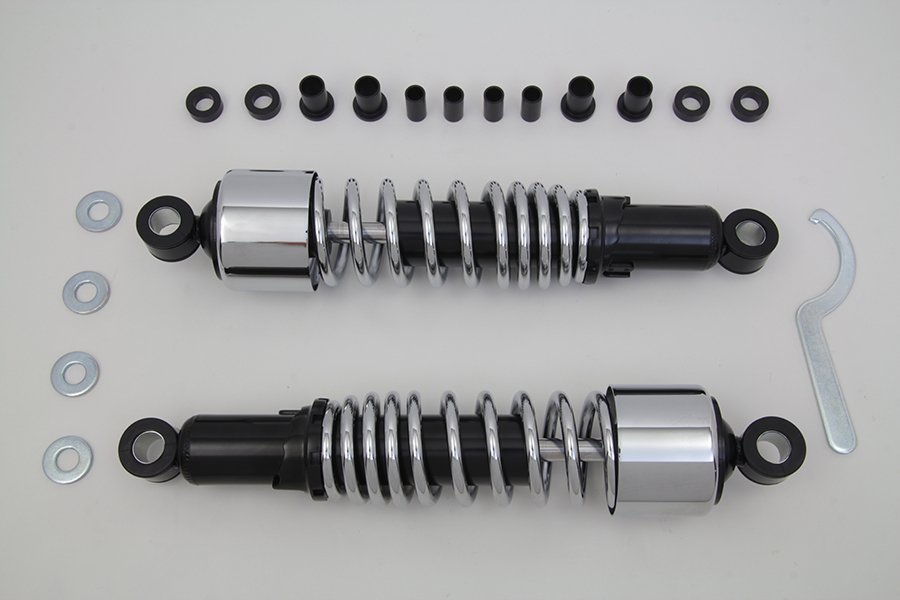
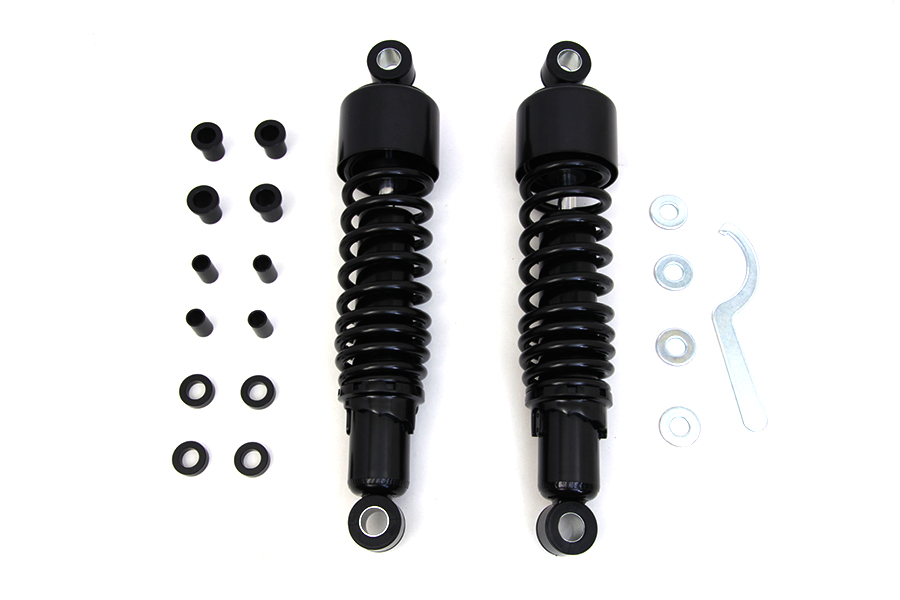
Parts for this job
Check fitment for your own model and year before ordering — add your bike and we will flag what fits.
Other Harley how-to guides
This guide covers procedure and judgement. Torque figures, fluid capacities, gaps and tension settings are specific to your model and year and must come from the factory service manual for your motorcycle — we deliberately do not print numbers we cannot stand behind for your bike. Independent aftermarket retailer, not affiliated with Harley-Davidson, Inc.