 HarleyMotorcycleParts
Softail Deluxe Primary Chain: Draining, Inspecting and Replacing on a Low Bike
The Deluxe sits low with floorboards, and the drain pan barely fits. Plan the mess, then read what the fluid tells you.
If you are hunting for the rear chain on your Deluxe, there is not one; the rear wheel turns on a belt. The chain you replace is the primary, inside the left-hand case, running in primary fluid between the engine sprocket and the clutch. The Deluxe makes this job messier than it should be for one simple reason: it sits so low, with floorboards over the case, that a normal drain pan has very little room under the primary.
Tools
- Service manual for your year
- Low-profile drain pan or a cut-down container
- Funnel with a flexible spout
- Shop rags and absorbent mat
- Primary locking tool
- Torque wrench
- Threadlocker per the manual
- New primary gasket or seal
- Specified primary fluid
Which tensioner you have
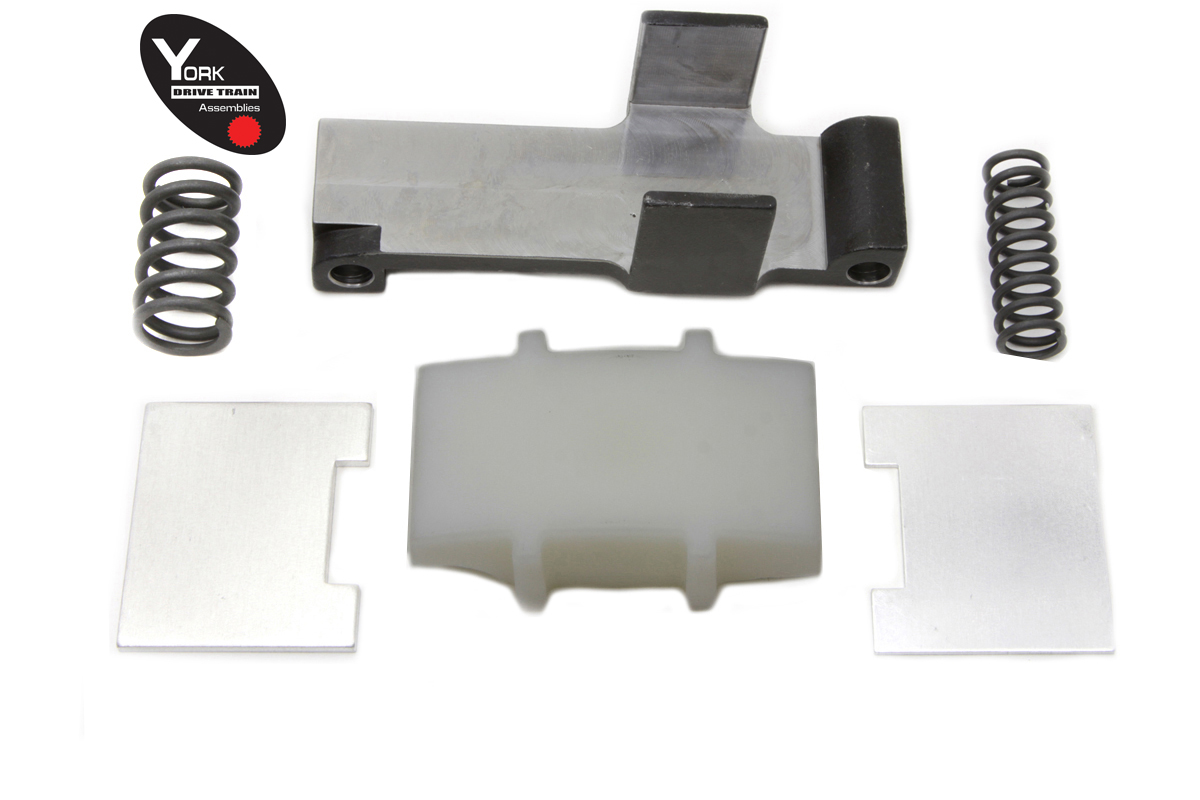
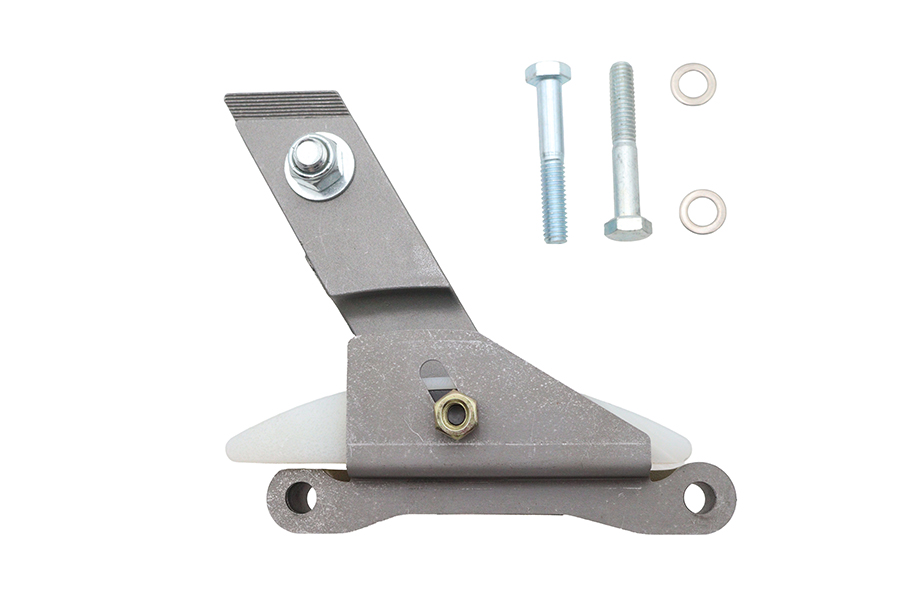
Look at the year. The bulk of Deluxes on the road are 2007-up, and those have an AUTOMATIC tensioner: spring-loaded, hydraulic, no routine adjustment. The 2018-up M8 Deluxe is automatic too. A Deluxe built before 2007 has the older MANUAL adjuster, a nylon-faced shoe set with a locknut.
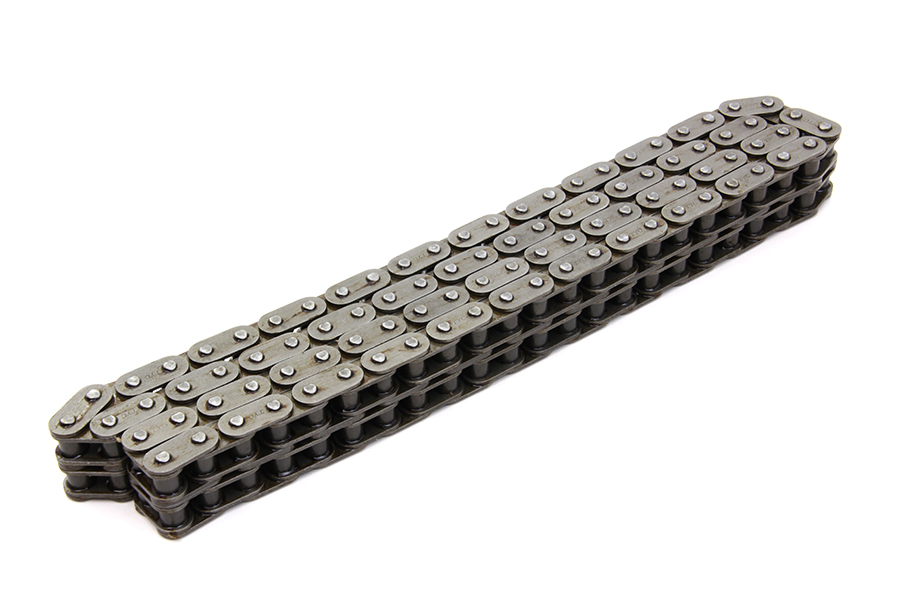
So for most owners, this is an inspection-and-replacement page, not an adjustment one. Our catalogue lists a 92-link chain for FLST/FXST 2007-up and an 82-link for FXST/FLST 1984-2006; check either against your manual.
Beating the low clearance
Put the bike on a lift or stand if you have one. Raising it even a little turns the drain from a fight into a routine job. If you are working on the kickstand, a shallow pan, or a plastic container cut down to slide under the case, is worth making before you start.
Lay an absorbent mat beneath everything. Primary fluid running across a floor and under a whitewall tyre is a mess you will still be cleaning next week. Have the funnel ready before the plug comes out, because refilling is just as awkward as draining on this bike.
Remove the floorboard before you drain, not after. With the board on, fluid runs down its underside and drips off its edges in places your pan is not. With it off, you can see the plug, angle the pan and watch the stream the whole time.
Keep fluid away from the rear tyre
This is the part of the Deluxe job that can hurt you. Any primary fluid that finds its way onto the rear tyre or the brake parts makes them slippery, and on a low bike with a tight space between case and wheel, splashes travel further than you think.
Cover the rear tyre with a rag or plastic sheet while you drain and refill. When the job is done, clean anything that got splashed with a degreaser suitable for tyres and brakes, and look again in daylight. If fluid has reached the tyre tread or the brake, clean it fully before the bike moves under its own power.
What the old fluid says
Drain into a clean pan so you can actually see what comes out. Fluid that is dark but free of particles is ordinary. Fluid with a metallic shimmer, or a drain plug magnet bristling with flakes, says something in the case is wearing hard.
Combine that with what you hear. A left-side slap at idle that changes when you pull the clutch lever, or a jerky take-up when you move off, plus a dirty magnet, is a primary asking to be opened. If the clunk is at start-up or shutdown rather than at idle, the compensator is a suspect too. It is a separate fault; do not diagnose it by guesswork.
Inspection on an automatic Deluxe
With no adjustment to make, you are judging wear. The shoe is the key part: grooving deep into its face means it has been working hard against a slack chain. Look over the chain for damage at the same time, using the access the manual gives for your year.
A worn shoe on a high-mile bike leaves two choices. Replace the worn parts, or fit a manual-adjuster conversion so you can set slack yourself. Our catalogue lists 18-8328 for FXST/FLST 2007-2017 and the Ultima 18-1763 for FXST/FLST 2018-up M8 Softails.
A Deluxe is usually ridden as a comfortable cruiser, often two-up, rather than launched hard, so heavy shoe wear on one is worth taking seriously. It may point to a tensioner that is not doing its job, or to a primary that has run a long time on tired fluid.
Slack on an early manual bike
Remove the chain inspection cover and check free play against the manual's figure. It gives a COLD and a HOT value; use the right one for the engine.
Select top gear, rotate the engine with the rear wheel and check several spots. Set it at the TIGHTEST one. Loosen the locknut, move the shoe, re-lock and recheck. A shoe at the limit of travel with slack still out of spec means a stretched chain.
Replacing chain, sprocket and basket
Battery negative off before anything. With the fluid already drained, remove the left floorboard and the shifter linkage as needed. Mark the shifter on its shaft first. Then take off the outer primary cover; plan on a new gasket or seal, of the type the manual calls for.
Release or retract the tensioner using the manual's retaining method. Lock the primary with a sprocket locking tool or wedge, then loosen the compensator nut and the clutch hub nut. The clutch hub nut on a Big Twin is LEFT-HAND thread.
The factory chain is endless, so the engine sprocket, chain and clutch basket come off as one. Watch the alternator rotor behind the compensator. Its magnets will grab tools.
Reassemble with new parts, apply threadlocker and torque to the manual's values, and reset the tensioner or set the adjuster at the tight spot. Fit the cover with its new gasket and refill with the correct primary fluid to the manual's level. That flexible funnel earns its place now.
Before the first ride
Refit the floorboard and shifter on your mark. Check clutch adjustment; the job disturbs it. Wipe the case dry, start the bike and let it idle, then look underneath with a torch for any weep at the drain plug or cover.
Ride gently through every gear and check again for leaks once you are back. On the rare manual-adjuster Deluxe, recheck slack cold after the first few rides.
Mistakes that cost money
- Starting the drain without a pan that fits under the low case.
- Wiping the drain plug magnet clean before reading what is on it.
- Looking for an adjuster on a 2007-up automatic-tensioner Deluxe.
- Turning the left-hand-thread clutch hub nut the wrong way.
- Overfilling or underfilling because the level was guessed instead of taken from the manual.
When to stop
If the drained fluid is full of metal or the shoe is worn into its backing, park the bike until the primary is repaired. Riding on it risks the chain, the sprockets and the case itself.
Parts for this job
Check fitment for your own model and year before ordering — add your bike and we will flag what fits.
Other Harley how-to guides
This guide covers procedure and judgement. Torque figures, fluid capacities, gaps and tension settings are specific to your model and year and must come from the factory service manual for your motorcycle — we deliberately do not print numbers we cannot stand behind for your bike. Independent aftermarket retailer, not affiliated with Harley-Davidson, Inc.