 HarleyMotorcycleParts
Softail Slim Primary Chain: Check the Cover Before You Order the Parts
Lots of Slims already wear aftermarket derby or primary covers. Find out what is fitted before you buy a gasket, then do the chain job.
Searching for the Slim's rear chain? It runs a belt. The chain inside your Slim is the primary, in the left case, connecting engine to clutch in an oil bath of its own. The Slim's catch is cosmetic: many have been fitted with aftermarket derby or primary covers. Order a factory gasket for a cover that is not factory and the job stops halfway with the fluid already drained.
Tools
- Service manual for your year
- Phone camera
- Drain pan
- Primary locking tool or wedge
- Torque wrench
- Specified threadlocker
- Gasket or seal matched to the cover actually fitted
- Correct primary fluid
Identify the bike and the cover
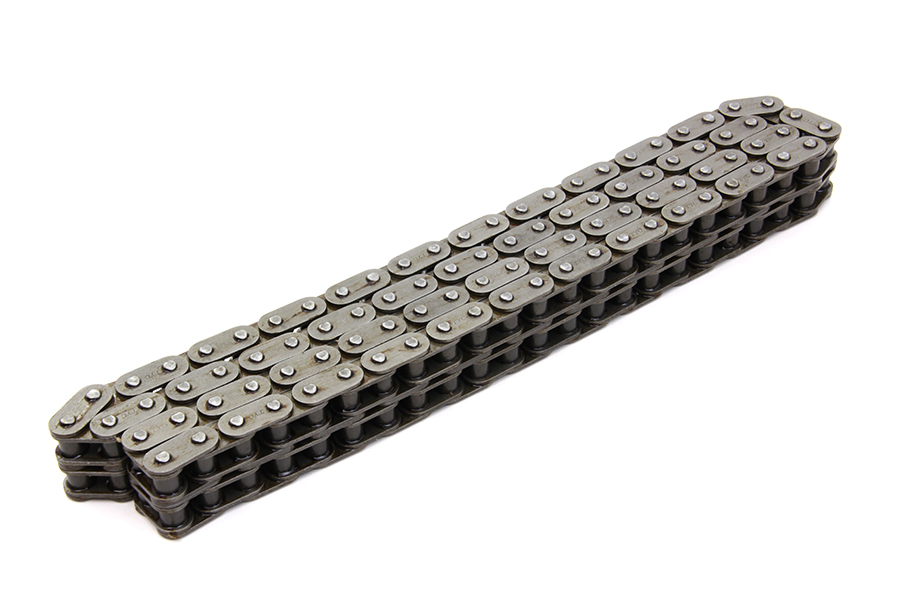
Both Slim chassis use an automatic tensioner, so there is no routine slack adjustment. Confirm your year, because the Twin Cam and M8 bikes take different parts. Our catalogue lists a 92-link chain for FLST/FXST 2007-up; check it against your manual.
Then look hard at the cover. Is there a brand name, a different finish, a pattern the factory never offered? Photograph it from several angles. If you bought the bike used and the cover is not obviously stock, assume it is not until you know otherwise.
An aftermarket cover may need its own gasket or seal, and in some cases its own hardware. The time to discover that is before the drain plug comes out.
Ask the seller or previous owner if you can. A receipt or a box in the garage that names the cover maker answers the question in a minute. If nobody knows, contact the cover's maker with your photos, or plan to remove the cover first, read any markings on its back, and order the gasket before draining.
The same goes for the derby cover alone. A Slim can have a stock primary cover with an aftermarket derby cover on it, and the derby cover's seal is its own part. Know which cover you are opening.
Working low on a bobber
The Slim sits low, so the primary is close to the floor and you will be working at an awkward height. A lift makes the job far kinder to your back and gives the drain pan room. If you do not have one, a creeper or a thick mat to kneel on is worth finding before you start.
Make sure the bike is secure before you put any force through a breaker bar. Loosening the compensator and clutch hub nuts takes real effort, and a bike rocking on its kickstand while you heave on it is how Slims end up on their side.
When the primary needs attention
The usual signals: a slap or rattle from the left at idle that changes as the clutch lever comes in, jerky take-up from a standstill, and flakes on the drain plug magnet. Once the cover is off, a shoe grooved deep into its face finishes the argument.
If the noise is a clunk as the engine starts or stops, the compensator is a possible cause. It is a related part in the same case, and this page does not attempt to diagnose it.
Inspecting the shoe and chain
Inspection is the routine job on a Slim. Check shoe wear and chain condition using the access your manual shows. Compare against the manual's wear limits rather than eyeballing it and hoping.
If the bike has an aftermarket cover, the access the manual describes may not be there in the same form. Some decorative covers do not have the same inspection openings as stock. That can mean the full cover has to come off just to look, so plan your fluid and gasket accordingly.
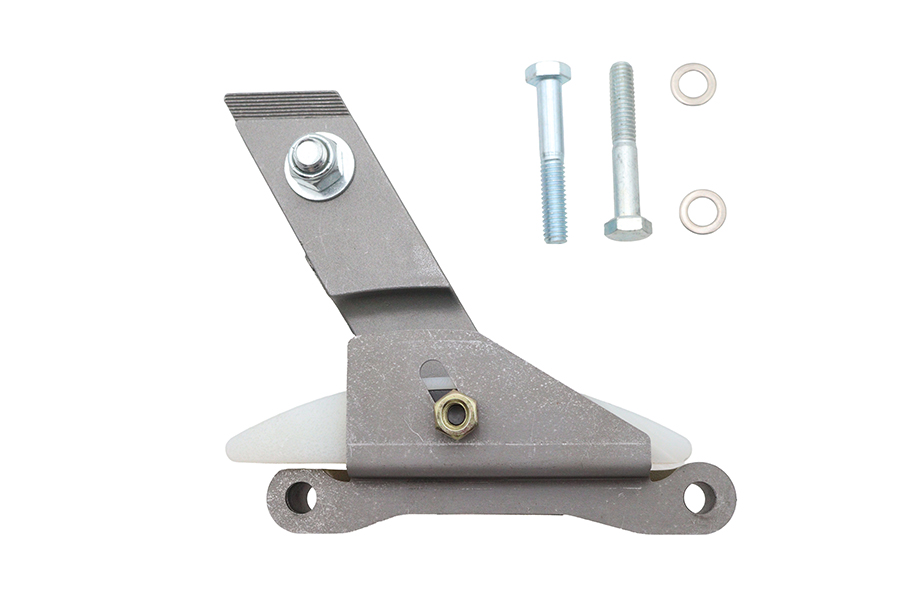
If you want an adjuster you can set yourself, conversion kits exist. Our catalogue lists 18-8328 for FXST/FLST 2007-2017 and the Ultima 18-1763 for FXST/FLST 2018-up. A manual adjuster means checking slack at the tightest spot, cold or hot per the manual, as part of your service routine from then on.
Opening the primary
Disconnect the battery negative and drain the primary fluid. Move whatever left-side controls block the cover on your bike, marking the shifter position on its shaft before it comes off.
Remove the cover, aftermarket or not, and keep its fasteners in order. Aftermarket covers sometimes use bolts of different lengths in different holes; a photo of the bolt pattern before you undo them saves a cracked case later.
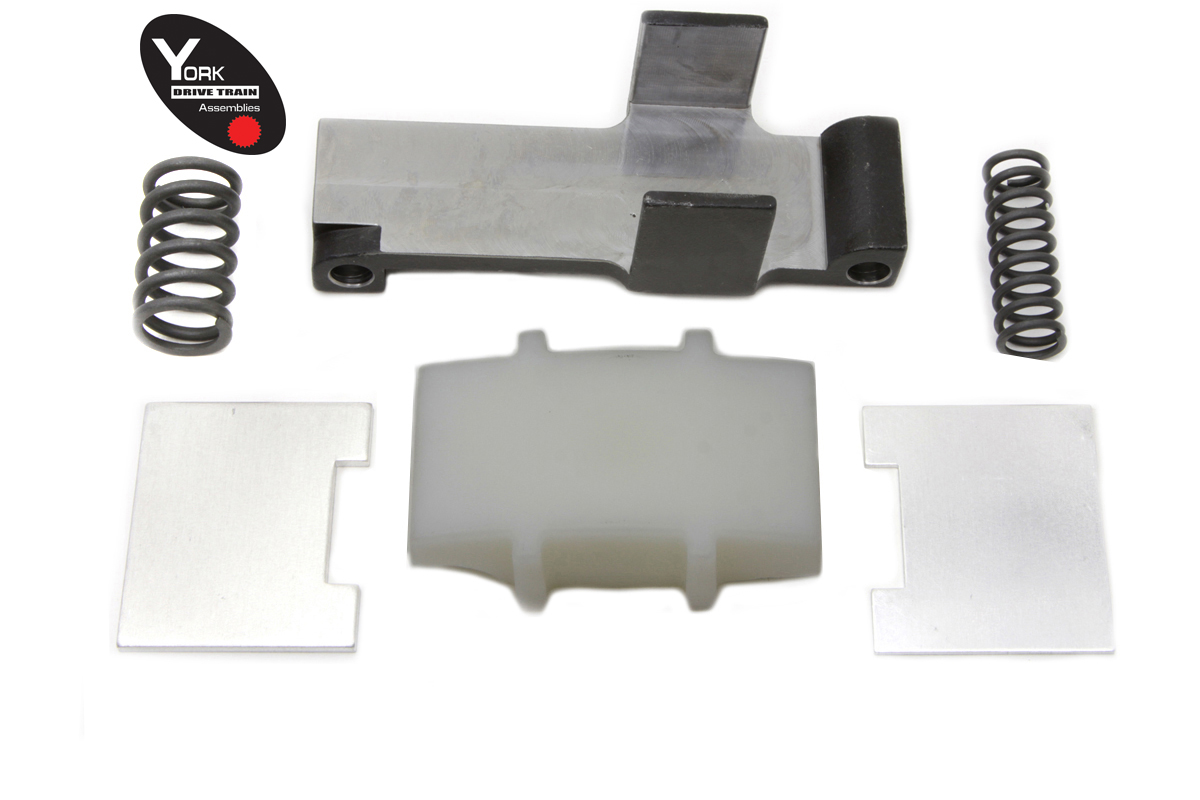
Retract the automatic tensioner and hold it with the retaining method in the manual.
Swapping the assembly
Lock the primary with a sprocket locking tool or wedge between the sprockets. Loosen the compensator nut, then the clutch hub nut. On a Big Twin the clutch hub nut is LEFT-HAND thread.
Because the stock chain is endless, the engine sprocket, chain and clutch basket come off together, as one assembly. Mind the alternator rotor behind the compensator: its magnets hold onto stray hardware.
Take a close look at the inner face of the aftermarket cover too, if you have one. Some covers sit closer to the moving parts than stock; look for any witness marks or rubbing that suggest the chain or shoe has been touching it.
Inspect the shoe and sprockets while everything is out. Fit the new chain with any worn parts replaced, slide the assembly home, apply threadlocker and torque the nuts to the manual's figures. Release the tensioner as the manual describes.
Closing it up
Fit the correct new gasket or seal for the cover you actually have. If it is aftermarket, follow that maker's instructions on sealing and tightening; if it is factory, the manual's. Do not mix and match.
Refill with the specified primary fluid to the level in the manual. It is a separate fluid from your engine oil and your transmission fluid. Refit the shifter on its mark and check the clutch adjustment.
Ride it and look again
Start the bike and listen at idle, clutch in and out. Ride through every gear. Back home, check the cover edge and drain plug carefully for leaks. A wrong gasket shows itself quickly, usually as a dark line along the bottom of the cover.
Keep the box or receipt from the cover gasket with your service records. The next person into this primary, quite possibly you, will want to know it is not a factory part.
Mistakes that cost money
- Ordering a factory gasket for a cover that turns out to be aftermarket.
- Draining the fluid before confirming every part for the job is on the bench.
- Mixing up cover bolts of different lengths.
- Trying to adjust the automatic tensioner.
- Forgetting the clutch hub nut is left-hand thread.
When to stop
If the cover will not seal, or a cover bolt bottoms out or will not tighten, stop. A leaking primary drops fluid near the rear tyre, and a stripped case thread needs proper repair before the bike goes anywhere.
Parts for this job
Check fitment for your own model and year before ordering — add your bike and we will flag what fits.
Other Harley how-to guides
This guide covers procedure and judgement. Torque figures, fluid capacities, gaps and tension settings are specific to your model and year and must come from the factory service manual for your motorcycle — we deliberately do not print numbers we cannot stand behind for your bike. Independent aftermarket retailer, not affiliated with Harley-Davidson, Inc.