 HarleyMotorcycleParts
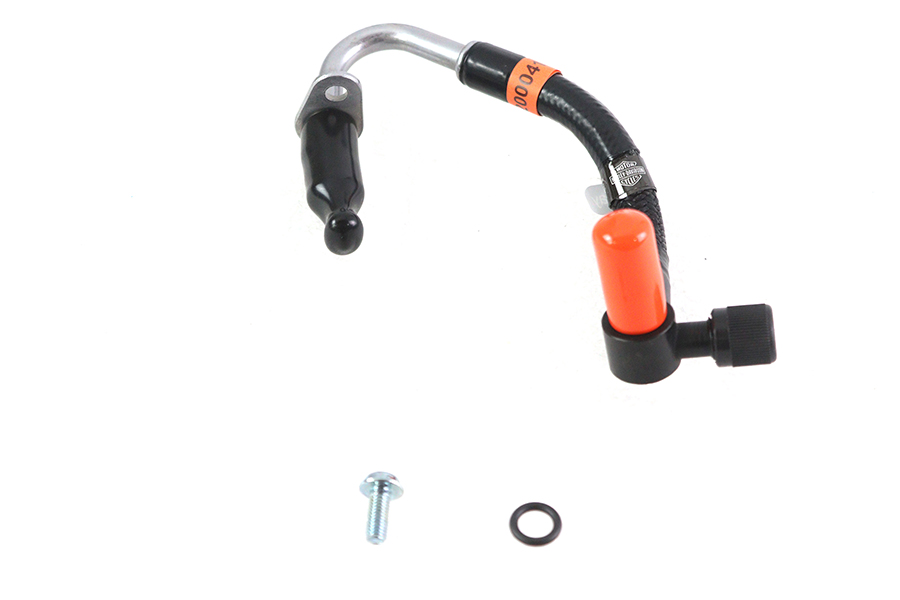
Replacing the Fuel Line on a 2018-Up Street Bob (FXBB)
Two bikes carry the Street Bob badge. Their fuel lines are not the same part.
Type 'Street Bob fuel line' into a search box and half of what you get is for the wrong motorcycle. The older Dyna Street Bob and the M8 Softail share a name and almost nothing else. This page is for the FXBB. If you are looking at a bike with two exposed rear shocks, you have the other one. Check that first, because buying the wrong line is the mistake that bike's name practically invites.
Tools
- Your model code from the paperwork
- FXST/FLST 2018-23 line (or a verified later part)
- Fresh O-rings
- Fitting release tool as needed
- Gasoline-safe lidded container
- B-rated fire extinguisher
- Service manual
Confirm the bike, then the part year
Your paperwork should show FXBB. On the bike, look at the rear: this one has a single monoshock under the seat, whereas the Dyna shows a shock either side. There is no carb question here. Every FXBB is injected.
Our listing for this chassis is the FXST/FLST 2018-23 line. If your bike is newer than that, do not assume. Look up your exact year, check the fitment notes or ask us, and hold off on dismantling until the part is in your hand.
New bike, same old fire risk
Do not let the newness fool you. New fuel systems run at high pressure, and the fuel burns as it always has. Work with the M8 stone cold. Choose outdoors, or an interior with plenty of through-draught. Any open flame or sparking device leaves the area. Keep a B-rated extinguisher at hand and a lidded gasoline-safe container for what you collect.
The job, step by numbered step
1. Read your manual's section through. It holds the purge procedure, any tank-lift requirement, and every torque you will need. We give none of those numbers here, deliberately.
2. Purge. Remove the pump fuse or connector as the manual says, then run or crank the engine until it dies. Keep that circuit open for the rest of the job.
3. Cool down, if it ran.
4. Disconnect the negative battery cable. The order matters: pressure first, power second. Reverse that and you lose the ability to crank.
5. Gain access. Take off what the manual lists. If the tank has to be raised, pad it and support it with something solid, then check nothing is pulling on wiring.
6. Release the tank fitting. Absorbent below, sleeve moved by the push and pull in your manual, line eased off. Immediately plug the port so that nothing can get in or run out.
7. Remove the old line. Photograph its path first, unclip it and detach the other end per the manual.
8. Compare. Same bends, same ends. If they differ, you may have the wrong year, so stop here and sort it out.
9. Fit new O-rings on each fitting. They are single-use. Most leaks at these joints come down to the O-ring, so this cheap step is worth more than the rest put together.
10. Route and connect. Follow your photos. Keep it from heat and anything moving, and restore every clip. Seat each fitting until it locks, then pull back on it with real effort.
Things you may be tempted to do
Tempted to splice? A hose-and-clamp section on this line is never acceptable. It will not reliably contain the pressure, and a failure sprays fuel beside a hot engine. If your line is damaged and no replacement is in stock, the bike waits.
Tempted to borrow a Dyna line from a mate's spares? Different chassis, different routing, and nothing proves it fits. Same for lines from pre-2018 Softails: little carries across from the old chassis.
Tempted to skip the manual because the bike is simple to look at? Bobber styling hides nothing, but the procedure stays the same however bare the bike looks.
If the tank is not the one it left the factory with
Bobbers invite modification, and a used FXBB may wear a different tank, controls or wiring from what your manual pictures. Where the fitting or the route does not match the book, nothing here can tell you what is safe. Find out what was fitted, and whether its maker supplied instructions, before opening the line.
We also give no figures on this page on purpose. Pressure, torque and clip positions are specific to the bike, and the factory manual is where they belong. If you do not own one for your year, get it first, since a guess at any of these numbers can cost far more than the book.
Testing with the key alone
11. Pump fuse or connector goes back. Battery is the last thing connected.
12. Switch on. Do not start. A brief pump run, then quiet. Inspect every fitting by torch, and wipe with a clean tissue to reveal any seep.
13. Off and on again, more than once. Look each time.
14. All dry? Now start it, and watch at idle, then once warmed through. Any wetness or smell means shut down, purge and redo that joint.
Pump module lines inside the tank are not part of this, and if that is where you are headed, read our Fuel Filter and Fuel System Service guide before you begin.
Mistakes that cost money
- Ordering for a Street Bob without saying which chassis.
- Assuming the 2018-23 line covers a newer bike.
- Disconnecting the battery before the purge.
- Fitting a borrowed line because it looks close.
- Ending the leak check after a single key cycle.
When to stop
Book it into a shop if the manual's purge will not complete, if your year has no confirmed line, if the fitting will not lock, or if the leak persists after fresh O-rings.
Parts for this job
Check fitment for your own model and year before ordering — add your bike and we will flag what fits.
Other Harley how-to guides
This guide covers procedure and judgement. Torque figures, fluid capacities, gaps and tension settings are specific to your model and year and must come from the factory service manual for your motorcycle — we deliberately do not print numbers we cannot stand behind for your bike. Independent aftermarket retailer, not affiliated with Harley-Davidson, Inc.