 HarleyMotorcycleParts
Breakout Fuel Line Replacement in a Tight Space (FXSB / FXBR)
Narrow tank, low stance, small gap for your fingers. Technique matters more here than strength.
The Breakout's problem is your hand. Its long, low shape and narrow tank leave little room around the fitting, so what most people get wrong is not the method but the force. Frustrated fingers start prying. A tiny quick-connect sleeve does not respond well to that. On this bike, the winning move is to learn how that fitting works on the bench first, then make the same motion by feel, without hurrying.
Tools
- Slim release tool if your fitting takes one
- Inspection mirror and a safe, non-sparking light
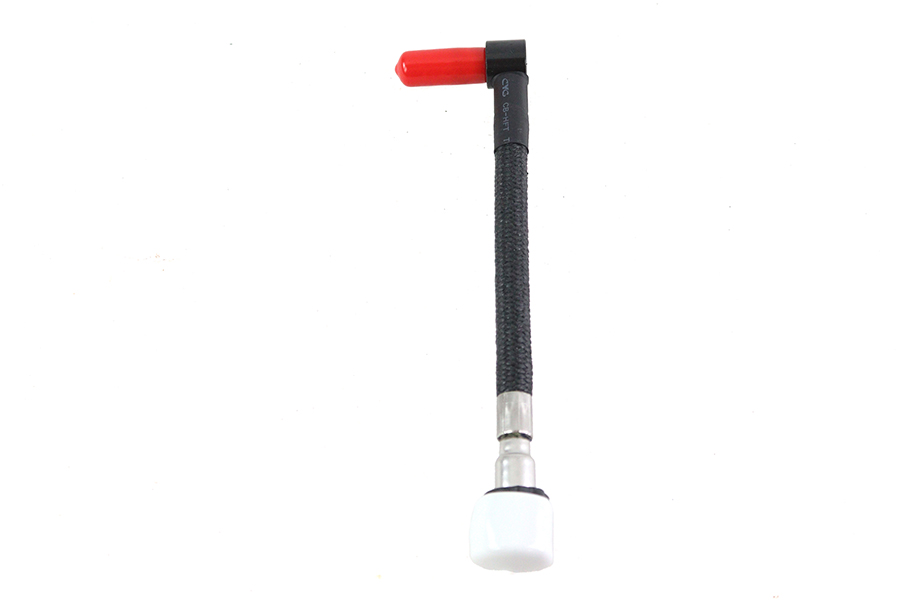
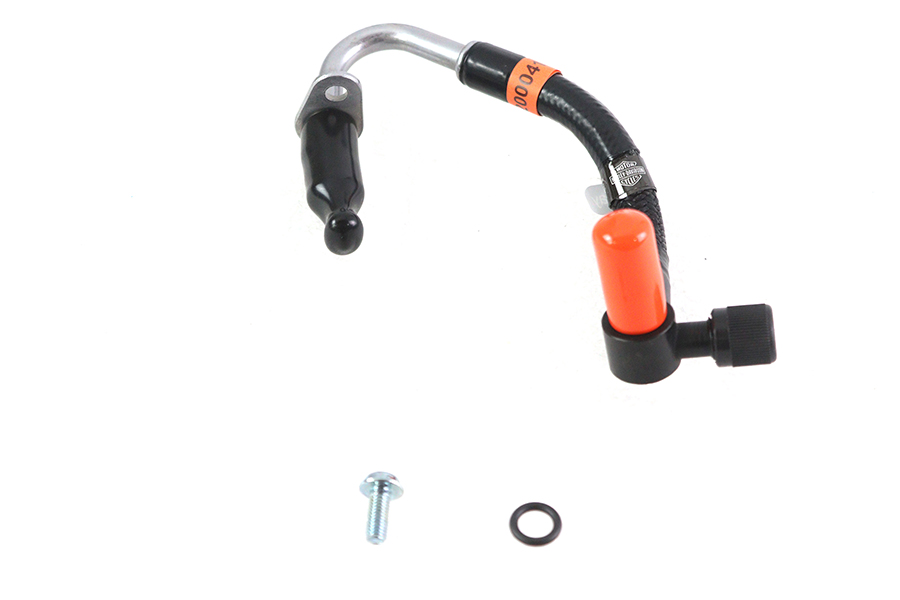
- Formed line for your chassis and new O-rings
- Fuel-rated extinguisher
- Sealed gas can
- Painter's tape to protect the tank edge
- Service manual
Rehearse on the new part
Before going near the bike, take the new line and study its ends. See how the sleeve moves, and how far. Run your finger over it with your eyes shut, because that is how you will meet the old one, in a gap where you cannot see. Compare with what your manual shows for your chassis.
Confirm it is the right part while you are at it. FXSB means the 2001-17 line span and FXBR means 2018-23. With injection being the only fuel system on any Breakout, chassis is your only question.
Clearing the deck
Everything hazardous gets settled ahead of the first tool. Have a motor that has fully cooled, and an open workspace where air moves freely. Ban lighters, burners and anything electrical that sparks when it switches. Station the extinguisher, one rated for fuel, on the side you are not working from. Keep the gas can sealed until needed.
Tape around the tank's lower edge. A slipped tool in a tight space goes straight into the paint.
Getting rid of the pressure
Your manual has the depressurising procedure, and nothing else happens until it is complete. The usual way is to pull the pump's fuse or connector, then let the engine run or crank until it stops. Do not reconnect it until the end. If the bike ran for this, the hot pipes sit close to where your forearms will be on such a low bike, so wait them out.
With fuel pressure gone, unhook the negative battery cable and insulate its end.
Working by feel at the fitting
Check whether your manual has you raise the tank. If it does, do that, because the extra inches are worth far more than any tool you might buy. Support it properly and take care with wiring.
Slide the mirror in and position the light so you can see the fitting from the side. Put a folded rag underneath, tucked so it will not fall onto the pipes.
Now use your rehearsal. Press the line toward the port, move the sleeve, and draw the line off in one steady action, the way the manual lays it out. If it does not come, reset and try again. Three calm tries beat one angry pry, and a broken fitting at the tank is a far worse afternoon. Cap the port immediately.
Unclip the old line and remove it, photographing each stage so that you have a record of its path through the narrow spaces. Your new line should match it curve for curve.
Small parts in a small gap
A low bike with little room is where clips, plugs and O-rings vanish. Lay a light-coloured sheet on the floor beneath the work, so a dropped piece shows up and does not roll away unseen. Lay your new parts in a clean tray, in the order they will go on.
Count your rags before you begin and count them again before the engine turns. One forgotten fuel-damp rag wedged out of sight beside the exhaust is a danger all by itself. Check again with the mirror, and look around the wide rear tyre too, since things fall there.
Installing without pinching or nicking
O-rings suffer most in tight spaces. Inspect each new one under good light after fitting it, because it is single-use and an installation nick becomes the leak you were trying to get rid of. They are the common failure at these joints anyway. If it rolled or nicked going on, use another.
Line up the fitting squarely. An angled push is the classic way to damage a seal when you cannot see, so use the mirror. Press until it locks, then pull back hard. Refit every clip.
Limited space is no excuse for improvising. Do not substitute hose and clamp for a short, awkward piece of line, however much easier that looks. This is a high-pressure line, and that swap is not allowed.
Proof before ignition
Reconnect pump power, and the battery as the final connection. Key on, starter off. Listen for the pump to cycle and stop. Use the mirror to see the back of each joint, since a narrow-tank bike hides that side. Touch a clean paper towel to the joint. Cycle two or three more times.
Then start up, and look again at idle and warm. In-tank lines are another subject, handled in our Fuel Filter and Fuel System Service guide.
Mistakes that cost money
- Prying at a sleeve that needs sliding.
- Pushing the fitting on at an angle and nicking the O-ring.
- Not bothering to raise the tank when the manual allows it.
- Tucking a rag where it can drop onto the exhaust and stay there.
- Skipping the mirror check of the far side of the joint.
When to stop
Hand over to a shop the moment a sleeve cracks, a port is scored, the fitting will not lock after two careful attempts, or you cannot see the joint well enough to prove it dry.
Parts for this job
Check fitment for your own model and year before ordering — add your bike and we will flag what fits.
Other Harley how-to guides
This guide covers procedure and judgement. Torque figures, fluid capacities, gaps and tension settings are specific to your model and year and must come from the factory service manual for your motorcycle — we deliberately do not print numbers we cannot stand behind for your bike. Independent aftermarket retailer, not affiliated with Harley-Davidson, Inc.