 HarleyMotorcycleParts
1200 Custom (XL1200C): Check the Frame Era, Then Change the Shocks
Decades of XL1200C bikes mean two frame types. Know which you have before you trust any fitment claim.
Long-running models bring a problem that a new bike never has: the name stays the same while the bike underneath changes. The XL1200C has sold for so long that used examples sit on two frame eras, and the split at 2004 comes well before most shock listings mention it. People shop by the words 1200 Custom alone, then wonder why the bushing, spacer or fit is wrong. Get the model year straight first, because everything else follows from it.
Tools
- Registration or title
- Penetrating oil for old hardware
- Six-point SAE sockets
- Torque wrench
- Jack and straps
- Service manual for your exact year
Two frames under one badge
Find the year on your registration. A 2004-up XL1200C is rubber-mount, and earlier bikes are solid-mount. Confirm the code as well, as these bikes get traded a lot and previous owners sometimes change things that the paperwork will not show.
Take that year to any fitment listing. A listing that just says 'Sportster' has not answered your question, so look at the years it covers. The parts section on this page filters for fitment, but your own eyes on the year remain the final check.
Buy the service manual that matches your year too. An old manual gives you old answers for a newer frame, and that includes the torque figures.
Older bike, tired hardware
Used examples come with history. Look for mismatched shocks, odd spacers or fixings of varying colour. Any of those means someone has been here before you, and their work may not be right.
Soak the fixings with penetrating oil the night before if you see rust. Six-point sockets grip a corroded nut better than twelve-point ones, and cold pipes make for better access when working near the exhaust.
It also helps to clean the area with a brush before you start. Grit falling into threads will make the nuts harder to shift.
Allow more time than a newer bike would need, and do not start this on a Sunday evening when you need the bike on Monday. An old fastener that needs a second soak and a night to think about it is not unusual, and rushing is what breaks it.
Forward controls, and a question that keeps coming up
Owners often ask if forward controls need a different shock. They do not fit differently at the shock at all. They do change your posture, though. Weight goes further back and your lower spine takes bumps with less help from your legs.
That means a firm rear may feel worse on this bike than on the same frame with mid controls. Comfort choices are worth a little extra thought, but your weight and any passenger still matter most. Keep length close to your manual's figure, as changes affect clearance and your stand's lean.
Raising the frame securely
Lift under the frame rather than the pipes, and bring the rear up just to where the tyre has lost its load. Add a strap at each side. If the bike is old, take a look at the jacking area and make sure the frame there is sound.
A block under the tyre gives you fine height control, which is especially welcome when an older fixing is reluctant to line up.
Getting the old shock off
Work one side only, leaving the other shock to hold the swingarm. Crack the upper fixing with a steady pull rather than a jerk. A jerk is what shears an old fastener. Follow with the lower fixing.
Keep every washer and spacer in order. A strange spacer may be correct for that frame era, or it may be a previous owner's fudge. Compare with the parts diagram in your manual before you decide.
If a fixing begins to twist or feels like it is about to snap, stop, apply more oil and give it time.
Reading an old mount
Clean and study each mounting point. On older bikes, look for thread corrosion and for a stud or bolt with a worn neck, and check that nothing moves in the frame.
Replace any rubber that looks old. On a used bike of unknown history, assume that the bushings have never been changed until they prove otherwise.
Check that both sides match once you are finished looking. A solid-mount bike and a rubber-mount bike can both end up with mismatched parts from years of owners making do, and one side wearing faster than the other is a clear sign something in the stack was never right.
Fitting and first miles
Offer the new shock up, using the block to align it. Install the hardware as your manual shows and hand-tighten. The torque comes from the manual for your year and frame type. Repeat for the second side, then even up any preload.
Bounce the bike, check that nothing touches, check the belt if length has changed and look at how it sits on its stand. Take a short ride, then a longer one. Re-check the fixings after each, particularly any that were corroded when you started.
Mistakes that cost money
- Shopping by the name without checking the frame era.
- Using a manual for a different year.
- Reusing a previous owner's spacers because they were there.
- Jerking on a corroded fastener until it shears.
- Expecting forward controls to change the shock fitment.
When to stop
If a fixing shears, or a mount proves to be cracked or loose in the frame, the job is over until it is repaired. Do not ride with one shock attached, and do not improvise a replacement with hardware-store bolts.
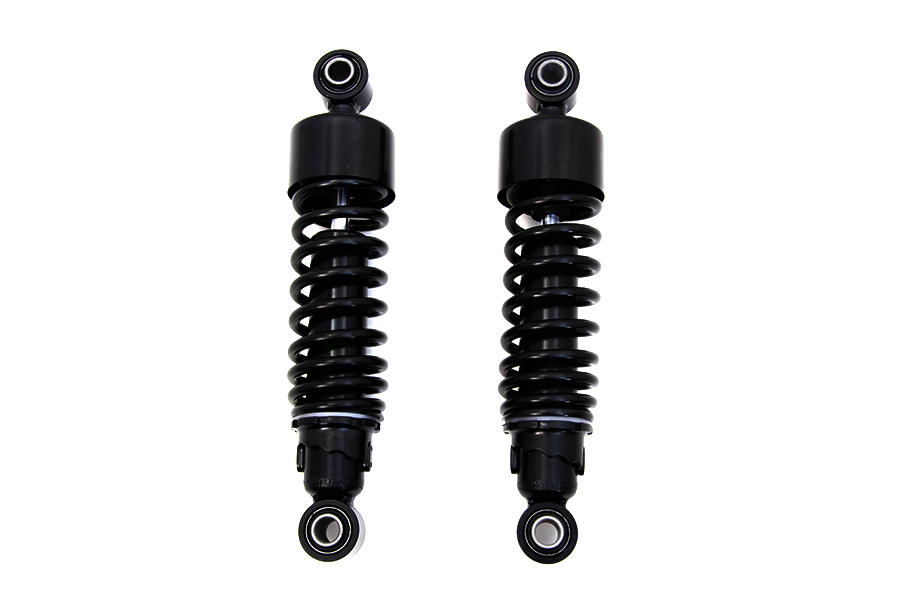
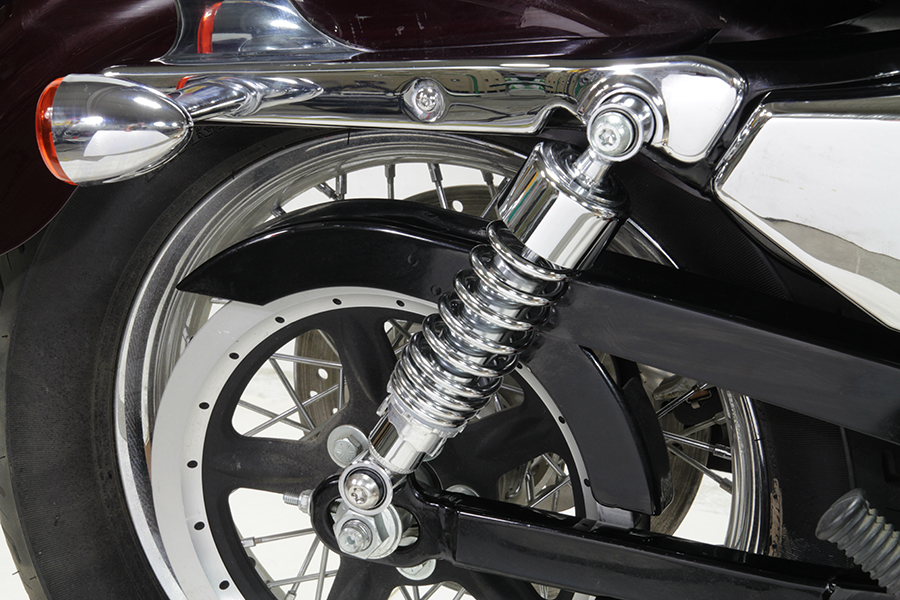
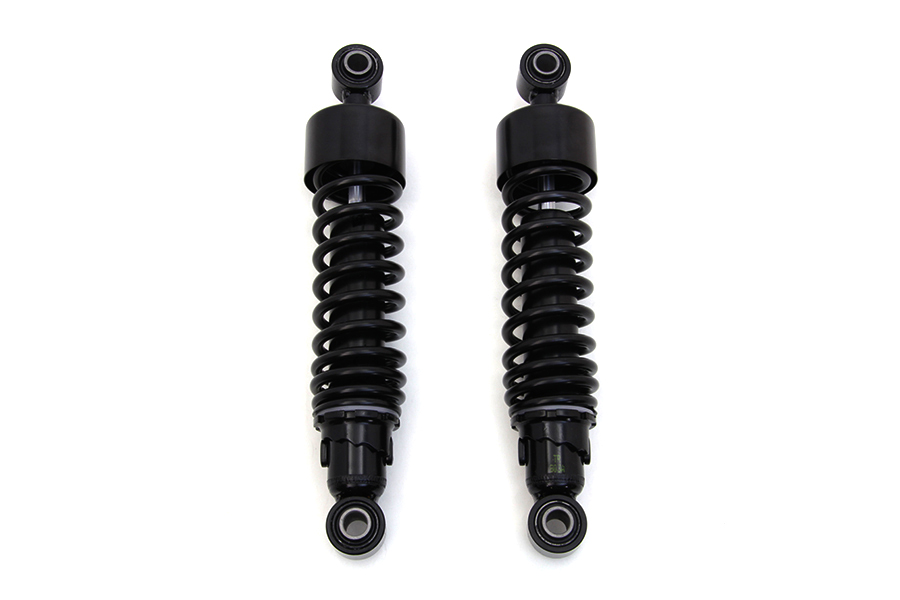
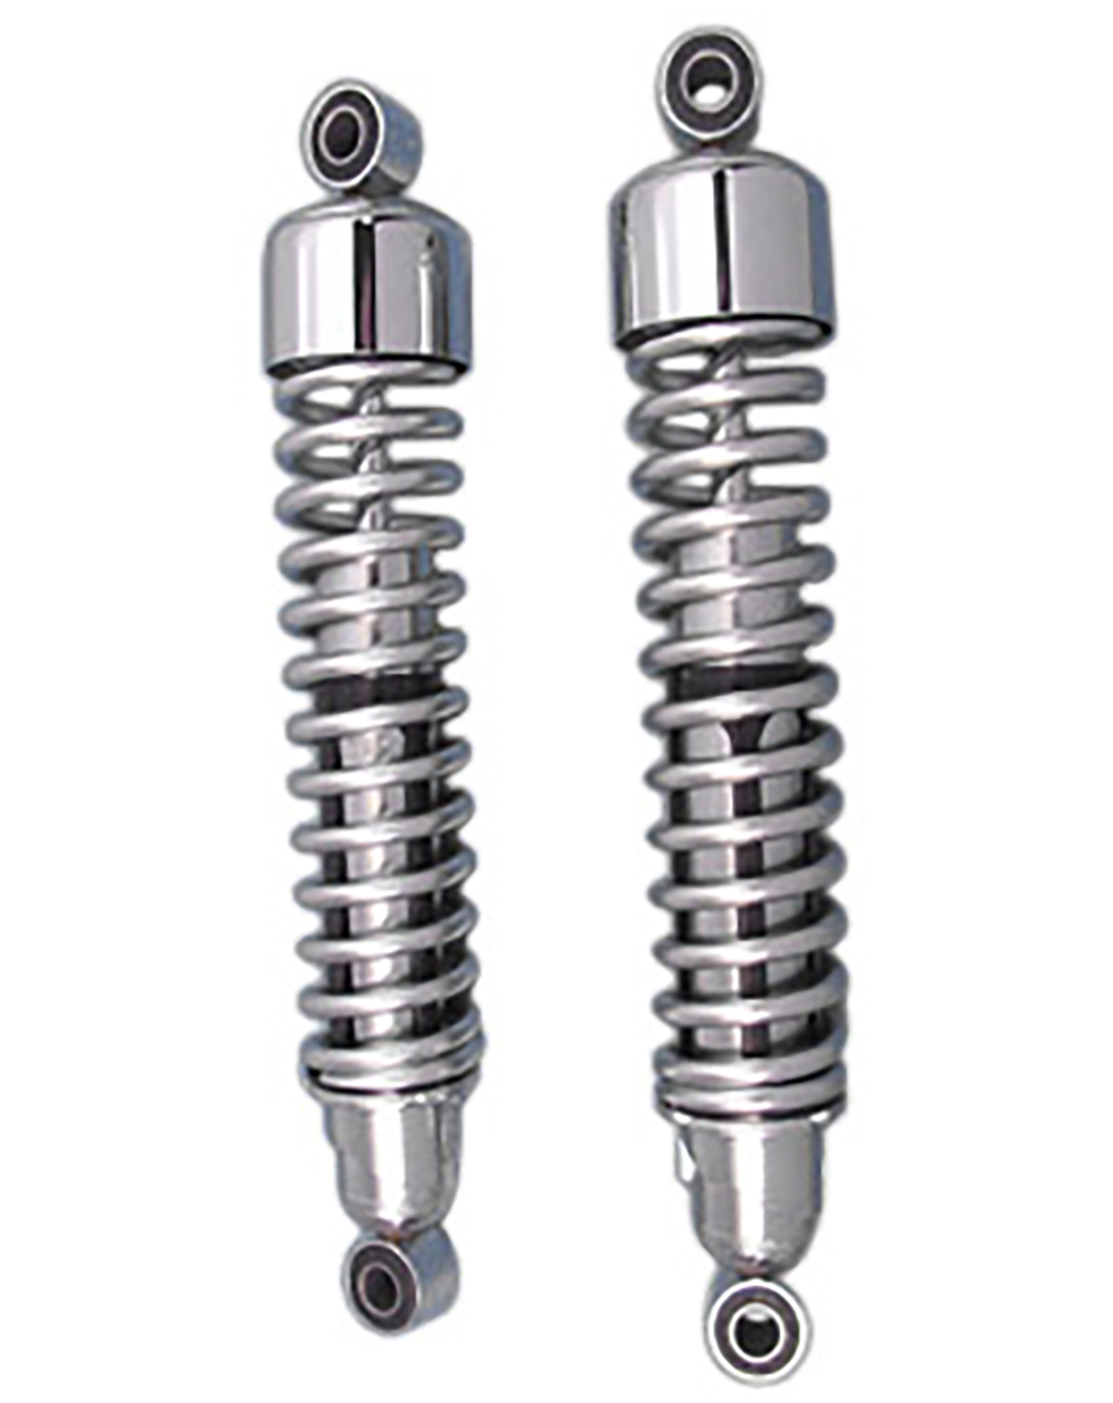
Parts for this job
Check fitment for your own model and year before ordering — add your bike and we will flag what fits.
Other Harley how-to guides
This guide covers procedure and judgement. Torque figures, fluid capacities, gaps and tension settings are specific to your model and year and must come from the factory service manual for your motorcycle — we deliberately do not print numbers we cannot stand behind for your bike. Independent aftermarket retailer, not affiliated with Harley-Davidson, Inc.