 HarleyMotorcycleParts
Iron 883 Rear Shocks: A First-Timer Guide to the Short-Travel Complaint
Your back is hurting and everyone says buy new shocks. Here is what a shock can and cannot fix on an XL883N, and how to fit one.
Here is what the shock forum will not say up front: no shock can add much travel to this bike without changing it in other ways. The short rear movement that jolts your spine is mostly designed in, and it is the top complaint from new Iron owners. A better shock can control that travel far better, but it cannot invent more. A longer one can add some, at a cost. Knowing that makes this the easiest money you will save.
Tools
- Socket set in SAE sizes (not metric)
- Torque wrench
- Motorcycle jack or scissor lift
- Tie-down straps
- Tape measure
- Service manual
What you are really buying
Three things are mixed together in every shock argument. Length decides ride height and how far things can move. Spring rate decides how much the spring resists your weight. Damping controls how quickly it moves. A cheap upgrade usually changes one of those and advertises all three.
As a new rider, you should first ask whether the bike needs any change at all. If you weigh more than most riders and the rear is hitting its stops, a spring meant for your weight will likely help. If you are light and just find it firm, better damping is more likely to help you.
Weight and passengers matter a lot. Forward or mid controls make no difference at the shock itself, even though buyers often ask.
Before you touch length
A longer shock sounds like the obvious answer, and it does change how the Iron behaves. It alters cornering clearance, how the bike leans on the side stand, and may also change your belt tension reading. A shorter one bottoms more easily, on a bike with little to spare already.
If you are new, stay at the standard length listed in the manual for your year. You will learn more from one change at a time.
Read your manual's section on the rear suspension before ordering, even if parts of it seem beyond you for now. It teaches the names of each piece, and knowing those names makes it far easier to ask a shop or a parts desk a clear question.
Preparing your workspace
A first shock job should be done on a flat floor in daylight with no deadline. Have your tools laid out and the manual open. Note that a Harley uses SAE fasteners, so a metric socket that nearly fits will round off a nut and turn a short job into a long one.
Position the jack under the frame, never under the exhaust, and raise it slowly. Stop once the back tyre is just lifting. Run straps from the bars or frame to the jack or a fixed point. Give the bike a firm push to check that it is stable before going further.
Removing your first shock
You will do these one at a time, so that the swingarm stays where it belongs. The exhaust side may give you less room, so start on the opposite one and learn the job there.
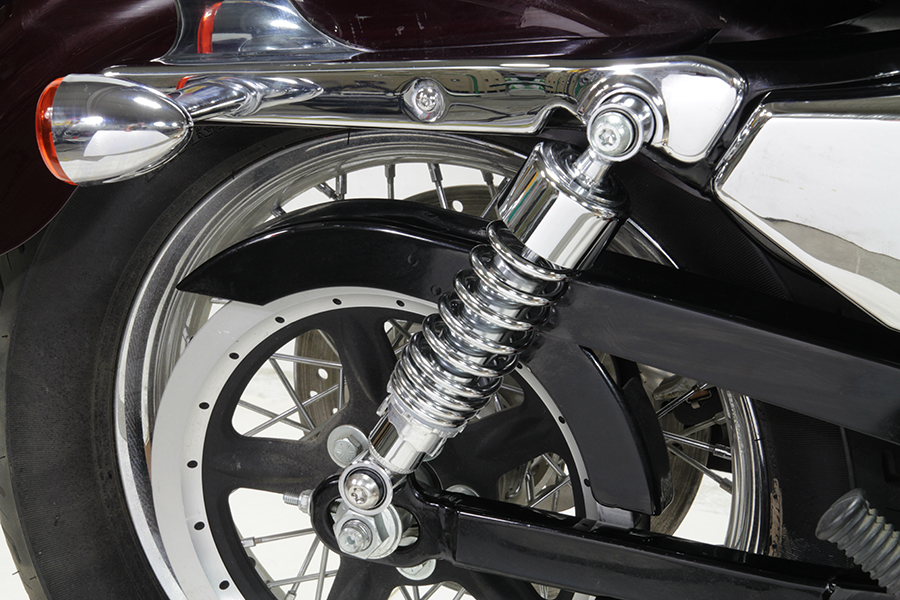
Take a clear photo. Undo the top fastener, turning anticlockwise. Then undo the lower one. A little force is normal on the first crack, but stop if the nut begins to feel soft or the socket is slipping.
Place all pieces in a tray in order. Pull the shock off the mounts. It is lighter than you expect, so keep hold of it.
Learning what wear looks like
Run a clean finger across each mounting stud or bolt. It should feel uniform. A dent or ridge means wear. Thread damage or looseness means asking someone experienced to take a look.
The rubber bushing inside the eye should be springy and whole. If it feels like old pencil eraser, or it has cracks you can see, replace it. If new shocks came with bushings, check that they are the correct ones.
Fitting the new one
Slide the new shock onto its mounts. If the holes do not quite line up, raise or lower the wheel using a block or jack until they do. Forcing it is never right.
Put the pieces back in the order your photo shows. Turn the fasteners by hand until they are snug. Then look up the torque for your year in the service manual, set your wrench to it, and tighten until it clicks. Stop at the click and go no further.
Move across and do the second shock. Set any preload adjusters to the same setting on both sides.
Your first ride after
Lower the bike. Sit on it and bounce. Look for anything touching. Check that the belt reading still agrees with the manual if you changed length, and try the side stand, making sure the bike will not tip.
Ride slowly around the block in a low gear, then a longer loop. Afterwards, recheck every fastener. New riders tend to trust themselves too much here, and a second look costs nothing.
Mistakes that cost money
- Expecting any shock to invent travel the frame does not have.
- Using metric sockets on SAE fasteners.
- Fitting a longer shock and not rechecking the belt and side stand.
- Going past the torque wrench click.
- Changing length, spring and damping all at once with no idea which one helped.
When to stop
If a nut starts to round, a stud feels loose or you are unsure of the bike's stability on the jack, stop. Put the original shock back if you safely can and call a shop. Asking costs less than a repair or a fall.
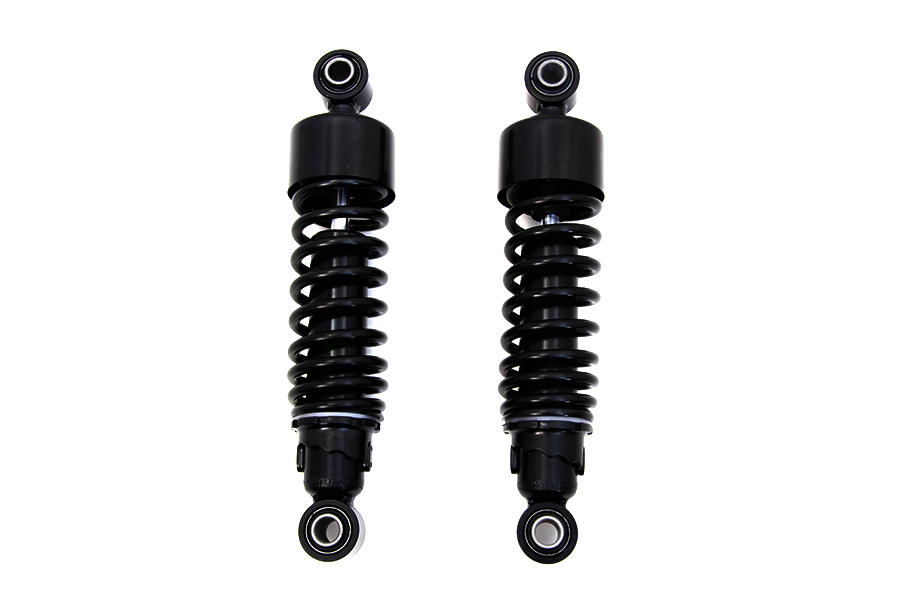
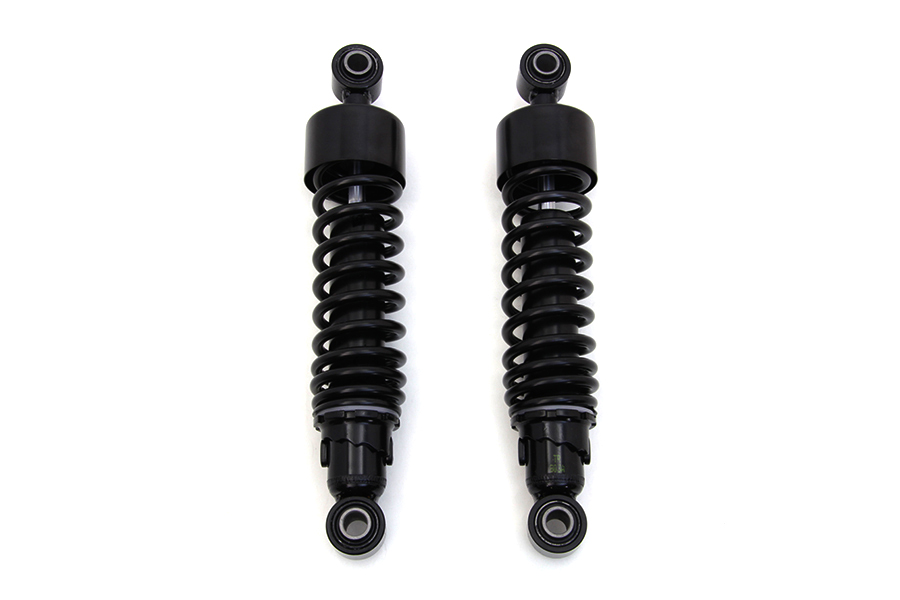
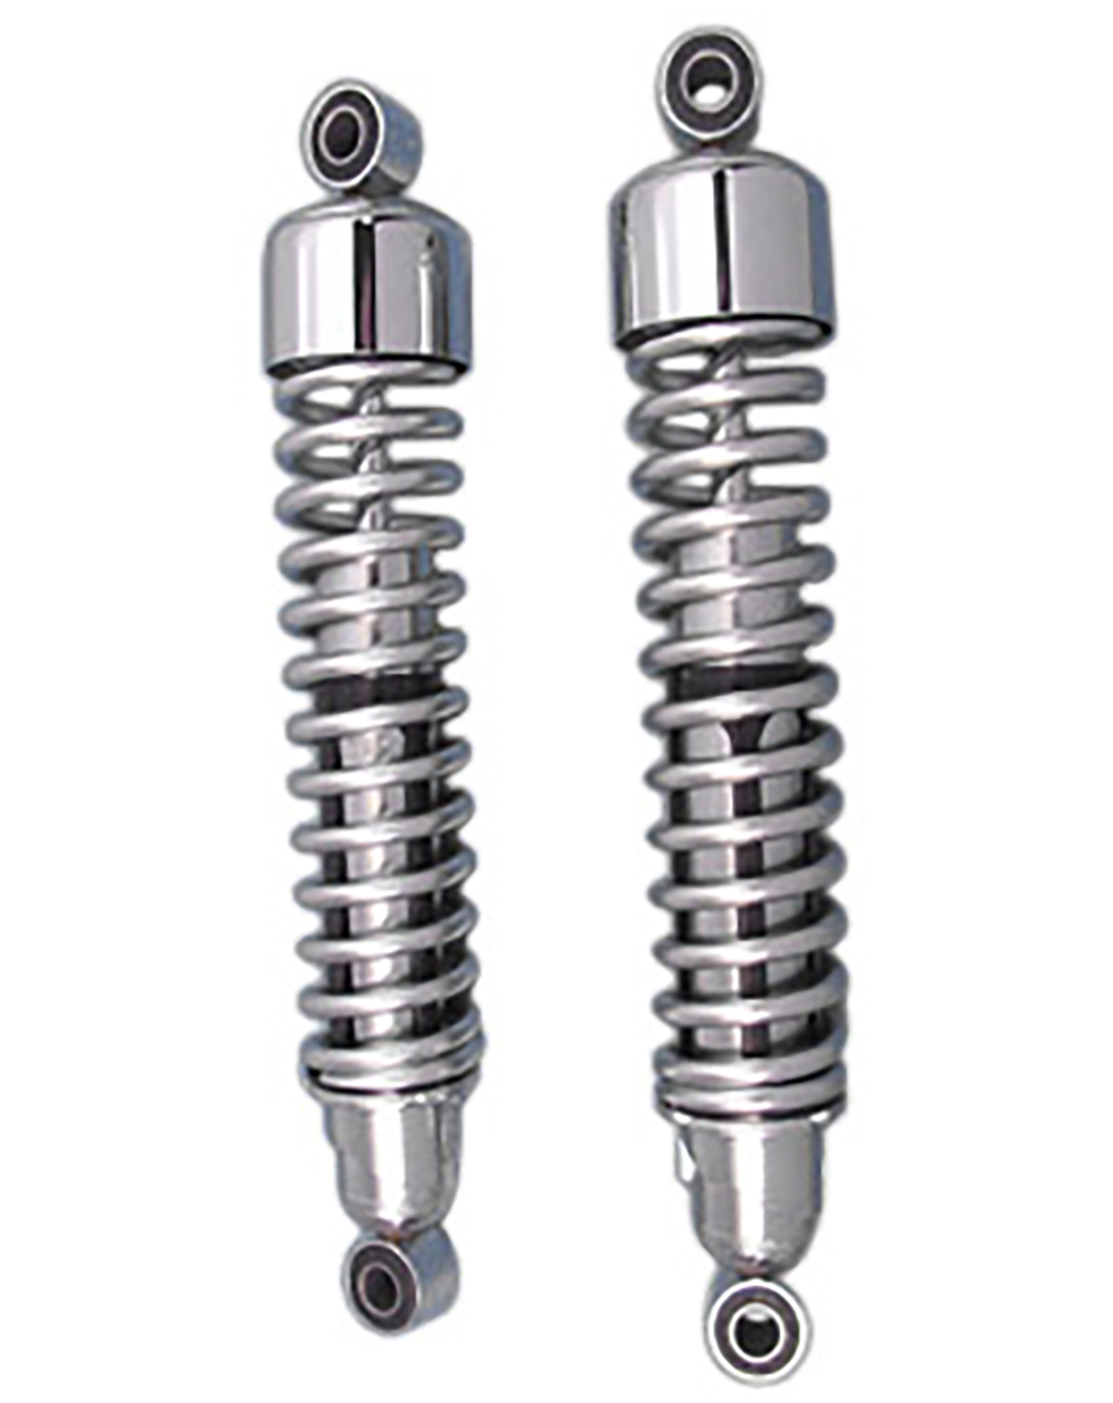
Parts for this job
Check fitment for your own model and year before ordering — add your bike and we will flag what fits.
Other Harley how-to guides
This guide covers procedure and judgement. Torque figures, fluid capacities, gaps and tension settings are specific to your model and year and must come from the factory service manual for your motorcycle — we deliberately do not print numbers we cannot stand behind for your bike. Independent aftermarket retailer, not affiliated with Harley-Davidson, Inc.