 HarleyMotorcycleParts
Low Rider S (FXDLS): Is a Shock Change Even Worth It?
This Dyna left the factory with upgraded suspension. Compare any replacement against a good shock, not a bad one.
The usual internet advice says stock Harley shocks are junk and should go on day one. That lazy line does not hold for this bike, the factory hot-rod Dyna, which arrived with upgraded suspension already on it. Whatever you bolt on is competing with a good unit, not with a bad one. Plenty of owners spend real money on a change they cannot feel. Prove there is a problem first, and do the swap only once you have.
Tools
- Notebook
- Zip tie for checking travel, if the shaft is exposed
- SAE tools
- Torque wrench
- Frame-point lift
- Sag tape measure
- Service manual
Baseline before buying
Treat your present setup as a test subject. Check tyre pressures against the figures in the owner's manual, because a soft tyre feels like poor suspension. Then set sag properly, since a lot of bad reviews come down to preload that was never set for the person riding.
Pick a loop of about half an hour with a known bad patch, a fast bend and a sharp bump. Ride it, and write down what the rear does in each spot. Be specific. 'Wallows in the fast bend' is useful, whereas 'could be better' is not.
If the shaft is exposed, loop a zip tie around it and slide it against the seal. After the ride, its position shows how much stroke you really used. A tie shoved all the way along suggests you are running out of travel.
When replacement is justified
Oil on a shaft or body settles it, and so does a rear that keeps moving after each bump. Damage is the simple case. Age alone is not proof, but these bikes are no longer new, so a tired factory unit is possible and you should look for it.
Then there is the case for fit. A much heavier rider, regular two-up use or a track habit can push beyond what any stock setting handles, and that is a sound reason.
Wanting something different to look at is also fine, as long as you admit that it is the reason. Do not expect a chassis improvement from it.
Keep the originals
Label the factory pair left and right, wrap them up and store them. Unlike the standard units on many older bikes, these have value on this model, both for comparison and to whoever buys the bike from you later.
That also means removing them with care. Use a properly fitted socket and do not grip the body with anything that bites.
Raising the rear
Secure a lift to the frame points and bring the tail up with the tyre barely touching. Keep a block under it. You want an unloaded swingarm that stays where it is, not one that pulls down against the lower fixing.
Keep the jack well away from the exhaust. Check any bags fitted to your bike, as they or the pipes can make one shock awkward to reach.
The swap, sequentially
Take the top fastener off the first shock, then its lower one, with the sibling still bolted up. Bag and tag the hardware. Fit the new shock to the matching mounts and spin the fasteners on by hand.
Only tighten the second unit after the first is fully torqued. Take the fastener value out of your model-year manual, since nobody on a forum knows which year you own.
Line up each eye by raising or lowering the block, not by forcing anything with a bar. An eye dragged on sideways can damage a bushing before it has done a single mile.
Reading the hardware left behind
Even on a bike this recent, inspect the bushings and mounting studs anyway. Check for splits, flat spots and thread damage, and make sure the stud is solid in the frame.
A hot-rod Dyna tends to get ridden hard, and a mount that has been knocked by something, or by a curb, will not always show it from a distance. Use a flashlight.
Look at the wear pattern on the old bushing as well. Rubber worn on one side can point to a shock that was not sitting square, and a new unit fitted to that same mount would soon show the same uneven marks.
Re-riding the same loop
Before riding, set sag on the new shocks to the maker's target, with your own weight. Install a fresh zip tie if the shaft allows. Then take the same loop as before, at the same pace, and answer the same questions in your notes.
If the bend has settled and the bump is gentler, the money was well spent. If there is little difference, adjust once more, then accept the result and consider putting the factory pair back. That is a perfectly good outcome.
Check the fasteners again after this ride, and note how the bike leans on its kickstand if you changed length at all.
Mistakes that cost money
- Assuming the factory shocks are bad because they are factory.
- Blaming the shock before checking tyre pressure and sag.
- Throwing away the original shocks.
- Comparing the new setup with no written baseline.
- Mixing up FXDLS parts with the Softail FXLRS.
When to stop
Even on a fresh shock, oil on the shaft, a knock at the mount or a fastener that will not reach its torque all mean the bike stays parked. Fix the fault or send the part back. Do not ride on to see if it settles.
Parts for this job
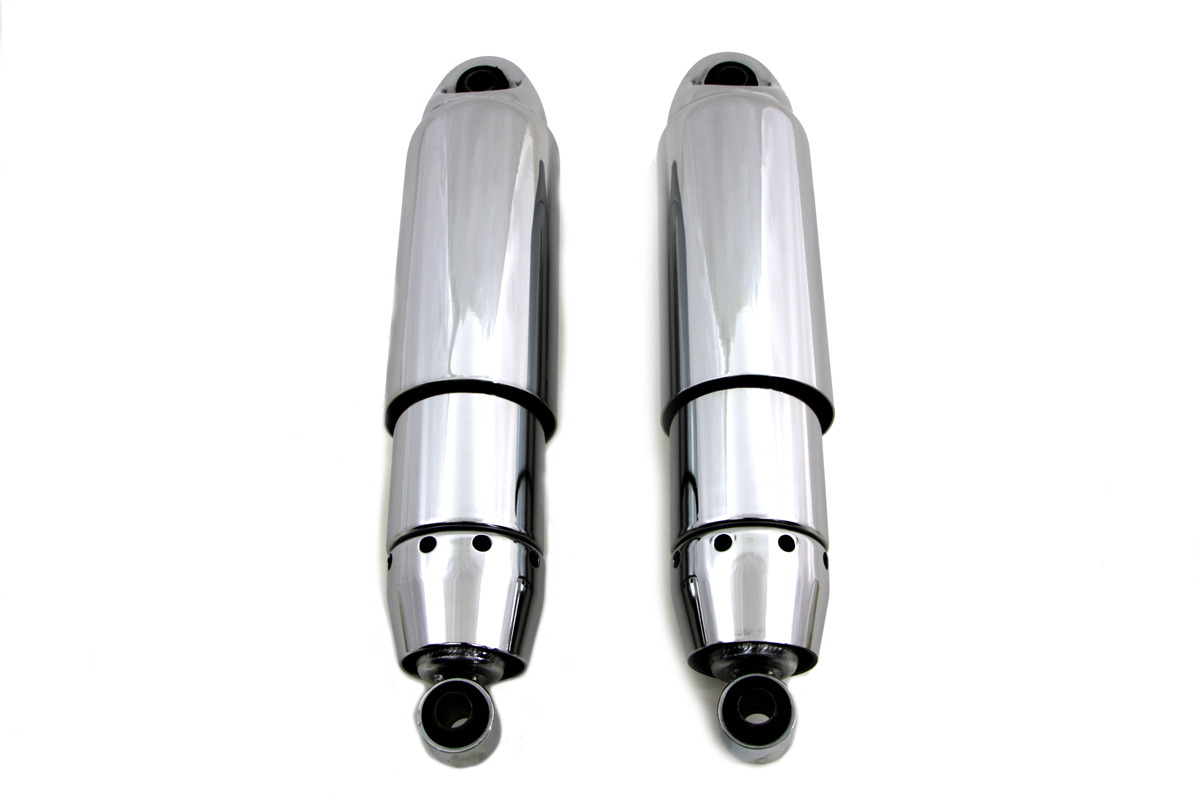
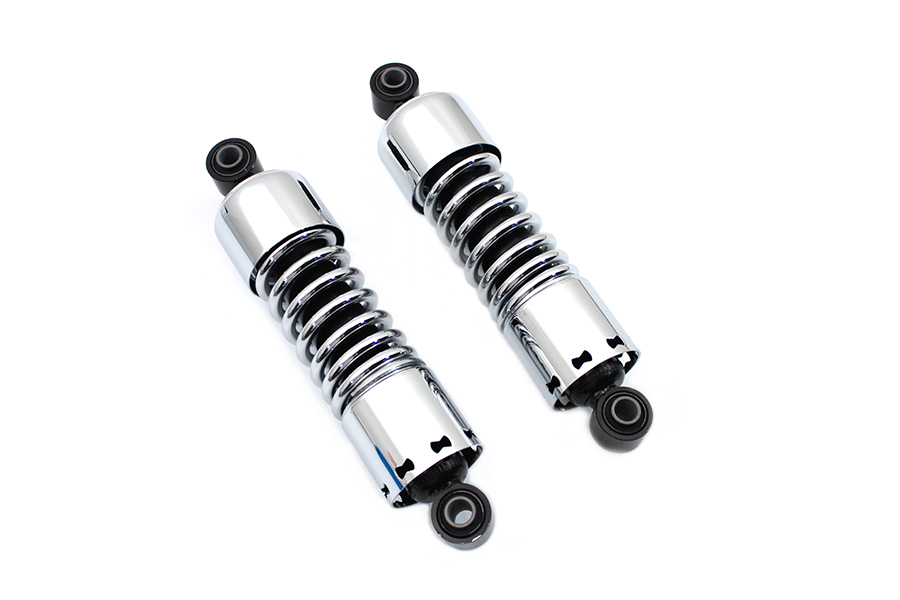
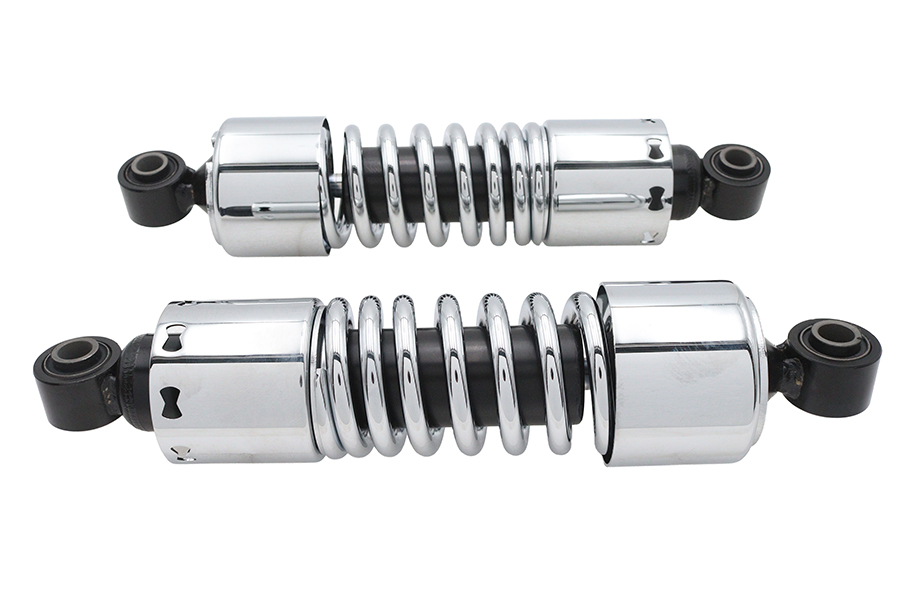
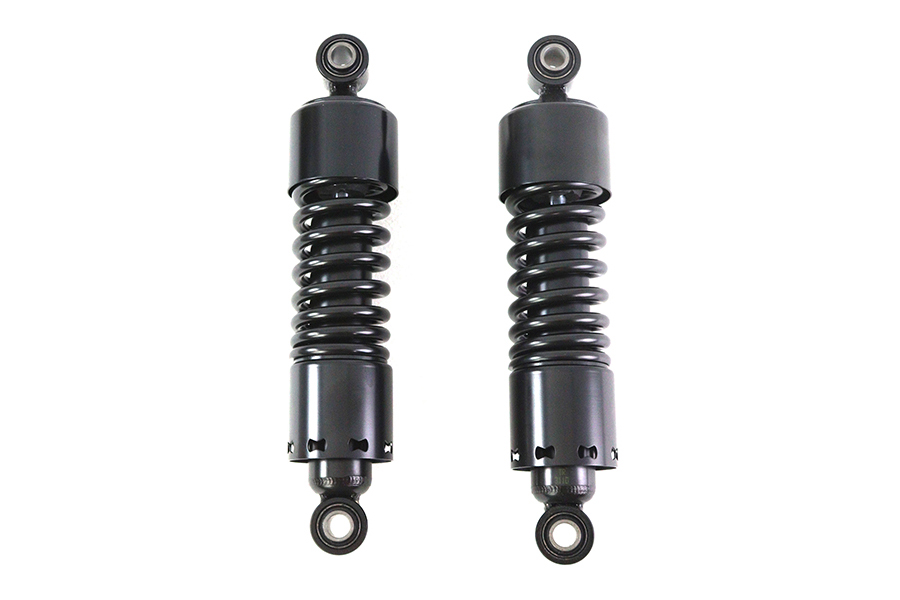
Check fitment for your own model and year before ordering — add your bike and we will flag what fits.
Other Harley how-to guides
This guide covers procedure and judgement. Torque figures, fluid capacities, gaps and tension settings are specific to your model and year and must come from the factory service manual for your motorcycle — we deliberately do not print numbers we cannot stand behind for your bike. Independent aftermarket retailer, not affiliated with Harley-Davidson, Inc.