 HarleyMotorcycleParts
Street Glide Primary Slap: Why You Cannot Just Adjust It
Your Street Glide almost certainly has an automatic tensioner. Here is how to inspect it, when to fit a manual adjuster, and how to replace the chain.
Here is the scene: a Street Glide with big miles develops a rattle on the left side at idle, and the owner heads to the garage with a spanner to tighten the primary chain. There is nothing to tighten. Street Glides run a belt to the back wheel, which needs no oil and no chain work, and the primary chain behind the left cover is held by a self-adjusting tensioner on almost every one built. So that slap is not a call for adjustment. It is a call for inspection.
Tools
- Service manual for your year
- Torch
- Drain pan
- Primary locking tool or wedge
- Breaker bar and torque wrench
- Threadlocker
- New primary gasket or seal
- Correct primary fluid
- Magnetic pickup
Check your year first
The model arrived for 2006. A 2006 bike belongs to the MANUAL-adjuster era, with a shoe you set by hand. Every Street Glide from 2007 to 2016 has the Twin Cam hydraulic automatic tensioner, and 2017-up bikes have the Milwaukee-Eight's automatic tensioner.
If yours is a 2006, read the cold and hot slack check in the Road King or Electra Glide guides; the principle is the same. The rest of this page assumes the automatic type.
Is it really the primary?
Slap from the primary has a signature: a rattle at idle that changes when you pull in the clutch lever. Jerky take-up is often riding along with it.
A heavy clunk only at start-up or switch-off on a 2006-up bike points at the compensator rather than the chain. That is a related part with its own fault pattern, and we are not going to diagnose it here. Note it, and do not assume a chain will fix it.
At your next fluid change, look at the primary drain plug magnet. Fine fuzz is normal; flakes and chunks are not.
Reading the shoe
An automatic tensioner keeps pressure on the chain by itself, but it can only work with what it has. Remove the inspection cover and look at the shoe with a torch. Grooving that runs deep into the face, or a shoe worn right through, means the chain has been chewing it, usually because the chain has stretched further than the tensioner can comfortably take up.
Look at the chain's side plates too. Bright rub marks where nothing should touch tell you the run is not where it should be.
Inspection here means looking and judging. Do not try to force or pry the automatic tensioner to take up slack; the manual describes the only correct way to retract and retain it.
The manual-adjuster question
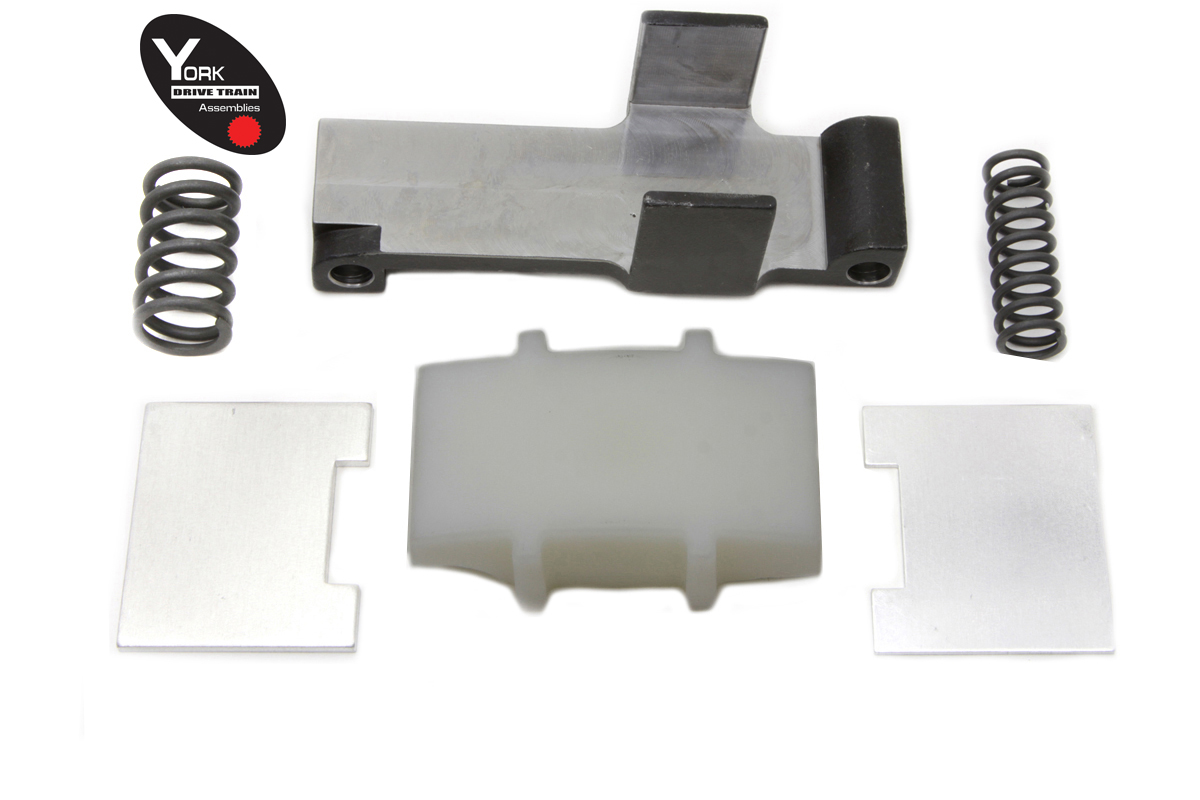
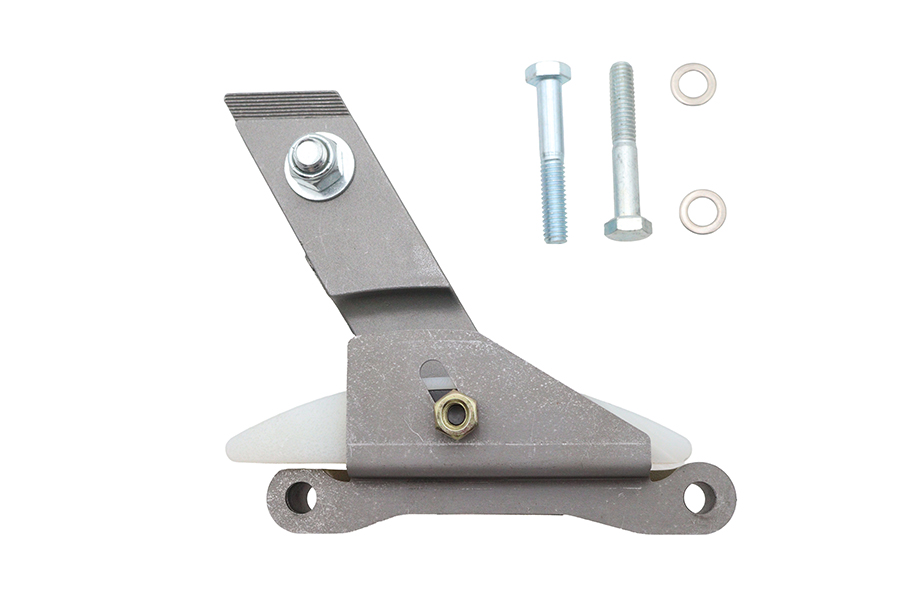
A lot of high-mile Street Glide owners end up converting to a manual adjuster so they can set the slack themselves and see exactly where it stands. Our catalogue lists kit 18-8328 for FLT 2007-2016 and the Ultima M8 adjuster 18-1763 for FLT 2017-up. Confirm fitment against your bike before ordering.
A manual adjuster comes with a duty: you now check slack at service intervals, at the tightest spot, against the cold or hot figure in the manual. If you will not do that, keep the automatic.
Pulling the primary apart
Disconnect the battery negative and drain the primary fluid. Take off the left floorboard and the shifter linkage as far as you need, then the outer primary cover.
Retract or retain the tensioner per the manual. Lock the drive with a sprocket locking tool or a wedge between the sprockets. Break loose the compensator nut, then the clutch hub nut. That clutch hub nut is LEFT-HAND thread. Lean on it the conventional way and you are tightening it.
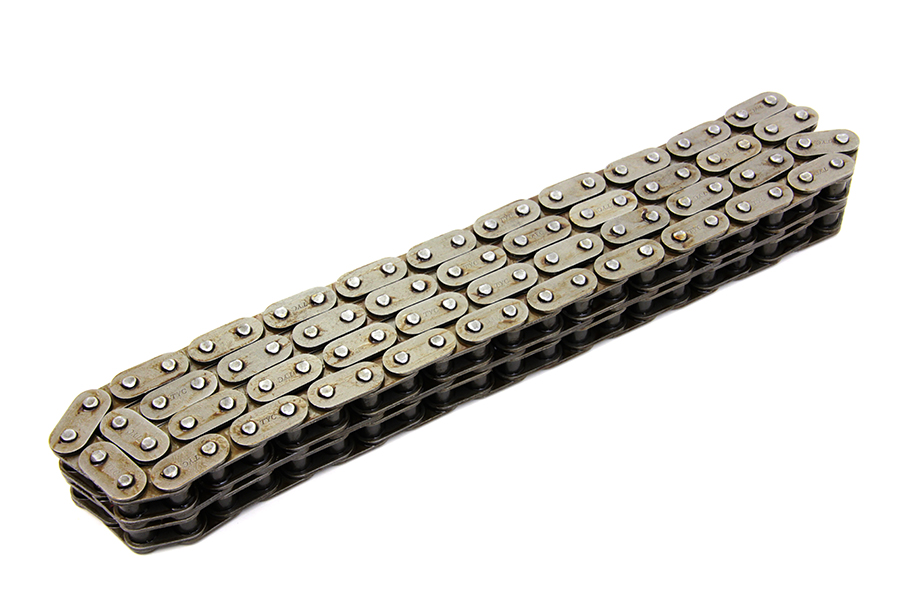
The factory chain is endless, so the engine sprocket, chain and clutch basket slide off together as one assembly. Our catalogue lists an 86-link chain for FLT 2007-up; check your parts fitment before ordering.
Behind the compensator is the alternator rotor. Its magnets will pull a dropped washer or socket straight in, so keep a magnetic pickup handy and the bench tidy.
Rebuild and refill
Install the new sprocket, chain and basket together. Use threadlocker where the manual calls for it and torque to the manual's numbers. Reset the tensioner, or set slack if you fitted a manual kit. New gasket or seal on the cover, then refill with the correct primary fluid to the level the manual specifies.
Check and set clutch adjustment before you ride. A disturbed basket can leave the lever feeling different.
Living with a high-mile Street Glide primary
Most Street Glides that need this job have spent years doing long highway days with a passenger and luggage behind the batwing fairing. That kind of riding is kind to the engine but steady work for the primary, and the automatic tensioner hides the gradual stretch from you until the shoe starts to complain.
So build the inspection into your routine. Each time the primary fluid is changed, pull the inspection cover, look at the shoe and wipe the drain plug magnet. Note what you see with the mileage. A shoe that goes from light marking to obvious grooving between two fluid changes is telling you the chain is near the end, well before the slap gets loud.
If you bought the bike used and the seller cannot say when the primary was last opened, treat the first fluid change as a full inspection. The fairing does not get in the way of any of this; the left floorboard and the shift linkage are all you move for a full teardown, and nothing at all for a look through the inspection cover.
Ride and listen
Start it in neutral and listen to the left side at idle with the lever in and out. Take a short ride, then check the cover for weeps. If you fitted a manual adjuster, recheck slack after that first ride once the bike is cold.
Mistakes that cost money
- Looking for an adjuster that a 2007-up Street Glide does not have.
- Blaming the chain for a start-up clunk that may be the compensator.
- Prying on the automatic tensioner to take up slack.
- Fitting a manual kit and then never checking it.
- Forgetting the clutch hub nut is left-hand thread.
When to stop
If the shoe is worn through and the chain has been running on metal, stop and check the case, sprockets and basket for damage before ordering. A chain that leaves its sprockets inside a primary case can lock the drive.
Parts for this job
Check fitment for your own model and year before ordering — add your bike and we will flag what fits.
Other Harley how-to guides
This guide covers procedure and judgement. Torque figures, fluid capacities, gaps and tension settings are specific to your model and year and must come from the factory service manual for your motorcycle — we deliberately do not print numbers we cannot stand behind for your bike. Independent aftermarket retailer, not affiliated with Harley-Davidson, Inc.