 HarleyMotorcycleParts
Rear Drive Chain on a Harley: Which Bikes Have One, Adjustment and Replacement
Most Harleys run a belt. Here is how to tell, and how to adjust, clean and replace a rear chain on the ones that do not.
Look at the back wheel before you read another word. A toothed belt and a smooth pulley mean you are in the wrong place: nearly every Big Twin since the mid-1980s and every Sportster from the early 1990s drives the rear wheel with a belt. A metal chain and a toothed sprocket mean this guide is yours, and the rules are different from the belt in every respect: a chain needs lube, it stretches, and it wears its sprockets with it.
Tools
- Rear stand or lift so the wheel turns freely
- Ruler or chain slack gauge
- Axle nut socket and torque wrench
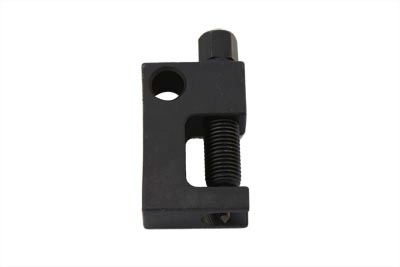
- Chain breaker / riveting tool (rivet-type links)
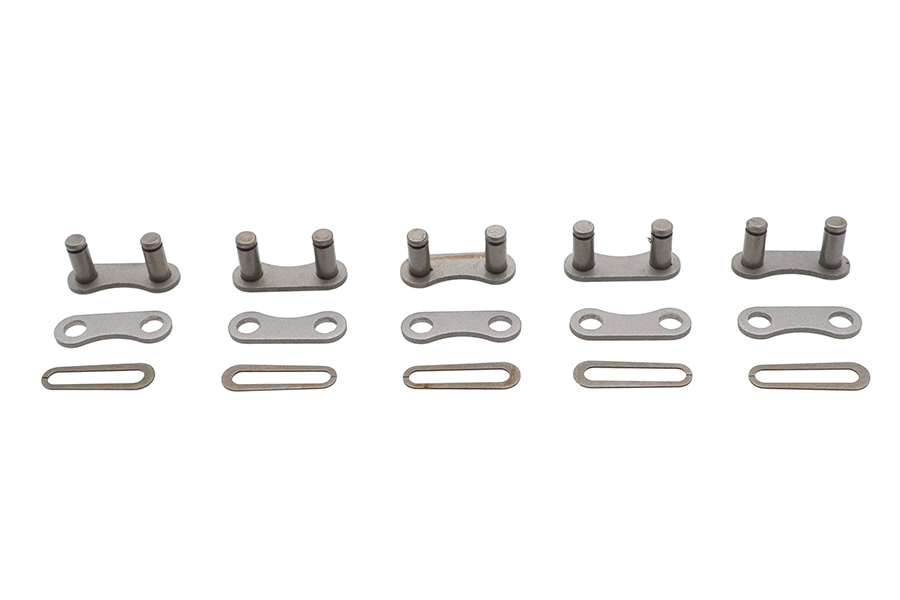
- Master link pliers (clip-type links)
- Chain cleaner and a chain lube safe for O-ring or X-ring chains
- Soft brush and rags
- Service manual or the conversion kit instructions
Which Harleys have a rear chain
The Pan America adventure bike drives its rear wheel by chain, which suits a bike meant to take dirt, rocks and water that would chew a belt. Older Harleys from before the belt era used chains too, and plenty of vintage Big Twins and early Sportsters are still on the road with one.
The biggest group on a modern street is conversions. Riders swap the belt for a chain to change gearing cheaply with a different sprocket, to fit a much wider rear tyre, or for the look. Our catalogue carries complete rear chain kits for 2018-up M8 Softails for exactly this reason. If you bought a used bike with a chain on a model that left the factory with a belt, assume a previous owner did a conversion and read whatever instructions came with that kit, because they replace the factory procedure.
Checking slack the right way
Put the bike on a stand with the rear wheel free, in neutral. Find the midpoint of the lower run of chain and push it up and down; the total movement is the slack. Then turn the wheel a little and check again, and again, all the way round. Chains wear unevenly, so set slack at the TIGHTEST spot, never at the first place you measure.
The figure you set it to comes from your service manual or the conversion kit maker, and on some bikes it is measured with the rider sitting on the bike. A chain set too tight on the stand can go bar-tight when the suspension compresses, and that loads the transmission output bearing and the wheel bearings hard.
Adjusting it
Loosen the rear axle nut. Turn the adjusters on each side of the swingarm by the same amount, using the marks on the swingarm or the adjuster blocks as a reference, until the slack is right at the tight spot. Sight down the chain from behind: it should run straight off the rear sprocket, not bend toward one side.
Tighten the axle nut to the manual figure, then recheck slack, because tightening the nut can pull the wheel slightly. Finally check that the rear brake caliper and any speed sensor are seated where they belong.
Cleaning and lubing
Most chains fitted to these bikes are sealed O-ring or X-ring chains. Clean with a cleaner labelled safe for those seals, never a petrol soak or a wire brush that cuts them. Lube goes on the inside of the lower run, onto the rollers, with the chain warm after a ride, then give it time to set before riding so it does not fling off onto the tyre.
Clean and lube after every wet ride and as often as the manual or kit maker says. A chain that looks orange in the side plates or has stiff links that do not straighten after the sprocket has had its life.
When to replace chain and sprockets
Signs it is done: slack keeps growing back soon after an adjustment, the adjusters have run out of range, links stay kinked, or you can pull the chain away from the back of the rear sprocket and see daylight under it. Look at the sprocket teeth too. Hooked, thinned or shark-fin teeth mean the sprocket is worn.
Replace the chain and both sprockets as a set. A new chain on worn sprockets wears out fast and can skip; a worn chain chews new sprockets just as quickly. On a Harley the front (countershaft) sprocket sits behind the left side covers, and on a conversion it is part of the kit, so the kit instructions decide how it comes off.
Fitting a new chain
Count links against the old chain or the kit spec before cutting anything. Our catalogue sells .530-pitch chains in fixed link counts and as bulk length; a bulk chain must be cut with a breaker tool, never a grinder through a side plate that stays on the bike.
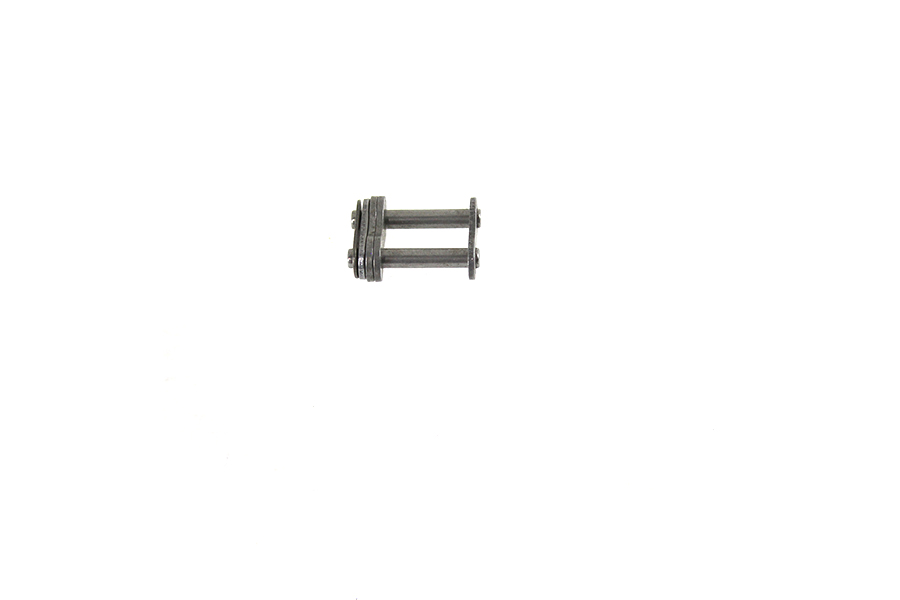
There are two kinds of master link. A clip-type link holds with a spring clip, and the closed end of the clip must point in the direction the chain travels, so the open end trails and cannot be snagged off. A rivet-type link is pressed and peened with a riveting tool and is the stronger choice for high power. If you have never riveted a link, have a shop do that one step; a badly peened rivet is how chains come apart.
Set slack at the tight spot, align the wheel, torque the axle, lube, and recheck slack after the first short ride. New chains settle quickly.
Mistakes that cost money
- Putting chain lube on a belt-drive Harley because a forum said "lube your chain".
- Setting slack at the first spot measured instead of the tightest one.
- Fitting a new chain to worn sprockets.
- A clip master link installed with the open end leading.
- Turning the adjusters unevenly and running the wheel out of line.
- Using a cleaner that eats O-ring seals.
When to stop
If a link is cracked, a side plate is loose, the chain has jumped a sprocket, or the swingarm adjusters will not pull the wheel square, park it. A chain that breaks at speed can lock the rear wheel or come through the cases. That is a shop job and a trailer ride.
Parts for this job
Check fitment for your own model and year before ordering — add your bike and we will flag what fits.
Other Harley how-to guides
This guide covers procedure and judgement. Torque figures, fluid capacities, gaps and tension settings are specific to your model and year and must come from the factory service manual for your motorcycle — we deliberately do not print numbers we cannot stand behind for your bike. Independent aftermarket retailer, not affiliated with Harley-Davidson, Inc.